Sunday, November 18, 2018

Winter Prep

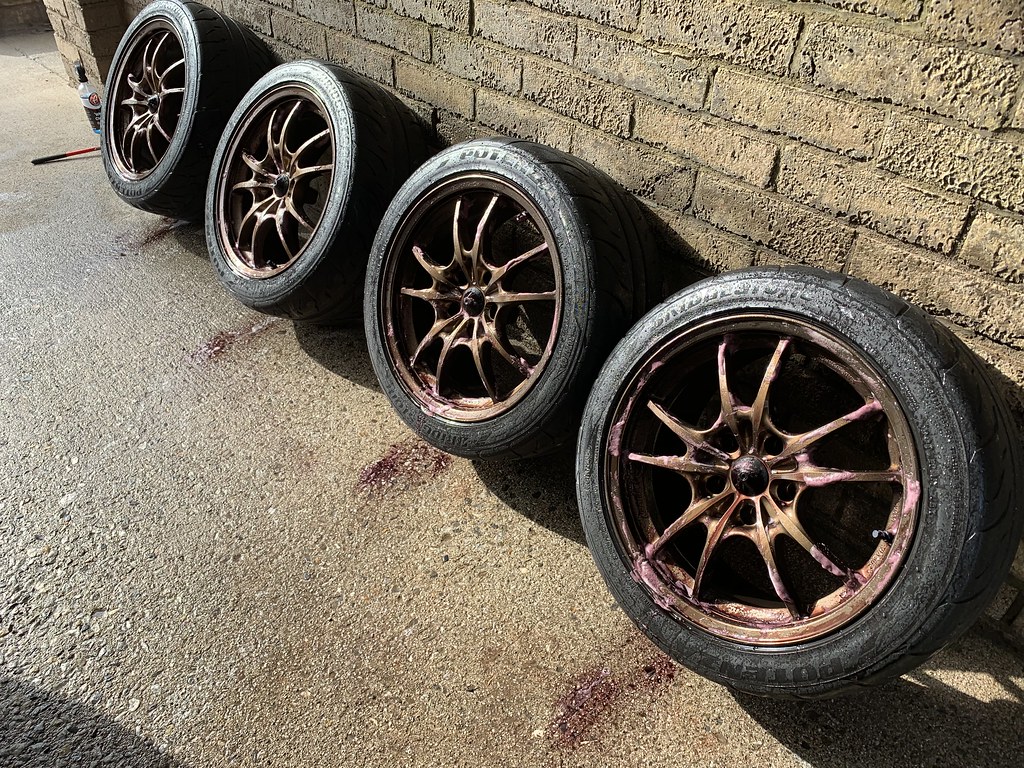
A few weeks ago I switched over to my winter wheel and tire setup (Enkei RPF1s with Continental DWS tires). I don't really plan on driving Bumblestook over the winter but I wanted to get off the Mugen MF10s so I could properly clean and store them so the RE71s wouldn't flat spot. I took the wheels to a nearby self-service car wash, sprayed them down with Adam's Deep Wheel Cleaner, and gave them a nice long rinse to get all the brake dust off so they wouldn't cake over and put them away in my storage.

Cleaning Mugen MF10s - 11-17-2018
I was supposed to take my car to the dyno and for a final car wash this week but the premature winter storm we got on Thursday night pretty much killed that idea. The temps are back to normal but unfortunately, there's plenty of salt on the roads now and it's simply not worth taking her out anymore. I decided it was time to put her away for the winter so I cleaned her as best I could in the garage which was easy since she was washed by the body shop after the recent repairs so the only real issues were the few water spots on the paint. 

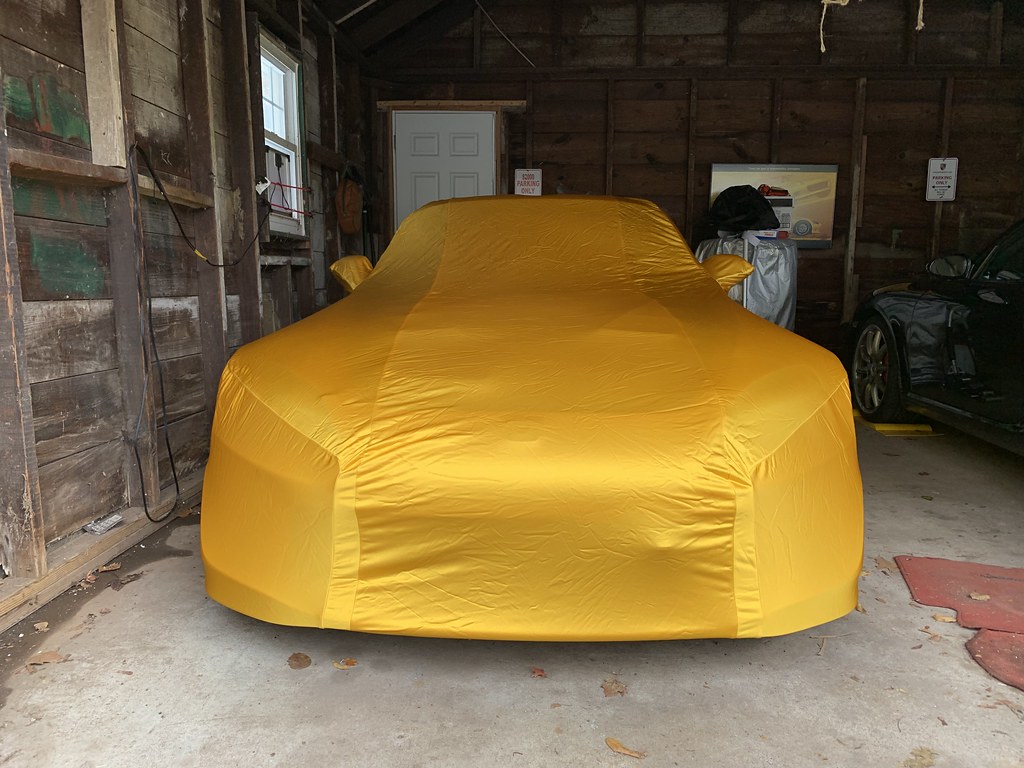
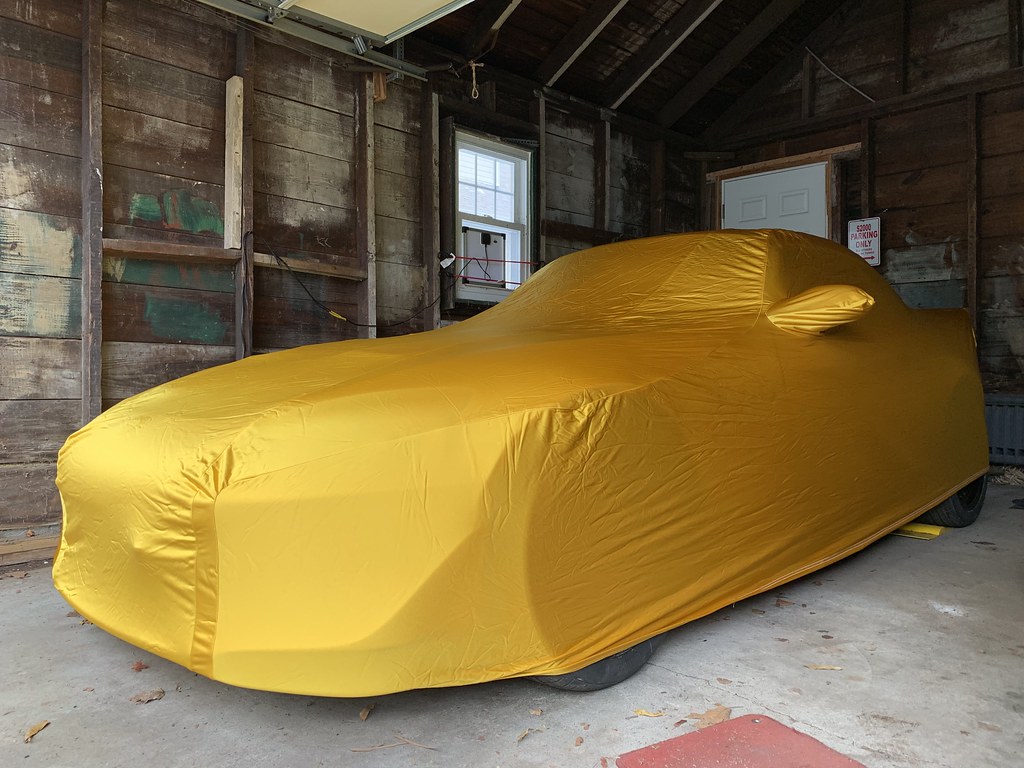
Science of Speed car cover - 11-17-2018
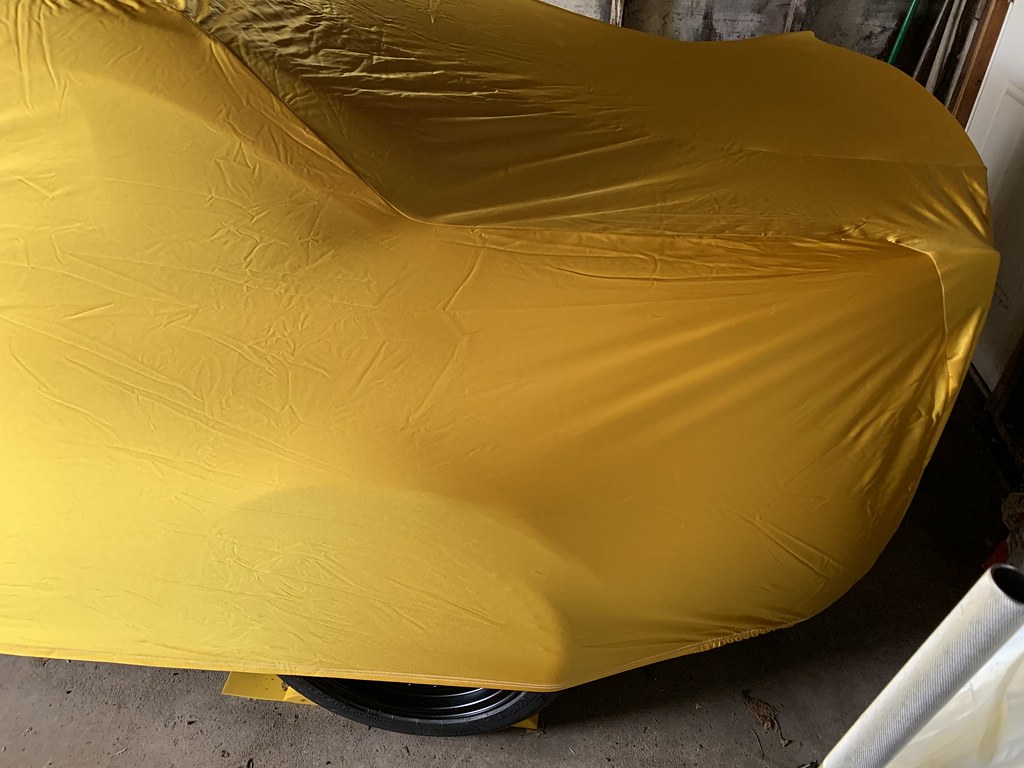
I finally got to put on the Science of Speed form fitting car cover in yellow that I ordered several months ago. It fits perfectly on the car even with the CR lip, Mugen wing, and the wide body. It's snug but not overly tight and fully covers the car all the way to the ground if I want. I also took the battery out of since I don't have a battery tender (no power in the garage) and I'm thinking about going with a bigger battery next year anyway since I'm getting sick of worrying about keeping a small battery charged enough to start the car a few times a month. 

Science of Speed car cover - 11-17-2018
Sad to think that I won't be driving her until March at the earliest but I'm happy for all the things we were able to accomplish this year. Looking forward to more fun next year but for now, the winter slumber begins. 

Friday, November 9, 2018

Hood and Hardtop Repair

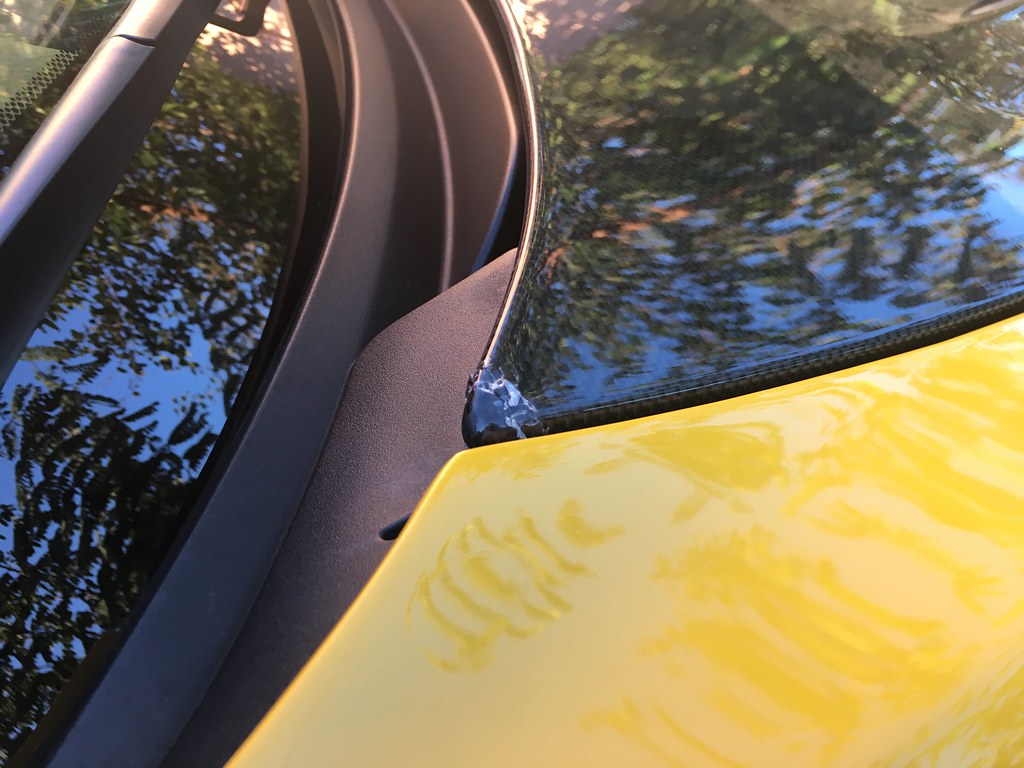
When I got Bumblestook painted earlier this year I specifically bought extra paint since my plan was to color match the Mugen hood in case there were any issues with the carbon weave upon arrival. You never really know how carbon fiber parts will arrive especially when shipped across the world. The Mugen hood was for the most part super mint but unfortunately, during shipping, the trucking company must've not been particularly careful and despite the box itself being in good shape, the hood was transported with the pointy edge down. This damaged one corner slightly.

Mugen hood shipping damage
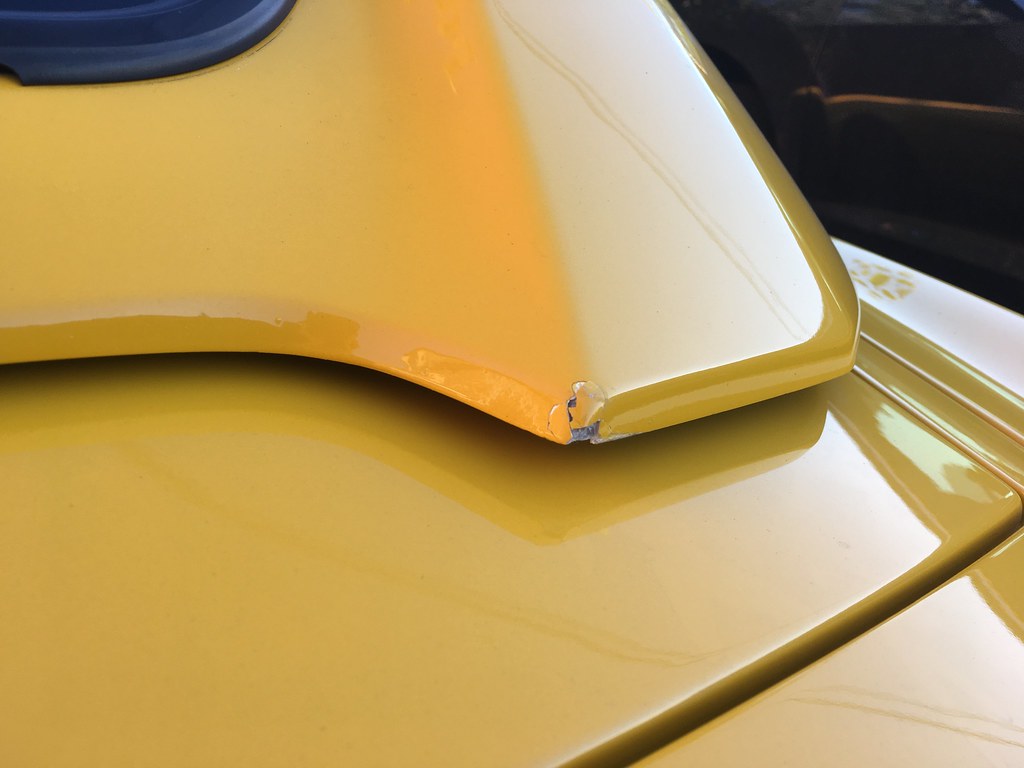
I contact King Motorsports and they were amazing. They offered to completely replace it with the only Mugen hood left in the country especially since I had waited 8 months for it. Since the damage was pretty minimal and shipping hoods back and forth would be a big hassle for me, they offered an alternative which was to give me a pretty generous partial refund on the hood. I was ok with this because I knew the hood could be repaired for much less and I don't really care about resale value. Also, a few months ago, my hardtop had an unfortunate accident while off the car. It tipped backward and the corner got chipped pretty badly.

Hardtop damage 
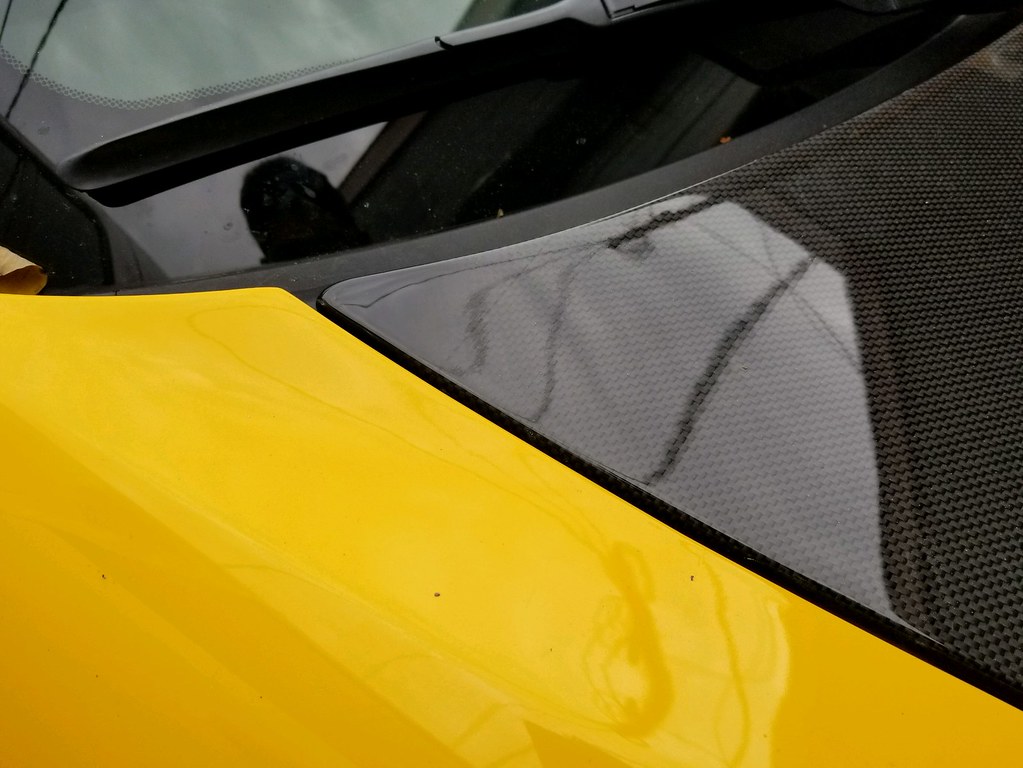
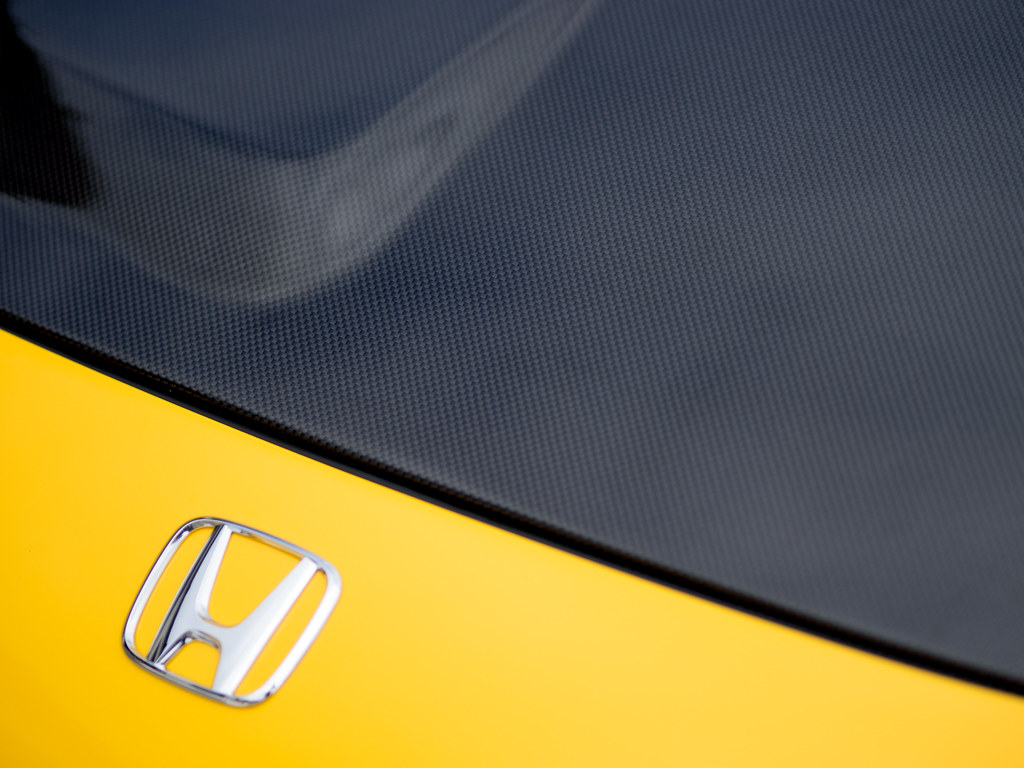
With the season over, it was a perfect time to get the car back to K2 Auto Body in Edgewater where Eric took care of me right away. Unfortunately for the hood, with the incredible tight Mugen weave, just redoing the epoxy wasn't going to make it look right. Instead, we both agreed that the best thing to do to make the damage clean and not noticeable would be to spray that corner with some black paint and clear coat the edge again. The rest of the hood was just too mint to touch if we could avoid it. I obviously could've gone with my original plan to just color match the entire hood but I decided I could always do that at a later time in case the hood sustained any further cosmetic damage. I think it came out really great. If I don't specifically point it out or take a closeup shot, I don't think anyone would really notice.

Hood repaired - 11-9-2018
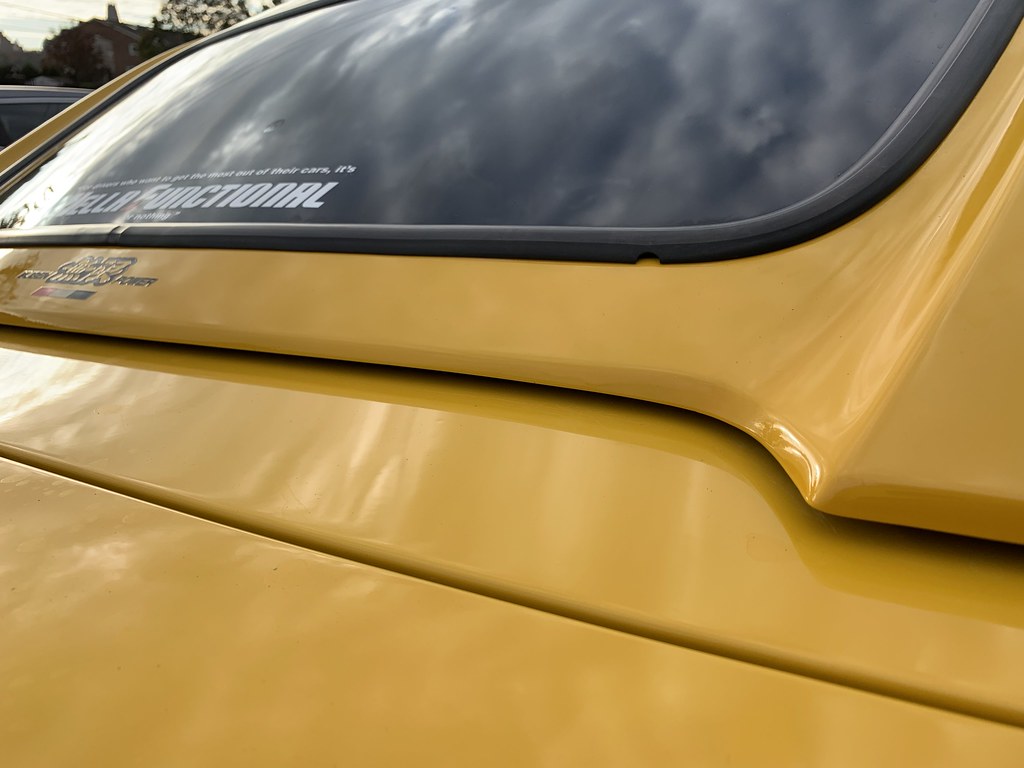
The hardtop was similarly repaired and the corner repainted and blended. They did an incredible job and I couldn't even tell which part was resprayed.

Hardtop repaired - 11-9-2018
Big thanks again to Eric and his team at K2 Auto Body for making her perfect again. Both the hardtop and the hood was repaired for less than what King Motorsports gave me back so that was a big plus. We've got a dyno appointment next week to see what kind of power (if any) the PasswordJDM intake makes over the K&N FIPK and then she's pretty much getting washed and put away for the winter.

Sunday, October 28, 2018

Intake Install from Hell

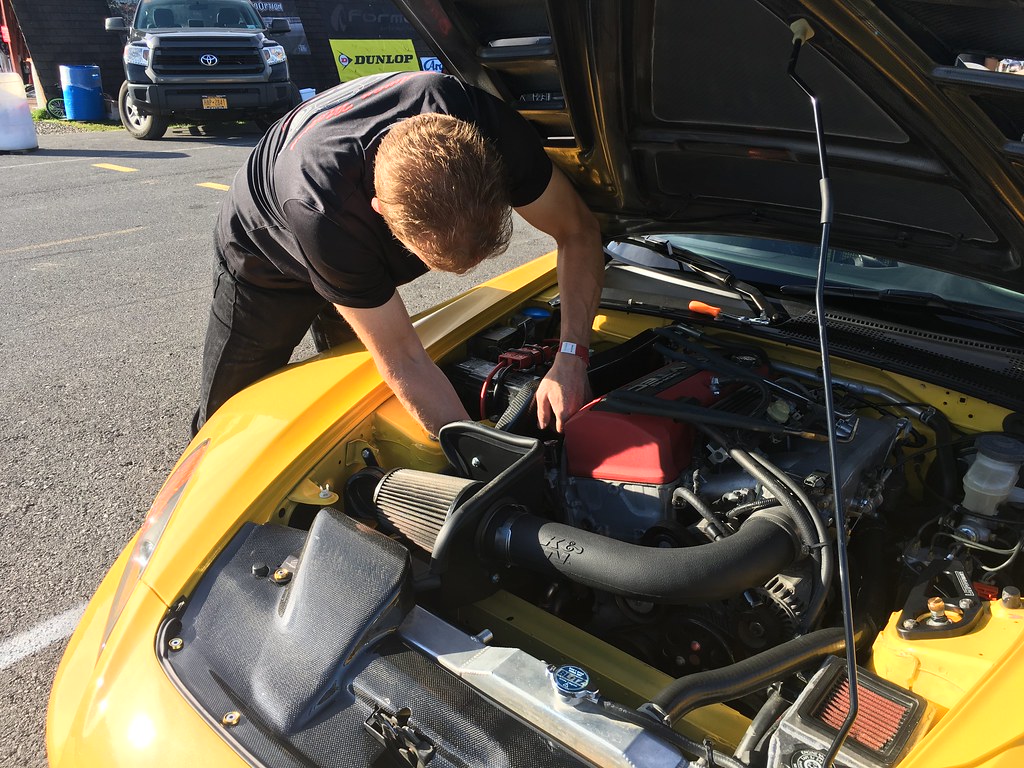
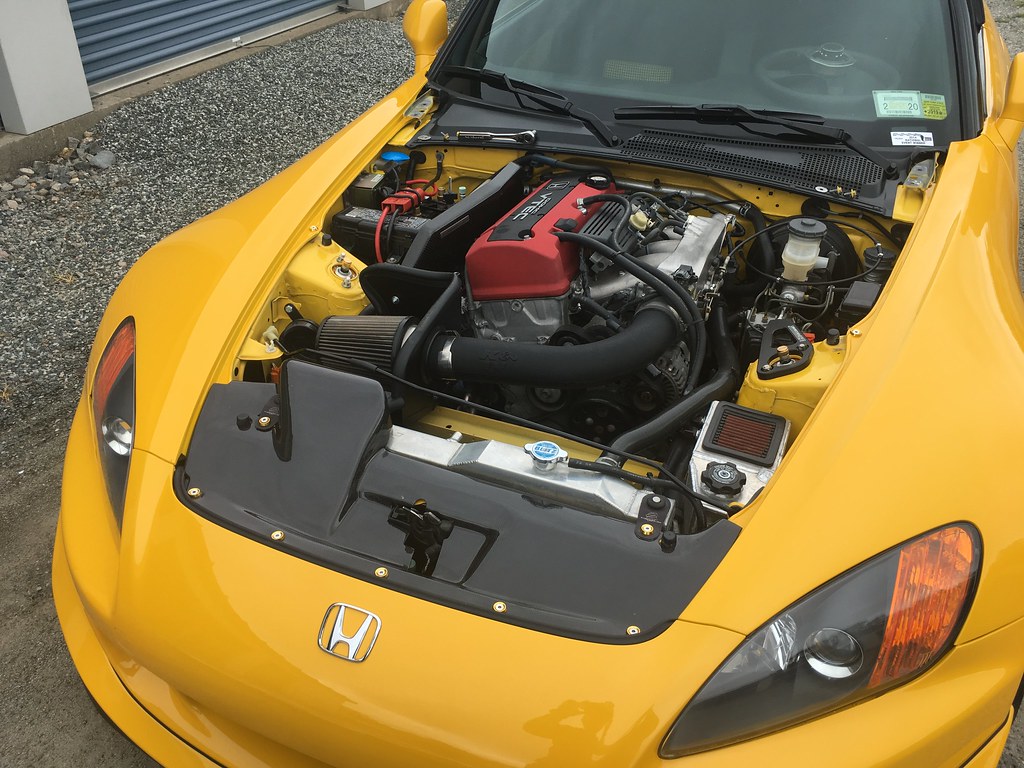
I wanted to get a PasswordJDM dry carbon intake (a.k.a the whale penis among the SCCA STR crowd) since we started this build but without a hood to accommodate the snorkel, it really wasn't a good option. I bought the intake shortly after I received my Mugen hood but didn't get a chance to get it installed until now.  With the racing season now over, it was the perfect time to head over to SJF to work on the car before putting her away for the winter.
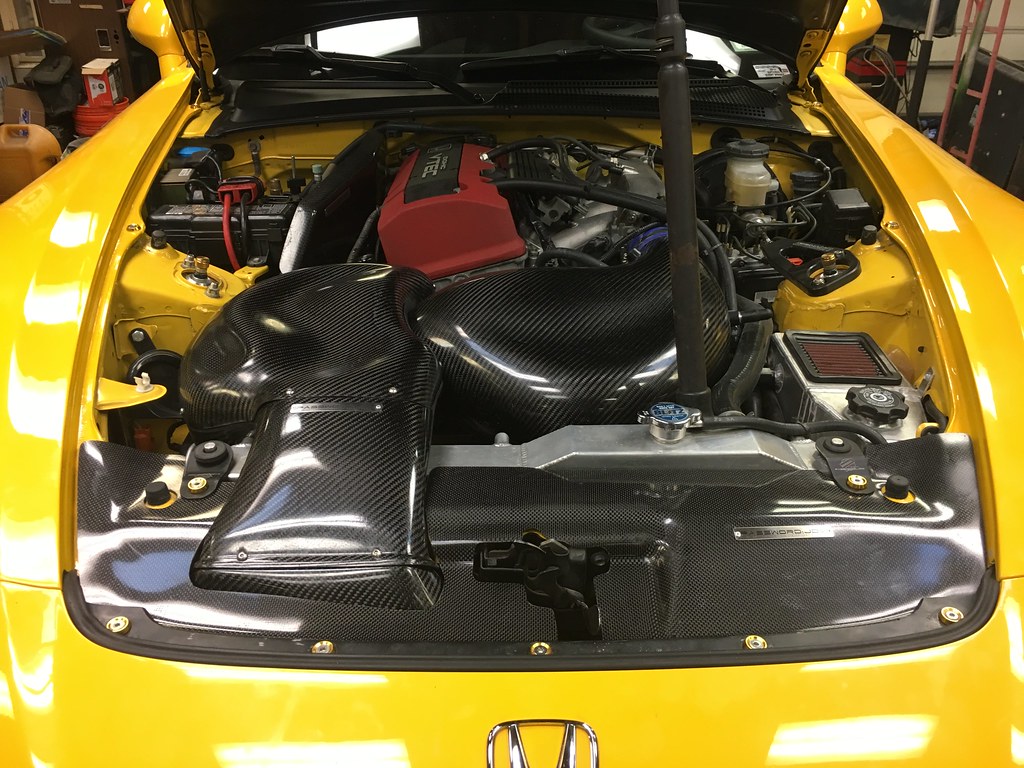
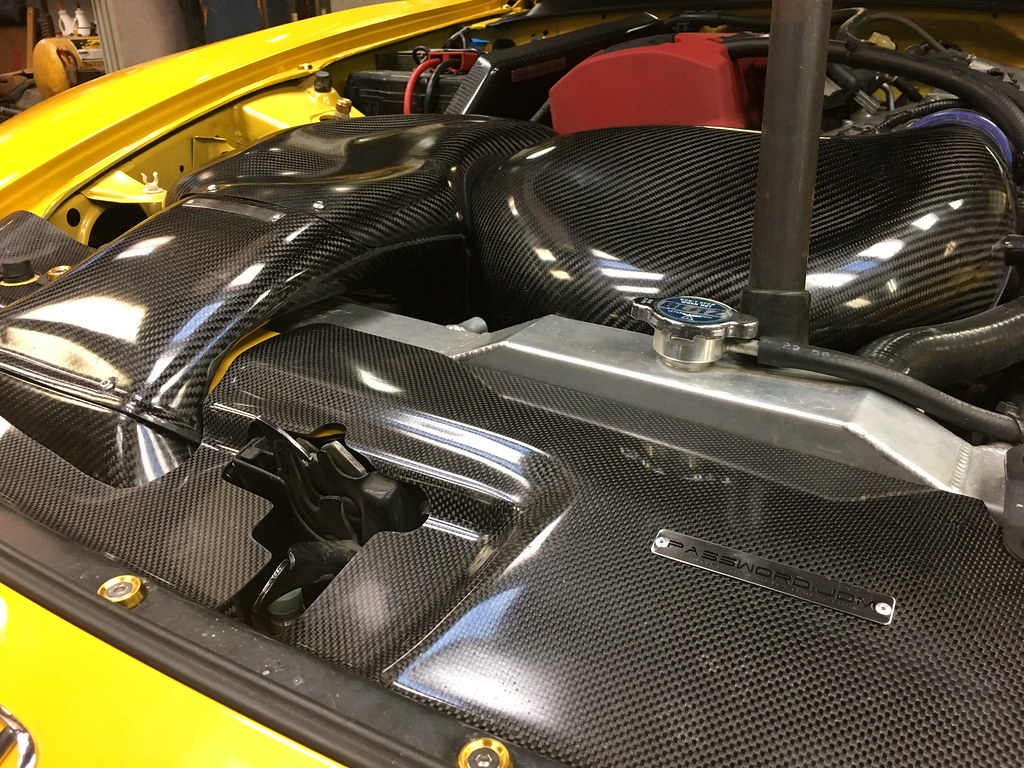
PasswordJDM Dry Carbon Intake and Cooling Plate - 10-28-2018
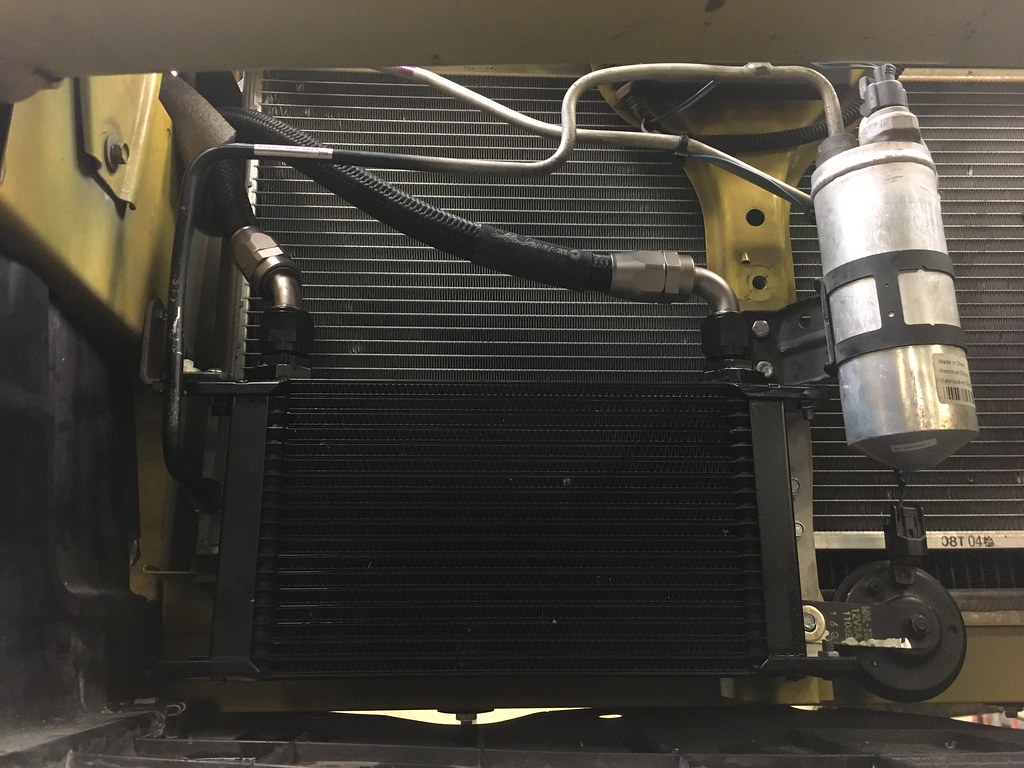
Due to the finicky nature of this install, under normal circumstances, the install of this intake is supposed to take around 2-3 hours if you take your time. Unfortunately, this would not be the case for me since the snorkel is supposed to sit exactly where my Setrab oil cooler sits so it took us all day to get it done. We didn't really have too many options for relocating the cooler since the lines weren't long enough to move to the other side. We eventually settled on simply lowering it and moving it closer to the AC condenser. Removing the driver side bracket allowed for the cooler to be screwed directly onto the radiator support. For the passenger side, we were able to reuse the mounting bracket but SJF had extend it to reach the cooler's new location. The horn had to be moved to the other side and extend the wiring to reach it.
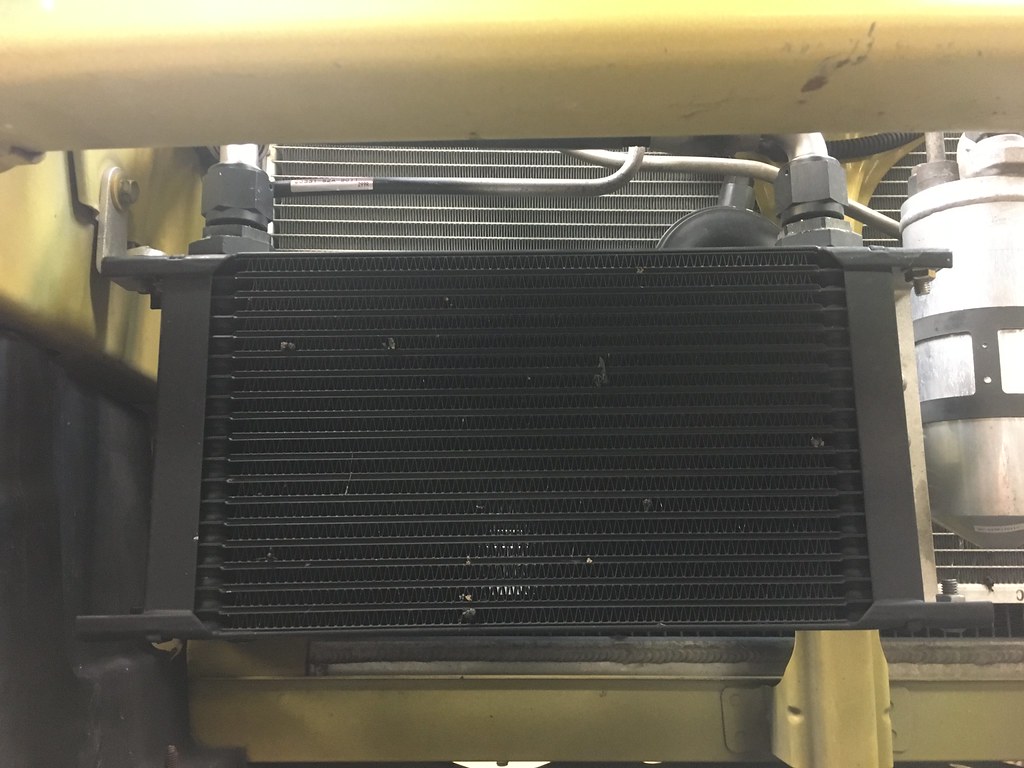
Old cooler location
New cooler location
Now that the cooler was out of the way, the snorkel was able to be installed in the correct location to perfectly suck in cold air right from the bumper opening.

Snorkel installed
The next bit of trouble was the oil cooler lines. We routed them this past winter over the frame cross member because there was plenty of space there but unfortunately for today's install that's also exactly where the bottom of the intake chamber was supposed to sit. Rather than relocating the lines, I opted to just cut parts of the bottom of the intake chamber for clearance. I'm already getting nice cold air via the snorkel and I'm not getting any heat soak from the header due to my vented hood anyway so there was really no performance hit by doing this. My extra large radiator also caused fitment problems and we had to trim some of that intake on that side too to clear the mounts for the radiator fans. The fitment of the two intake chambers wasn't that great either. We had to trim the opening to allow the two parts to fit together without interference and after a few hours of slowly trimming, we finally got it fitting properly.
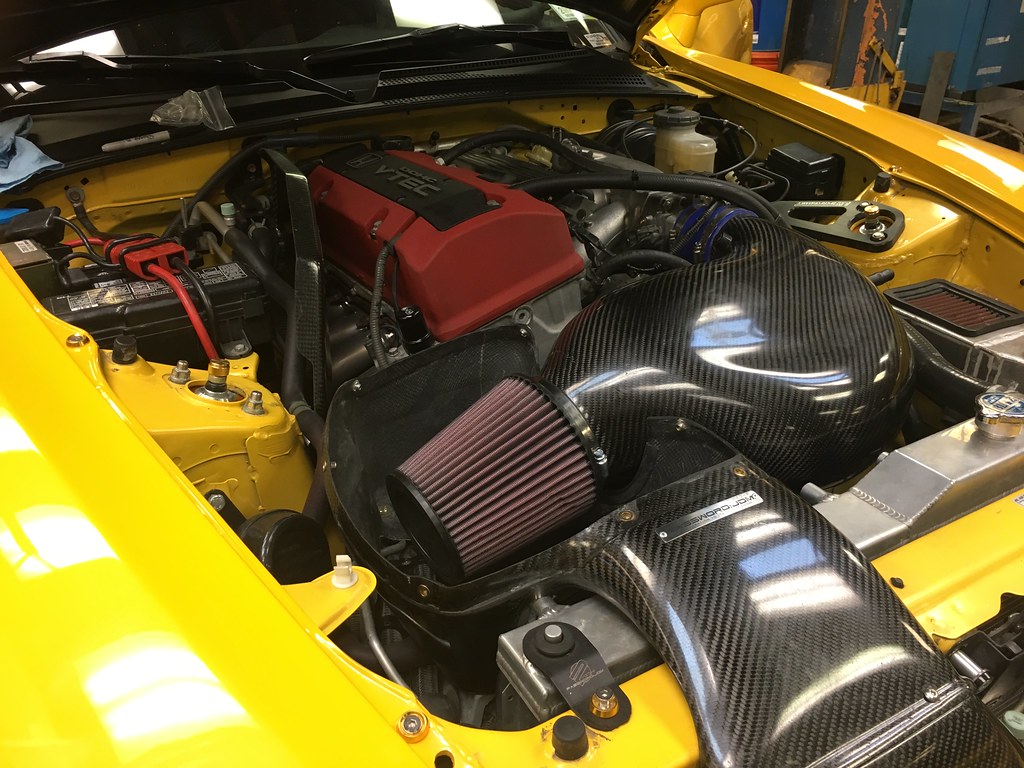
Intake chamber trimmed to fit. 
We got the intake cover on and after playing around with the dry carbon cooling plate with the cut out specifically for this intake, we finally got the hood to close. The top of the intake chamber just touches the frontmost vent on the Mugen hood but it's not really a problem. The other downside of this intake is that you can't use the stock hood prop anymore. I could use hood struts but with the Mugen hood weighing close to nothing, it's not really recommended.
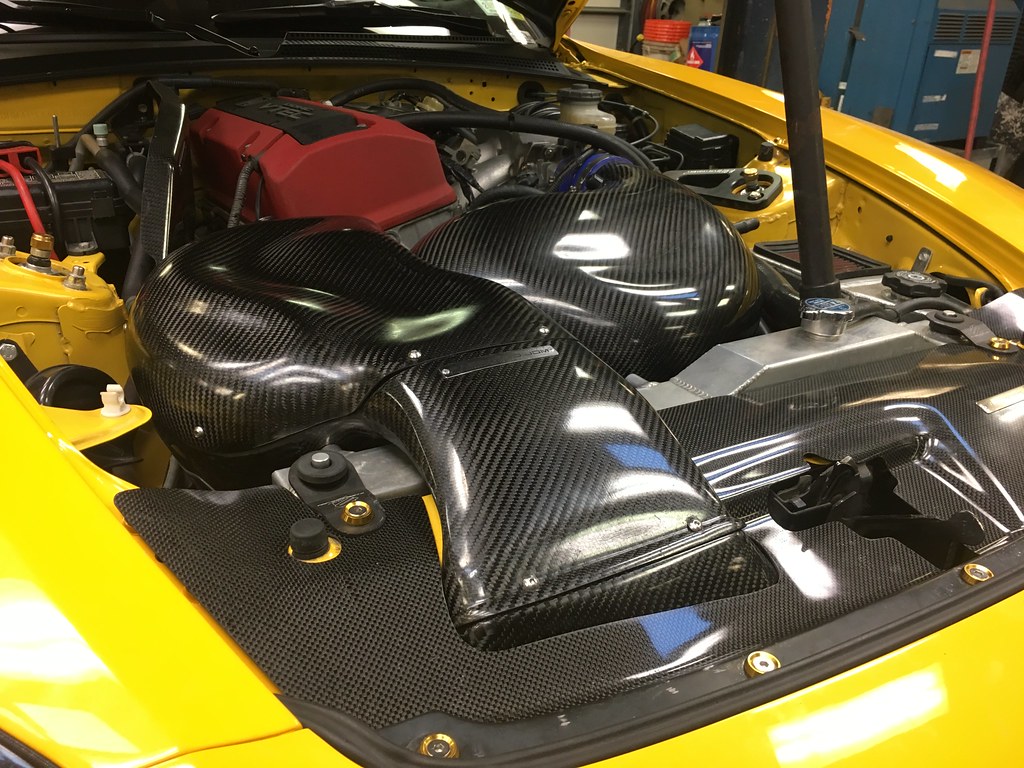
Everything fitting perfectly now - 10-28-2018
Password JDM dry carbon cooling plate - 10-28-2018
The final challenge was putting on the bumper again. The right side of the snorkel actually hits part of the grill so that needed trimming as well.
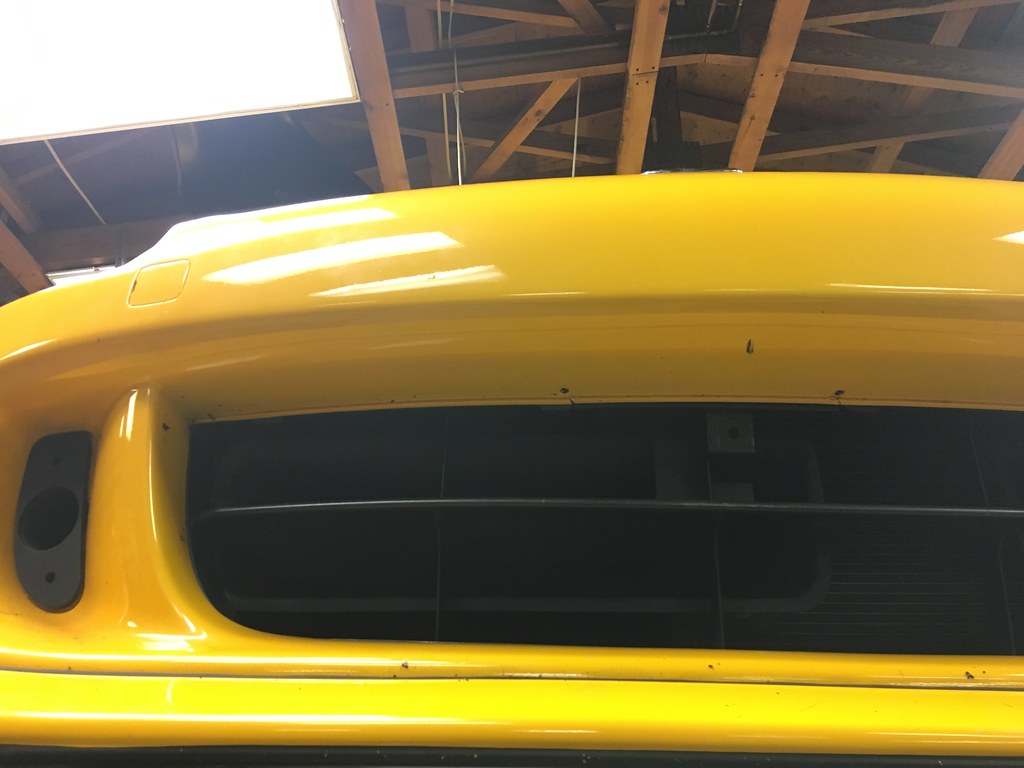
Snorkel behind the trimmed grill - 10-28-2018
This whole day was pretty much an exercise of patience. Measure, trim, fit, remove, measure, trim, fit, rinse and repeat to satisfaction. Big thanks to SJF Performance for putting up with what will forever be dubbed "The Intake Install from Hell". I'll have to go back on the dyno to measure the difference but my butt dyno definitely felt a difference on the drive home with the nice cool air rushing into the intake. In VTEC it also sounds really great!

Other miscellaneous fixes today included tightening the brake cylinder brace that somehow vibrated itself loose and tightening up the slack on the throttle cable.
Tuesday, October 23, 2018

First Oil Analysis

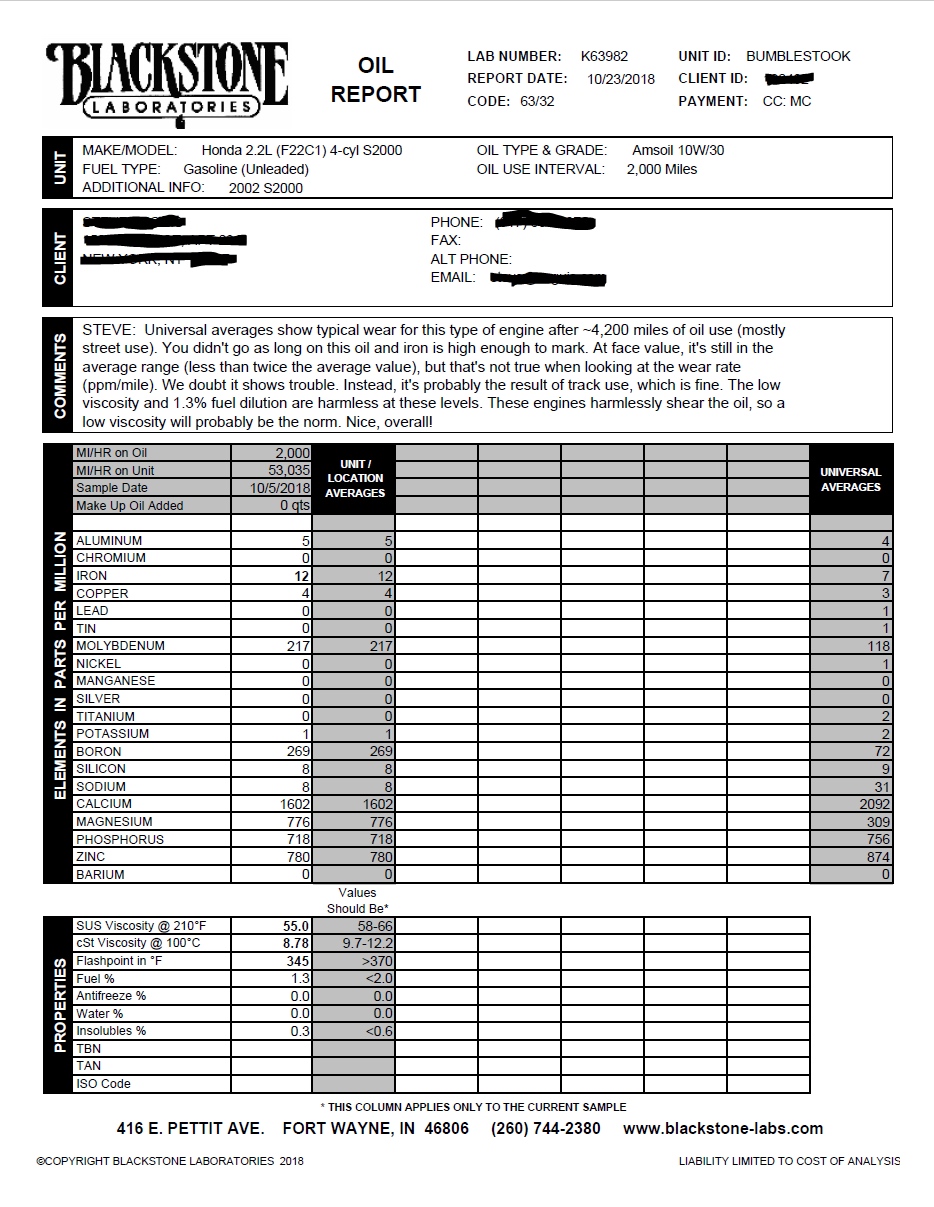
I wish I had done this more regularly before but I guess there's a first time for everything. I sent the oil sample I gathered from the last oil change before I went to The Glen to Blackstone Labs and the results seem good considering some track miles in there. It'll be good to see how this trends going forward but the years of racing seem to have not had any measurable negative effect on the engine health so far.

Blackstone Labs oil sample results - 10-23-2018

Saturday, October 13, 2018

Watkins Glen with Hooked on Driving

The return to The Glen was as fun as I imagined it would be. I don't do track days for competition, only to have fun, so a successful track day for me means checking three boxes and those are:
  • Are you alive?
  • Did you have fun?
  • Is the car still in one piece?
This event checked all three, with the fun component fulfilled in spades.

Watkins Glen International - 10-18-2018
The day didn't start off too well though. The temperatures had dipped into the low 40s overnight and I woke up to a steady cold rain shower. Not exactly what you want returning to a historic track where the cost of a mistake often means smacking into a blue armco at speed.

Watkins Glen International - 10-18-2018
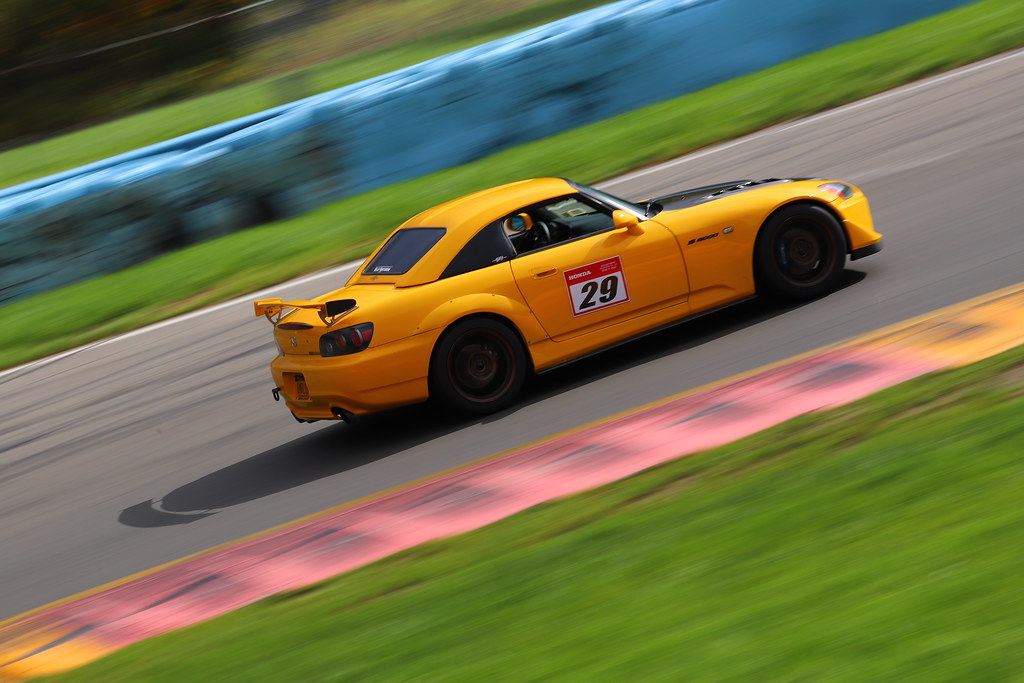
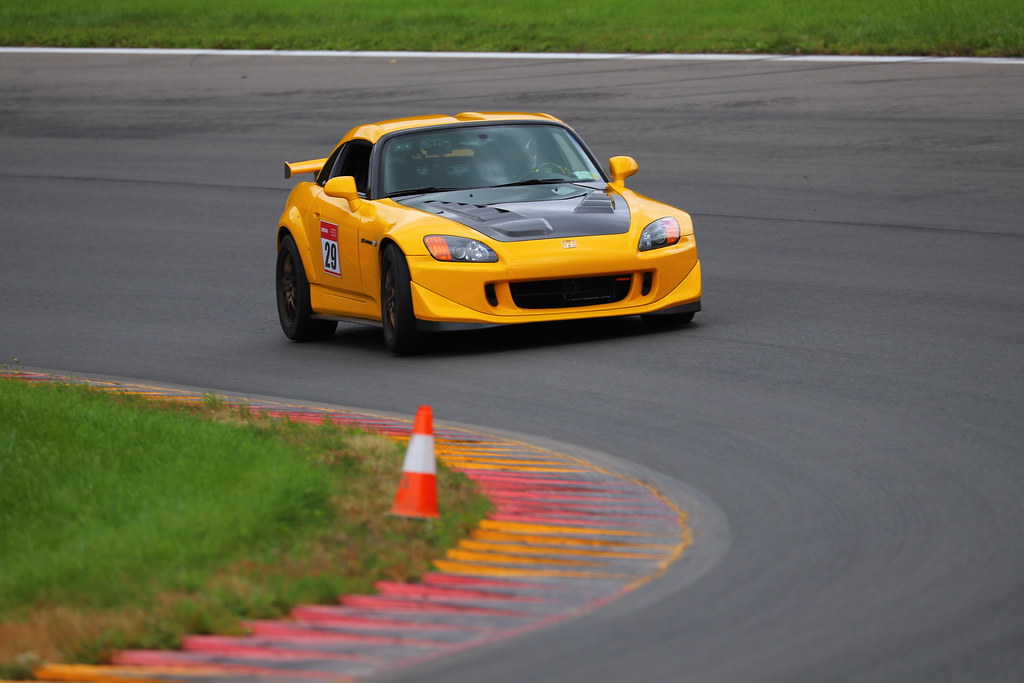
Although the first session was very wet, the sun did occasionally pop out and the wind allowed for drying conditions but we still had to be very careful on any of the painted surfaces as those seemed to refuse to dry at all. The event ran pretty smoothly. All the run groups ran on time and there were no incidents to speak of on the track which is pretty good for a track that's notorious for claiming a few cars each event. Unfortunately, I didn't run any session where I didn't hit some traffic but it was still pretty manageable. Not too bad considering my run group had around 40 or so cars. I managed a mere 2:25 on RE71Rs in these conditions. I suspect that's not a great time but since I never recorded times before at least I now have my baseline for the next time I come up here.
 Laps 6-8 of Session 3 - 2:25 on Lap 8
Watkins Glen - 10-18-2018

That ends the 2018 motorsports season for Bumblestook. I've got a new intake to install but in general, I will just be getting her ready to be tucked away for the winter. It's been an incredible year with her transformation and she's exceeded my expectations in every single way. She truly is the one S2000 to do it all for me.
Car setup notes to self:

  • Increase front compression by 3 clicks to combat rear twitchiness under braking.
  • Ran 30/28psi cold pressures.
  • Car felt very neutral. I like this setup.
  • Front toe might have slipped. Steering wheel slightly angled to the left now. 

Saturday, October 6, 2018

Ready for The Glen

One of the things I wanted to do this year with Bumblestook was to go back to Watkins Glen. After a successful shakedown at NYST a few weeks ago, all she needed was fresh oil and a nut and bolt before I make the return to The Glen a reality next weekend.

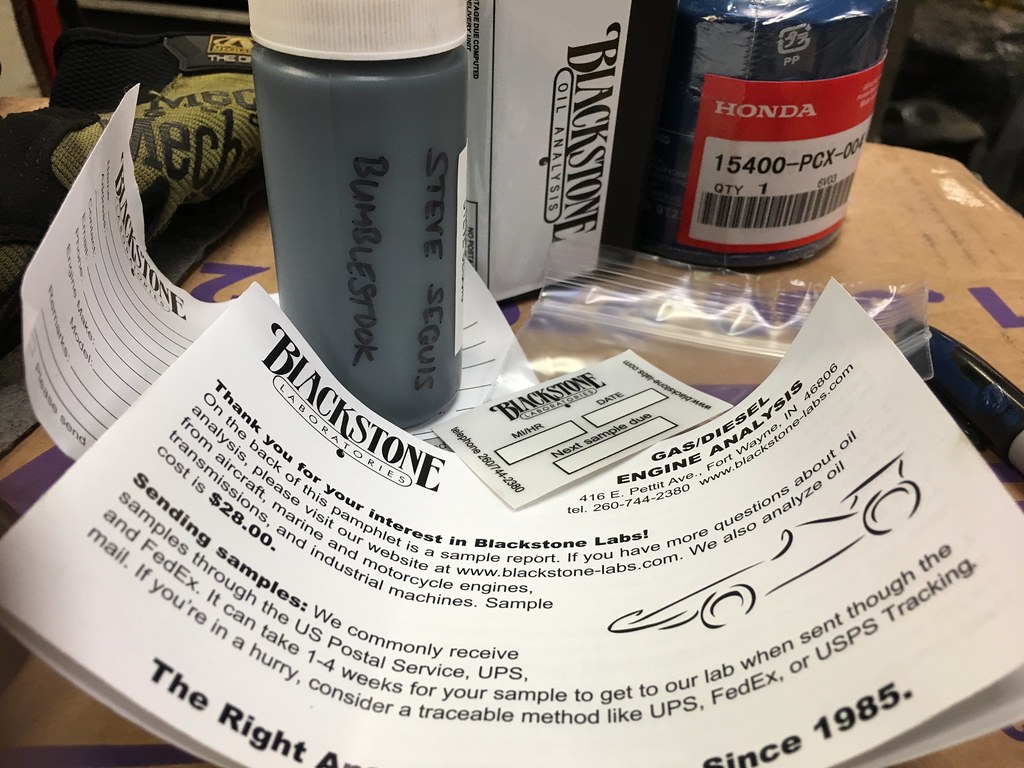
Oil sample taken for analysis - 10/6/18
I figured while I was doing the oil change anyway I might as well get a sample to send over to Blackstone laboratories to get an oil analysis done.

6 fresh quarts of Amsoil 10W-30 - 10/6/2018
Going over the car was a good idea. A lot of bolts had worked their way loose such as sway bar end link, subframe bolts, header side engine mount and even bolts for the doors. She might be a street car now but she still retains a lot of her race car DNA under the surface so it's really no surprise things vibrate themselves loose.

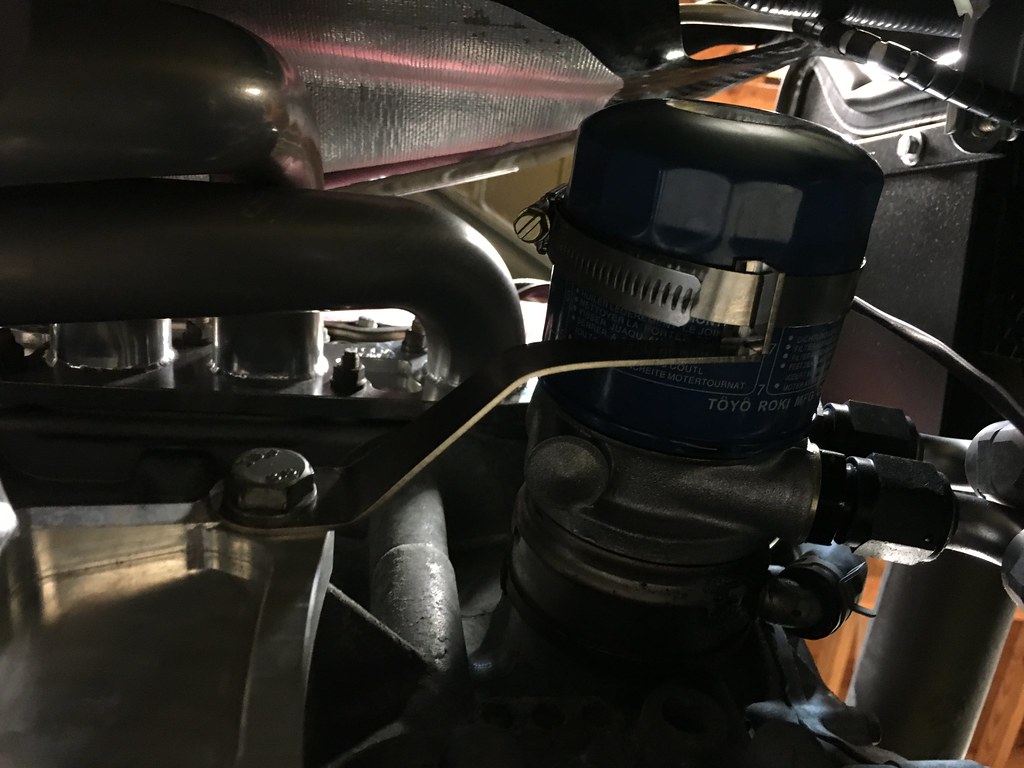
Oil filter stopper
One thing I absolutely don't want vibrating loose is the oil filter. It's never happened to me before but it has been known to happen. On a car that has bolts with Loctite vibrate loose, it only makes sense to add some extra safeguards here. The filter is always properly tightened but as an additional piece of reassurance, we installed an oil filter stopper. Since I have a Mocal sandwich plate, the bracket had to be bent out to line it up but it works quite well. It's attached on one end to the motor mount and then onto a hose clamp secured to the oil filter to prevent it from backing out. 

There are a few things that I want to install and/or address after the season is over but for now, she's mechanically sound and ready for some fun up the esses.

Maintenance Log:
53,035 miles - 6 qt Amsoil 10W-30

Monday, September 17, 2018

Bumblestook at S2K Takeover 2 - NYST

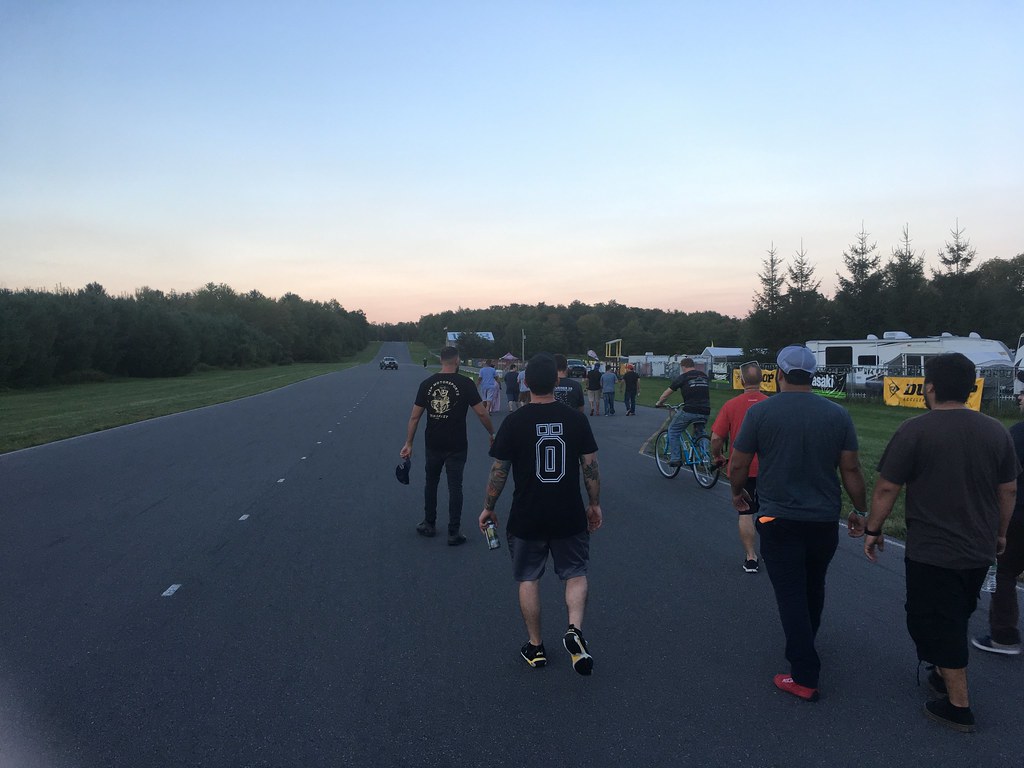
After over a 5-year hiatus from enjoying track days, I finally got the opportunity to go again in Bumblestook. Brad set up another S2K Takeover at the NY Safety Track in Jefferson, NY after the first one earlier this year went really well. I arrived there on Sunday afternoon since I'd never been to this track before and wanted to be able to get a track walk in with the guys to get some pointers.

NYST - 9-17-2018
I'm really glad I did. Despite having watched a bunch of in-car videos from other people, it wasn't until the track walk that I understood how much of an elevation change there was and how blind the corners were. It's a bit disconcerting since there's also minimal to no runoff so for this track, in particular, I'd have to be extra careful the next day.

Track walk - 9-16-2018
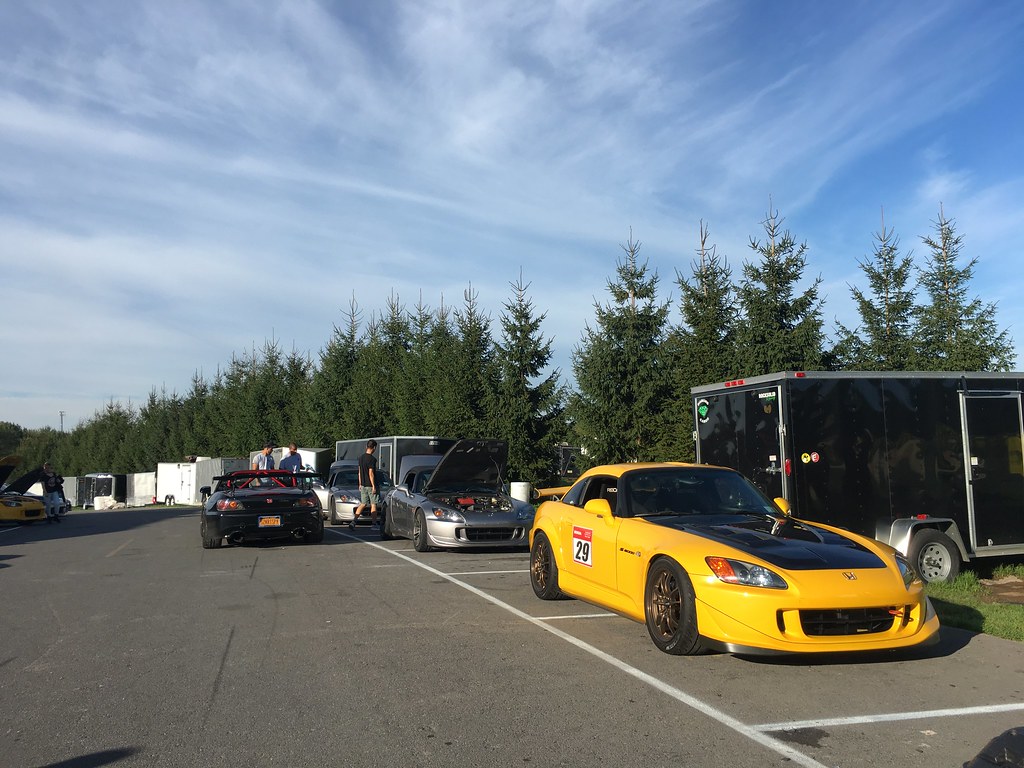
I got back on site the next day bright and early. I did the usual things of emptying the car out and giving her a once over to make sure I wouldn't have any issues.

Ready to run - 9-17-2018
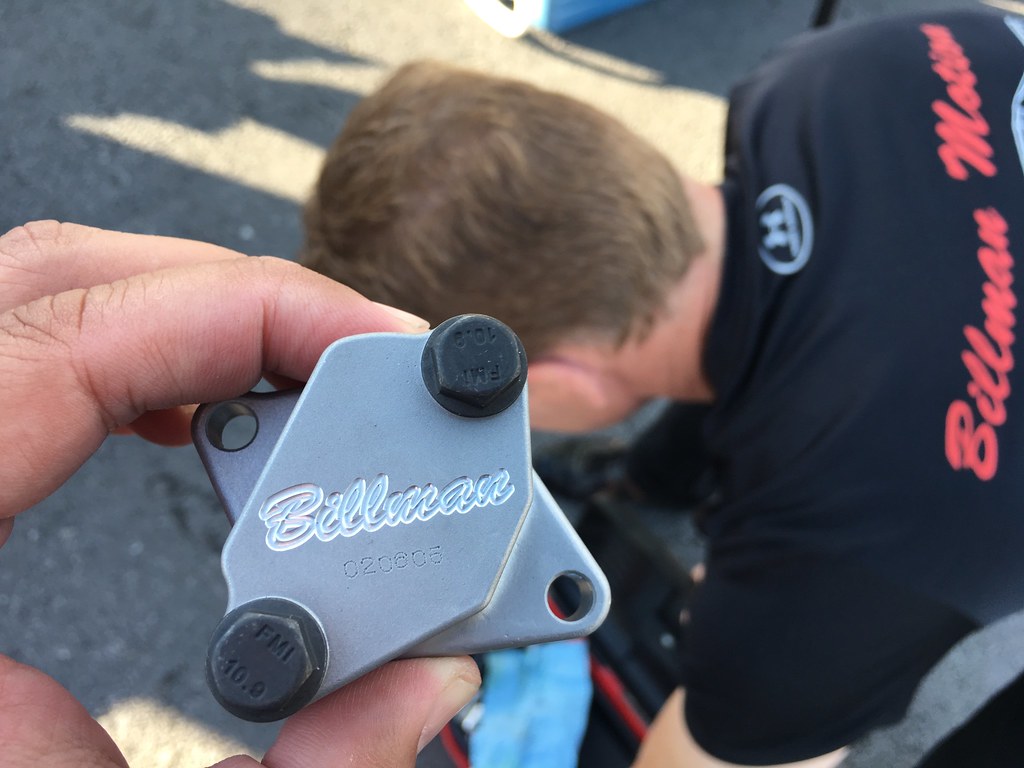
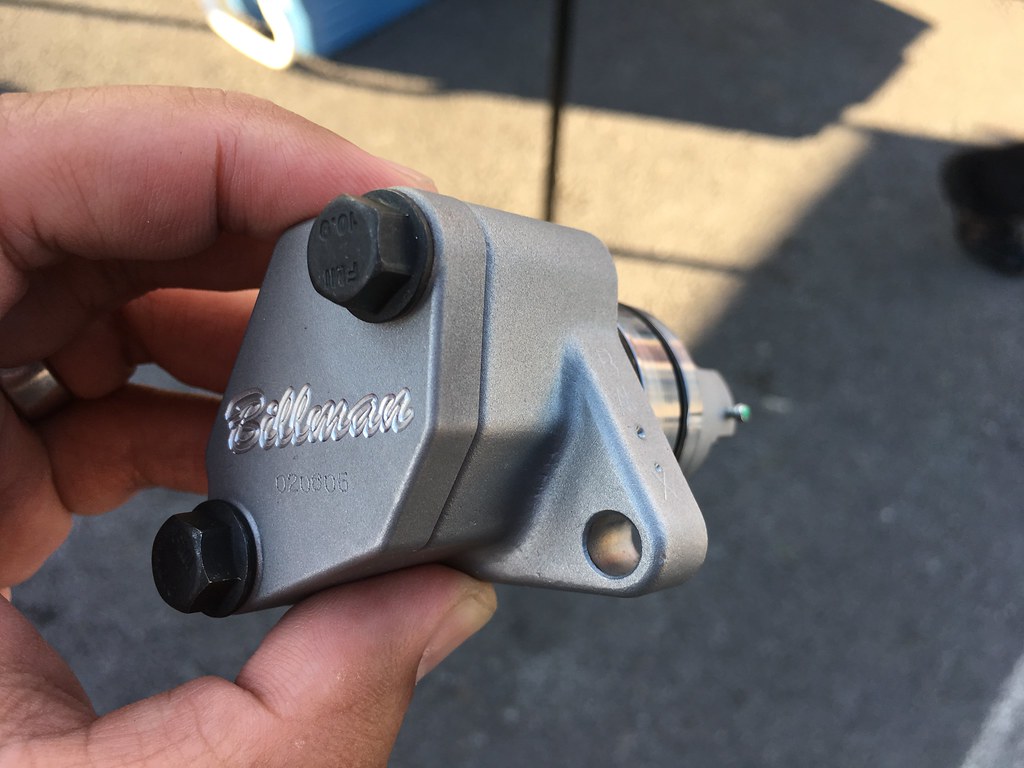
Coincidentally, the night before during dinner with everyone, I was chatting with Billman and he happened to have exactly one of his new generation TCTs (timing chain tensioner) with him. There's nothing wrong with my old tensioner but they do eventually go bad and it is 13 years old after all (the engine in Bumblestoook is from a 2005 S2000). Billman modifies the OEM tensioner to never be a problem so as part of buying the new TCT from him, he took care of the install which he can probably do with his eyes closed. At least I don't ever have to worry about the TCT going bad on me ever.

Billman's new TCT - 9-17-2018
Billman installing the TCT before my first session - 9-17-2018
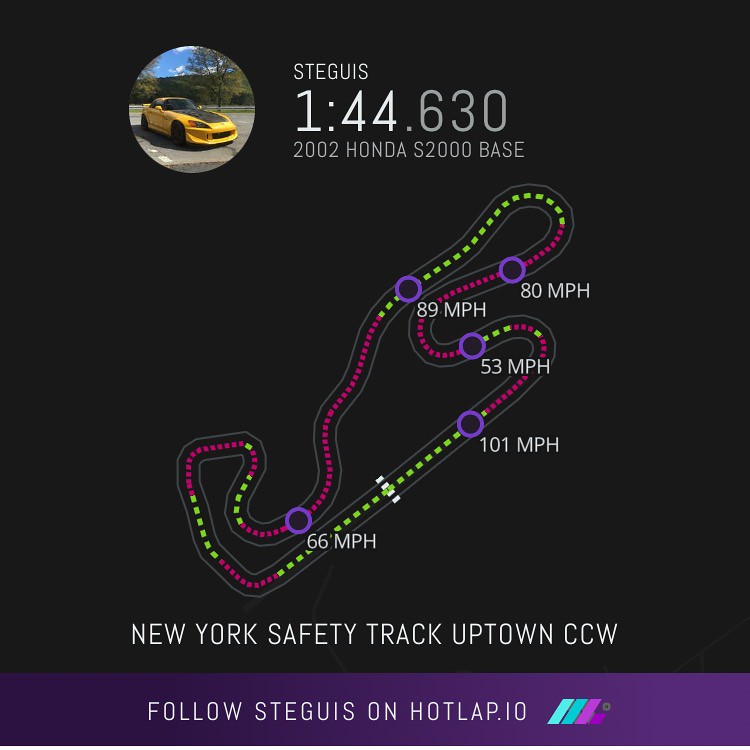
The track is definitely intimidating despite only being a mid-speed track (topped out at around 102mph on the straight). A lot of the corners are blind and cambered and as I mentioned earlier, the lack of runoff means you really can't just "send it". Although I'd say more than a few did and they might need to do some buffing later.

Track Map - NYST
The developers of Hotlap where there as sponsors testing out some new changes to their software that allowed real-time telemetry and track position to be seen on the web or on the phone. It wasn't entirely perfect not because of the software but because a lot of us were having bad cell service up there and more important, the cloud cover wreaked havoc on our GPS units. In one instance, even my Racepak dash was confused and saying I was going 500mph.

Hotlap data on my fastest lap - 1:44:630s 
Overall I'd say the track is a lot of fun but you really have to respect it or you might brown your pants. I'll probably go back again but exercising an equal amount of caution as I did today. I was hoping to get some good video using TrackAddict and the GoPro but the GPS issues caused all kinds of problems and all I was left with was the raw video. Thankfully due to the overcast, you can actually read my dash for once so at least there's that.


Final laps of final session - NYST - 9-17-2018

We all had a chance to do seven 20 minute sessions but I only did six and opted to leave early instead since I saw some big clouds rolling in. I'm glad I did because right after filling up the tank, I drove through a pretty decent rain shower all the way home. Hopefully, that did wonders cleaning up my wheels. The Carbotech XP10/XP8 combo was phenomenal and surprisingly really quite fine on the street. I'm now debating just leaving them on all the time instead of swapping back and forth with stock pads. The oil cooler is working great too. Didn't see temps go past 209F at any point during the day.

Saturday, September 8, 2018

Track Ready

With just a little over a week left before the S2K Take Over Round 2 at NYST, I had to get cracking on getting Bumblestook track ready.

New front rotors and track pads on - 9-8-2018
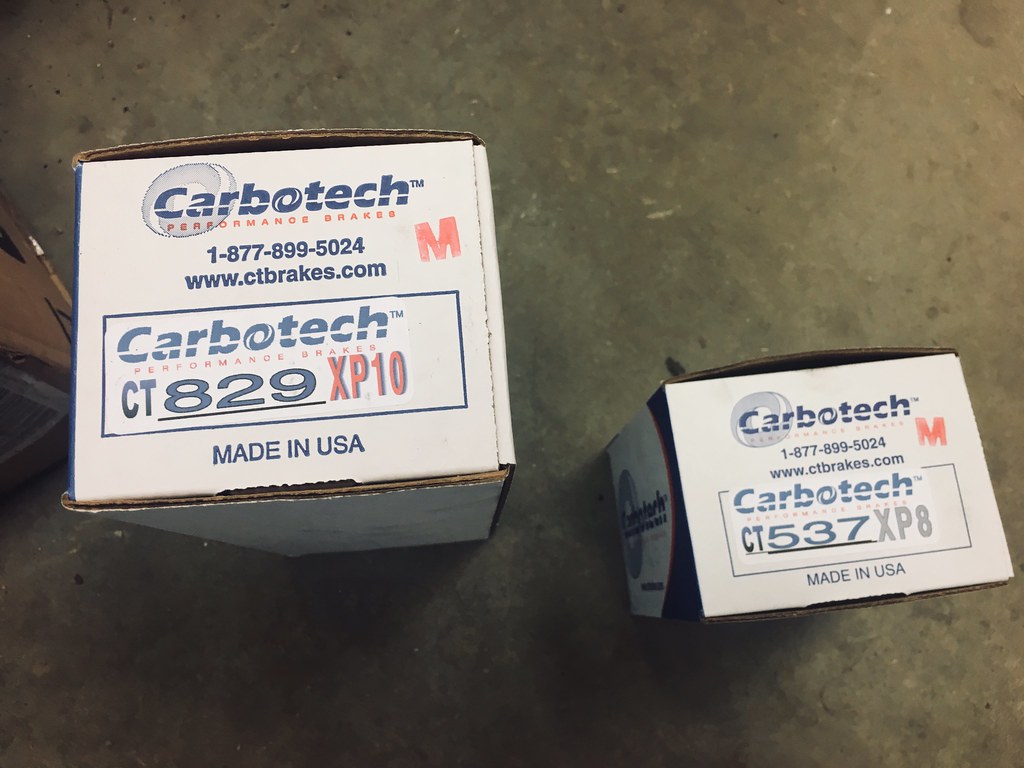
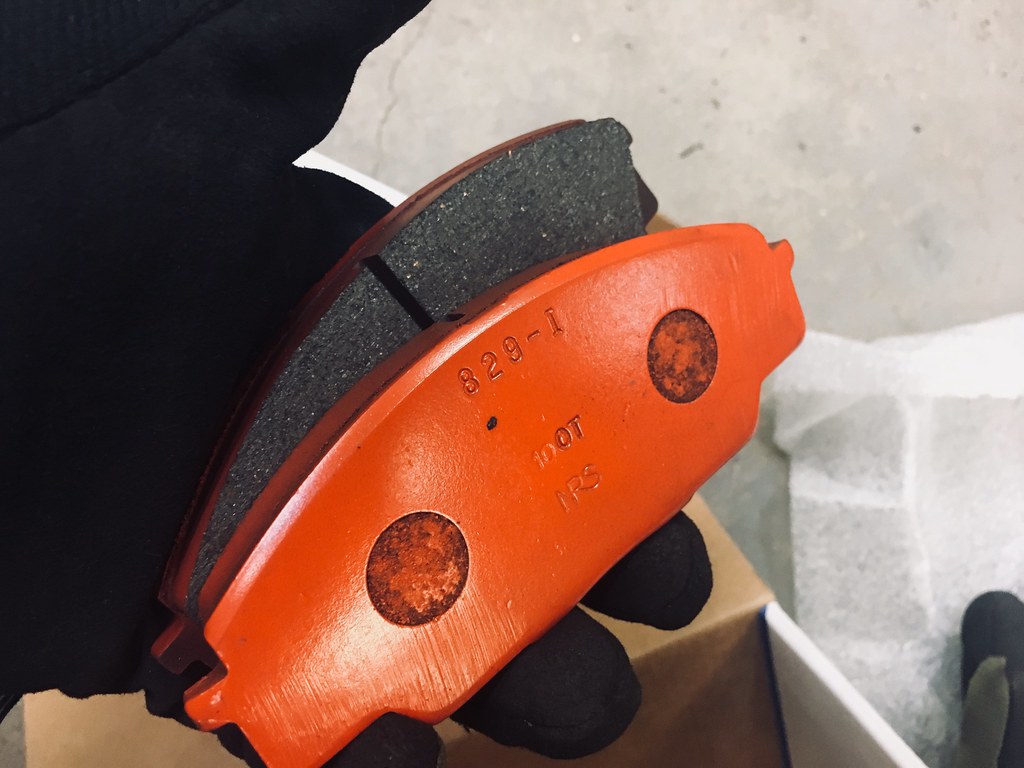
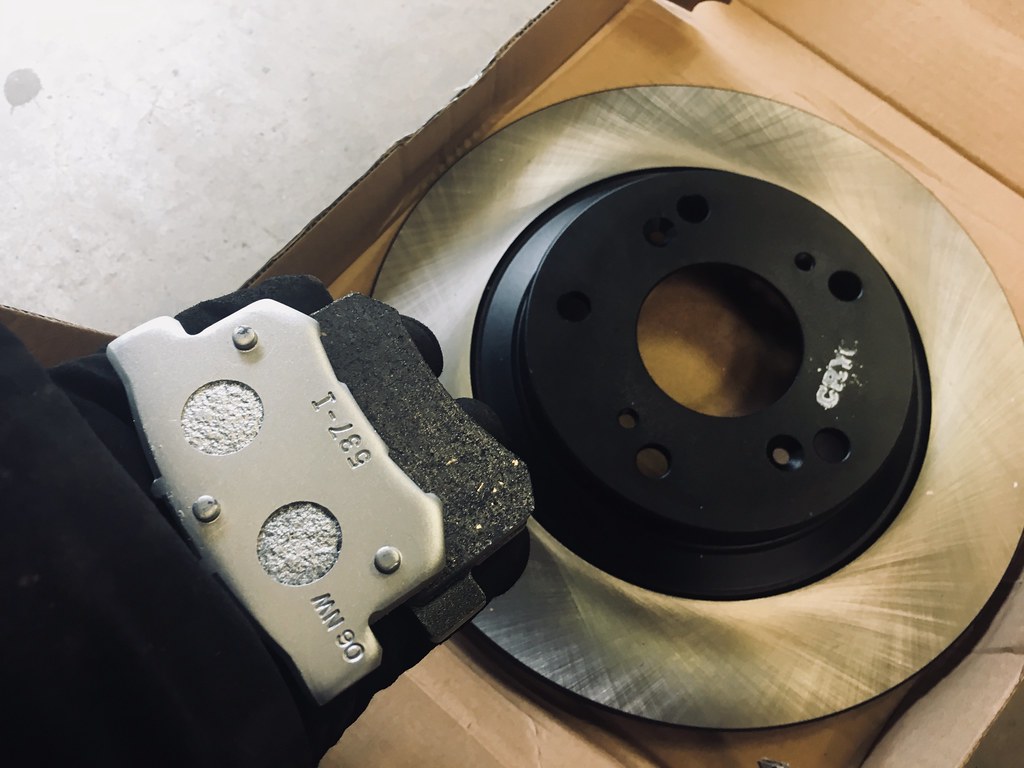
Everything's been running pretty smoothly so the only real prep left were the brakes. I opted to go with Carbotech XP10 up front and Carbotech XP8 in the rear.

Track Pads - 9-8-2018
Carbotech XP10 front pads - 9-8-2018
Carbotech XP8 rear pads - 9-8-2018
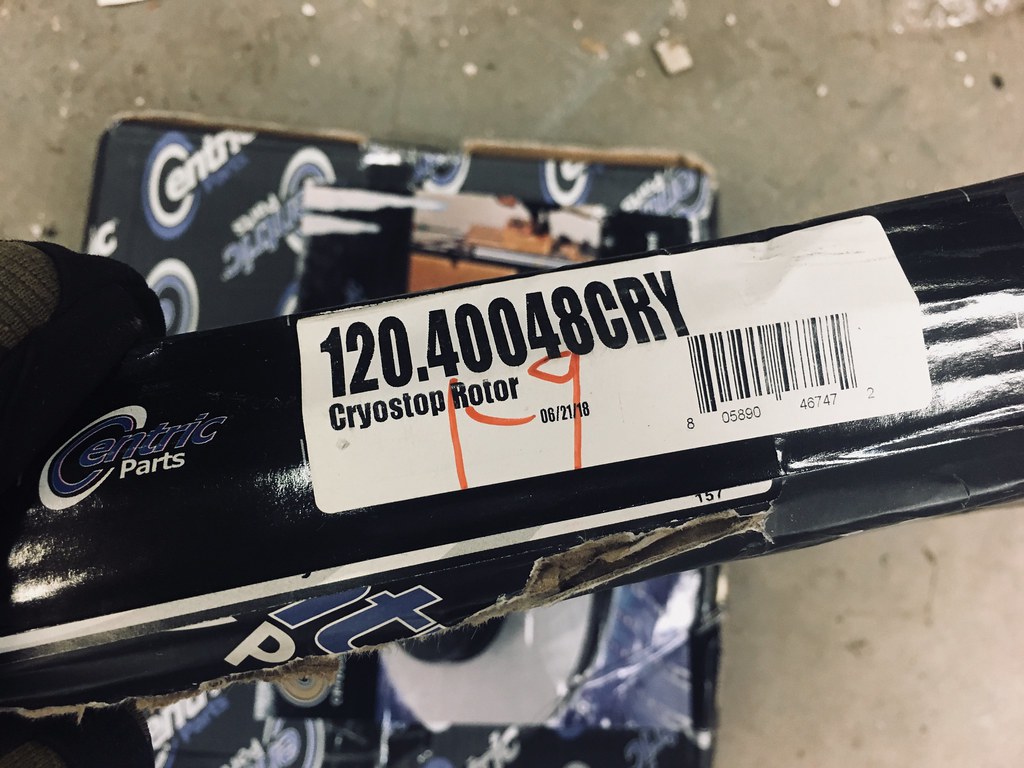
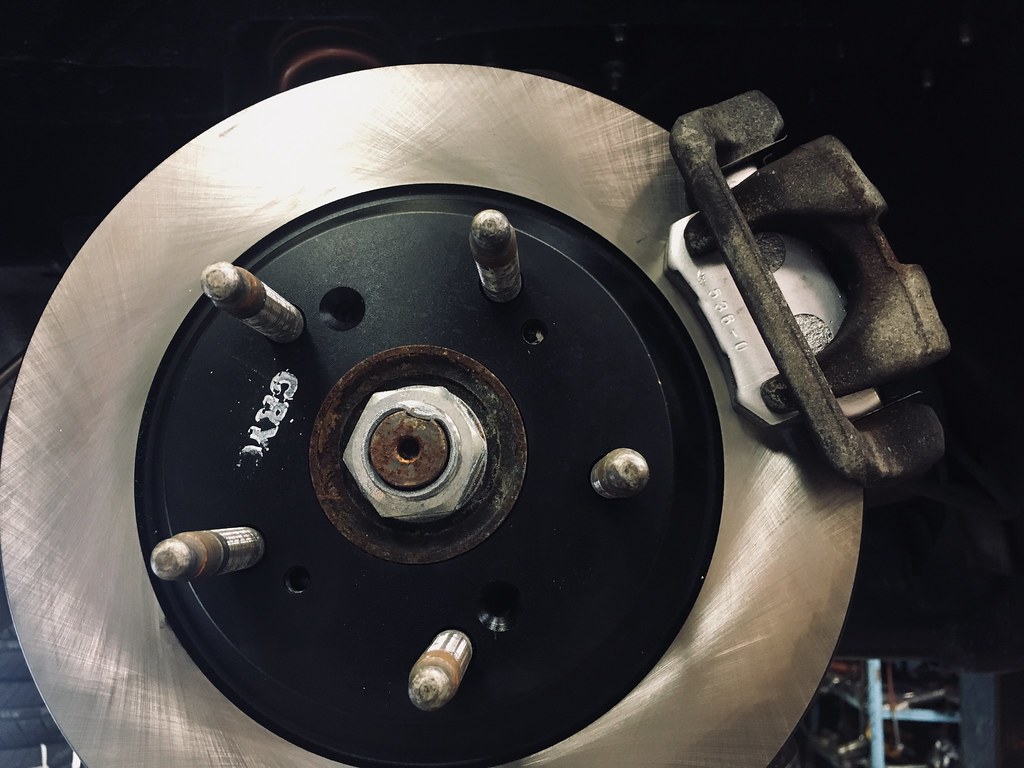
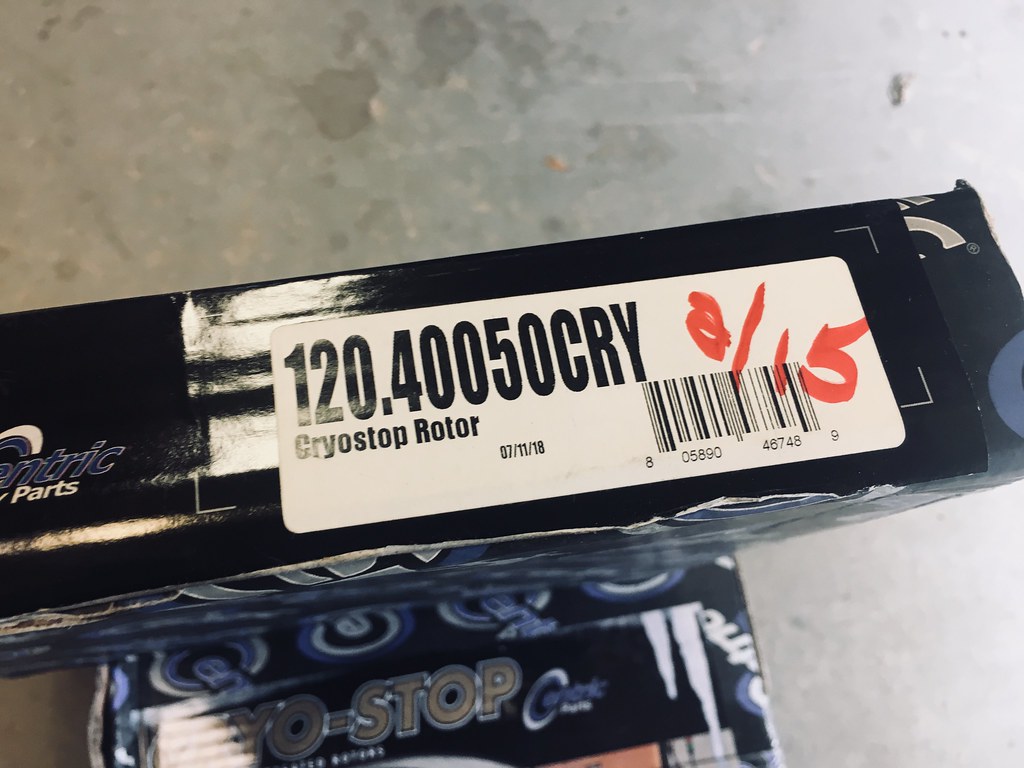
They offer great brake performance for running street tires on track and I paired them up with a fresh set of Centric cryo-treated rotors.

Centric Cryo Rear Rotors - 9-8-2018
Centric Cryo Front Rotors - 9-8-2018
Rear rotors and track pads installed - 9-8-2018
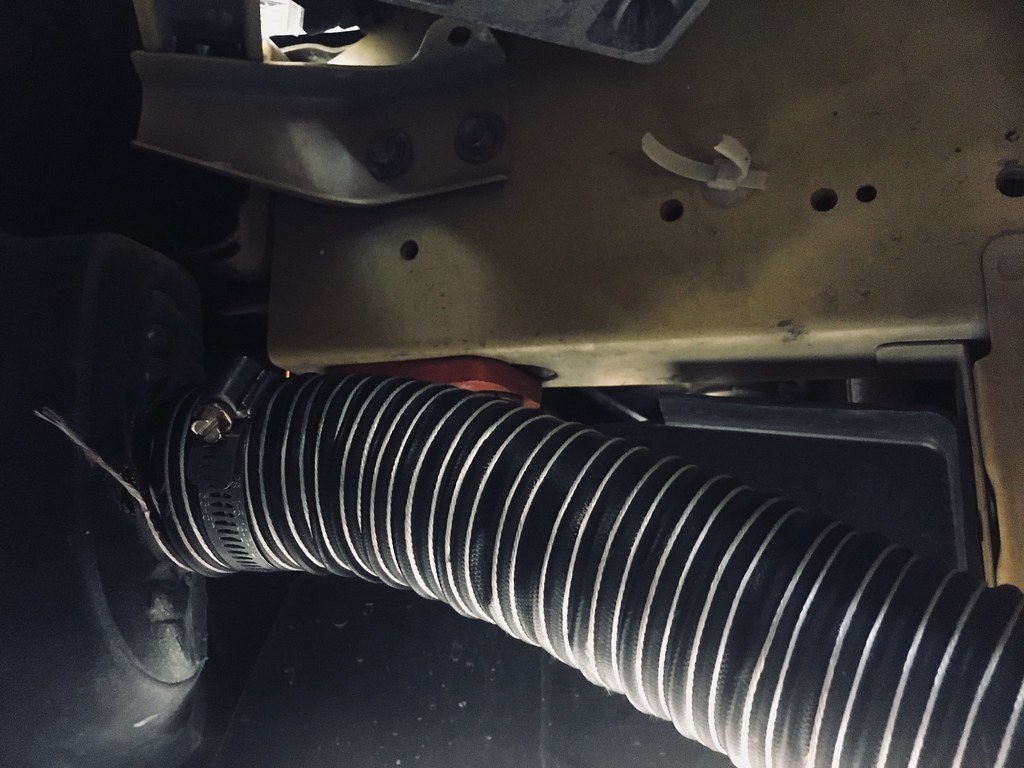
To further help with brake cooling, I finally connected the bumper brake duct inlets to the brake rotor shield. This should greatly help reduce the chances of cracked rotors.

Hose connected to brake duct inlets - 9-8-2018
Brake ducts fully connected - 9-8-2018
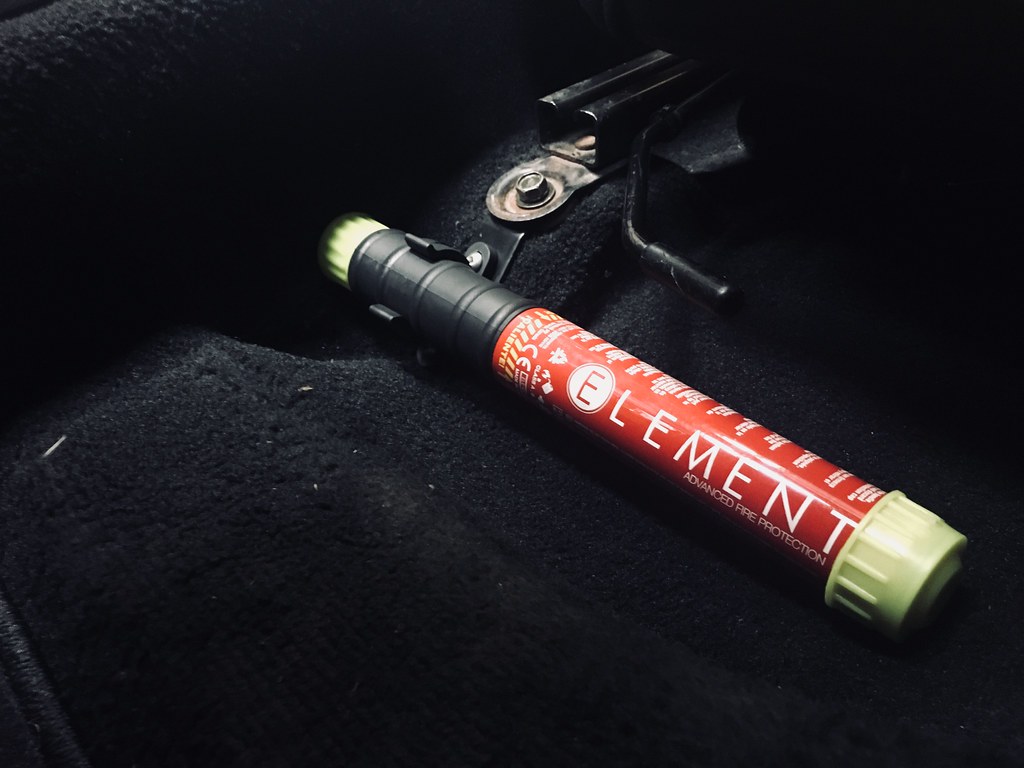
As the last bit of safety enhancement, I also picked up an Element E50 fire extinguisher and mounted it in front of the passenger side seat. Hopefully, I never have to use this but something is better than nothing in case of an emergency.


If you haven't seen this thing in action it's pretty cool and I think I might have to get one of these for each of my cars and apartment.


Sunday, September 2, 2018

Mugen Aero Bonnet

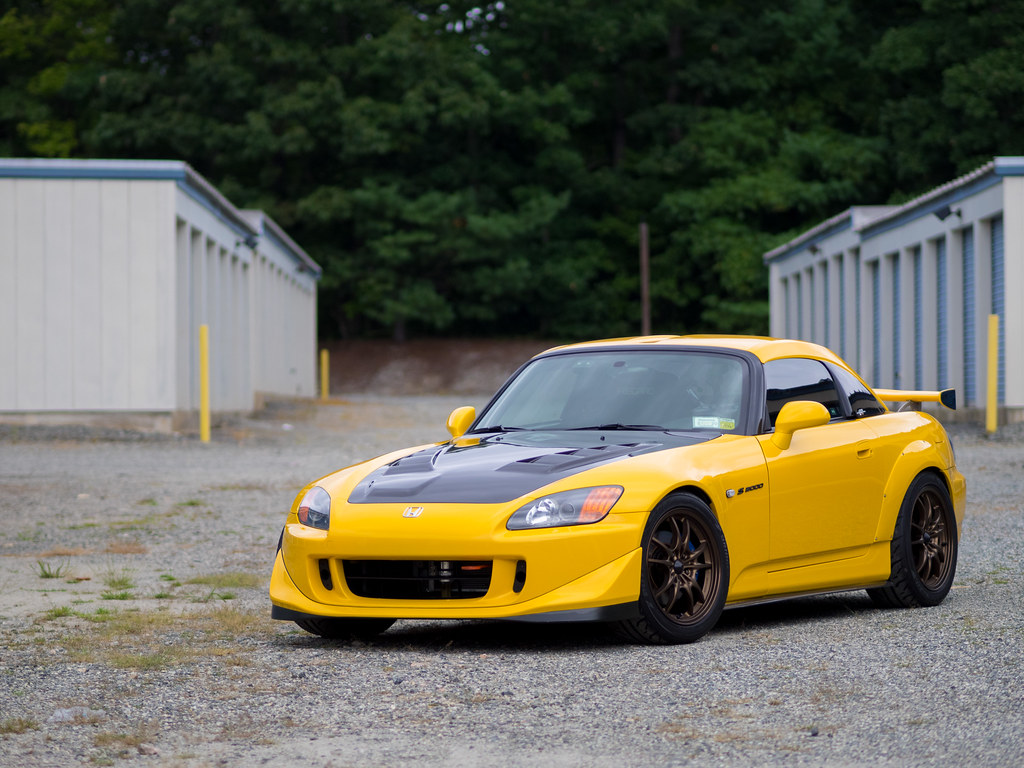
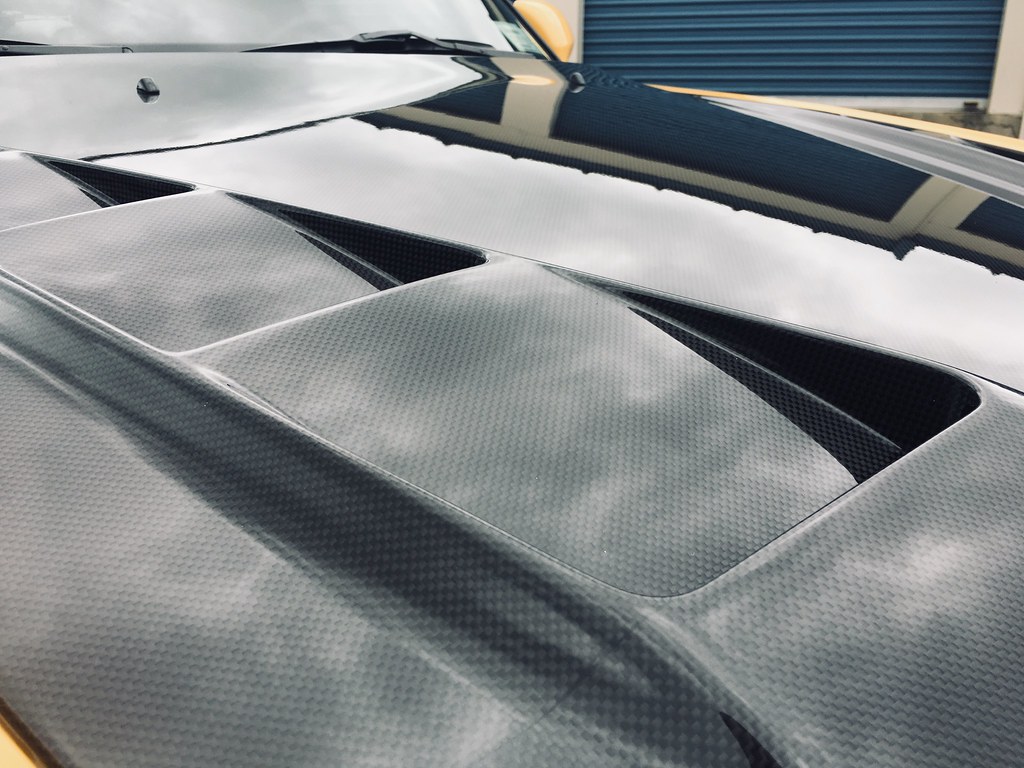
About eight months went by since I ordered the Mugen Aero Bonnet. It got fabricated, then shipped from Japan and arrived here a few weeks ago but I only had time to actually put it on today. The fitment, finish, and quality is next to none. It weighs a scant 10lbs and is designed to keep engine temps down which I was able to verify on the drive back. Bumblestook has her original color scheme back. Might not be everyone's cup of tea but I love it and that's really all that matters.

Mugen Aero Bonnet - 9-2-2018
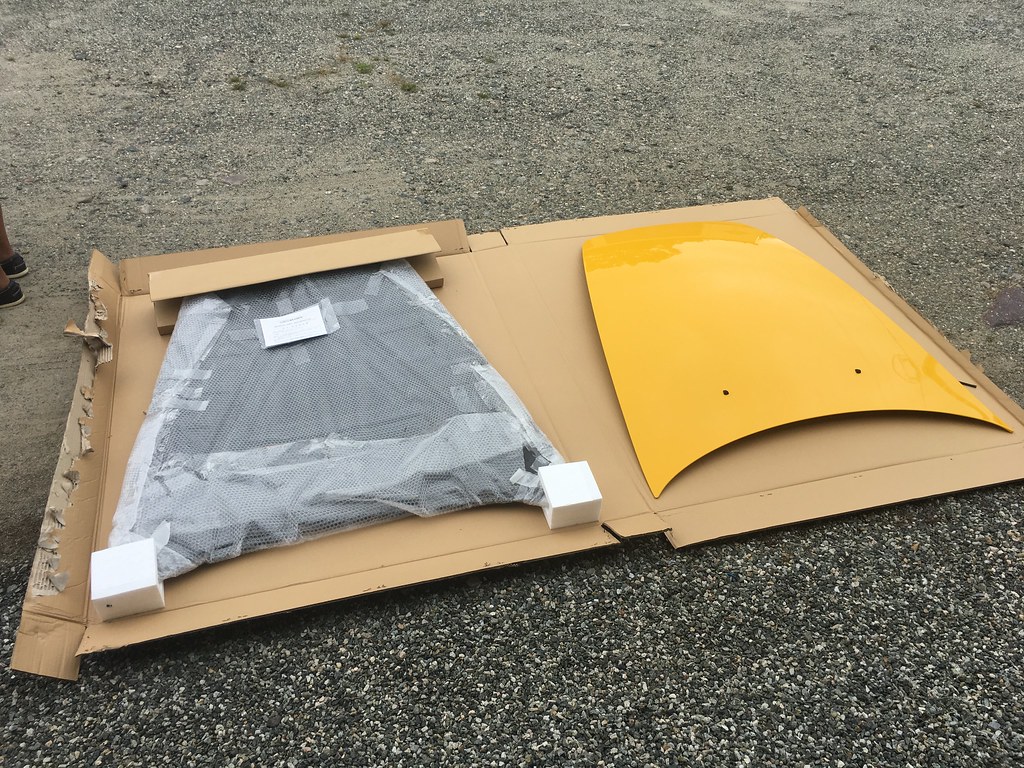
The hood was all packaged up very nicely which is nice since I was able to reuse the box to store my OEM hood for the future if I ever decide to put it back on (yea right haha).

Mugen Aero Bonnet - 9-2-2018
Mugen (left), OEM (right) - 9-2-2018
Ready for install - 9-2-2018
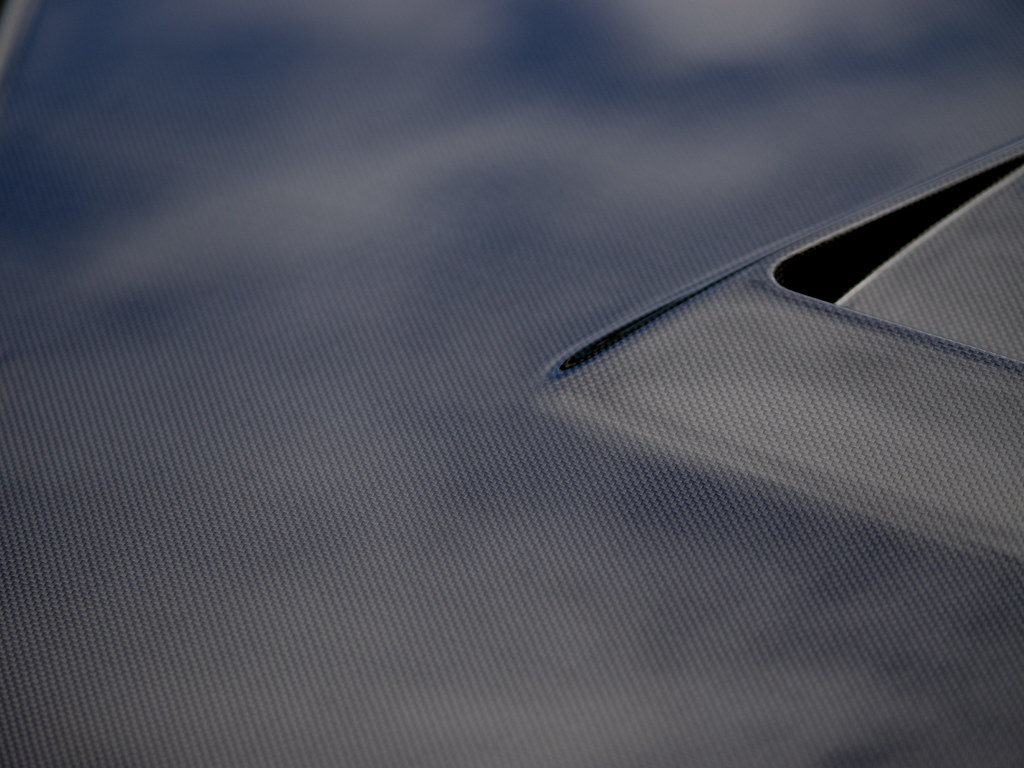
It was a pretty straightforward swap but I did have to raise the hood latch up in order for the hood to lock properly. I don't even know if photos do the hood justice but the dry carbon 1x1 weave is gorgeous.

Mugen 1x1 weave dry carbon - 9-2-2018
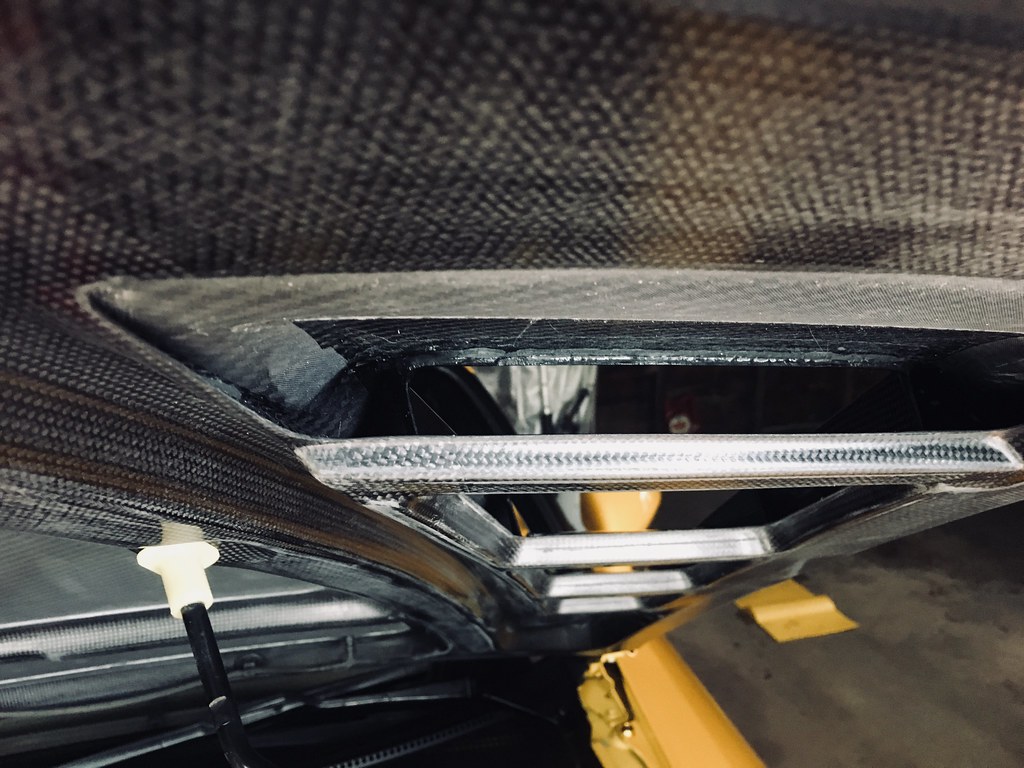
Unlike the replicas out there, Mugen thought of everything including adding rain channels to redirect the water if it rains despite the scoops being open.

Rain channels - 9-2-2018
Vented to perfection - 9-2-2018

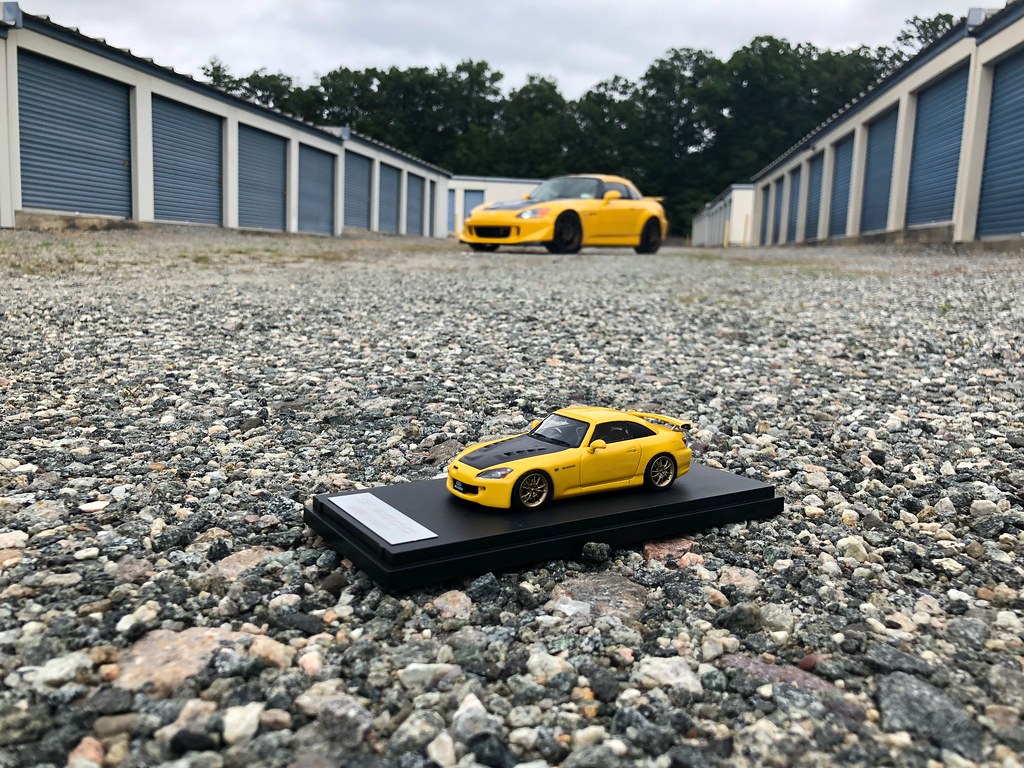
I was in Tokyo earlier this year and picked up a really nice model of a yellow Mugen S2000. I'd say that's pretty close now.

Big Boys Toys - 9-2-2018

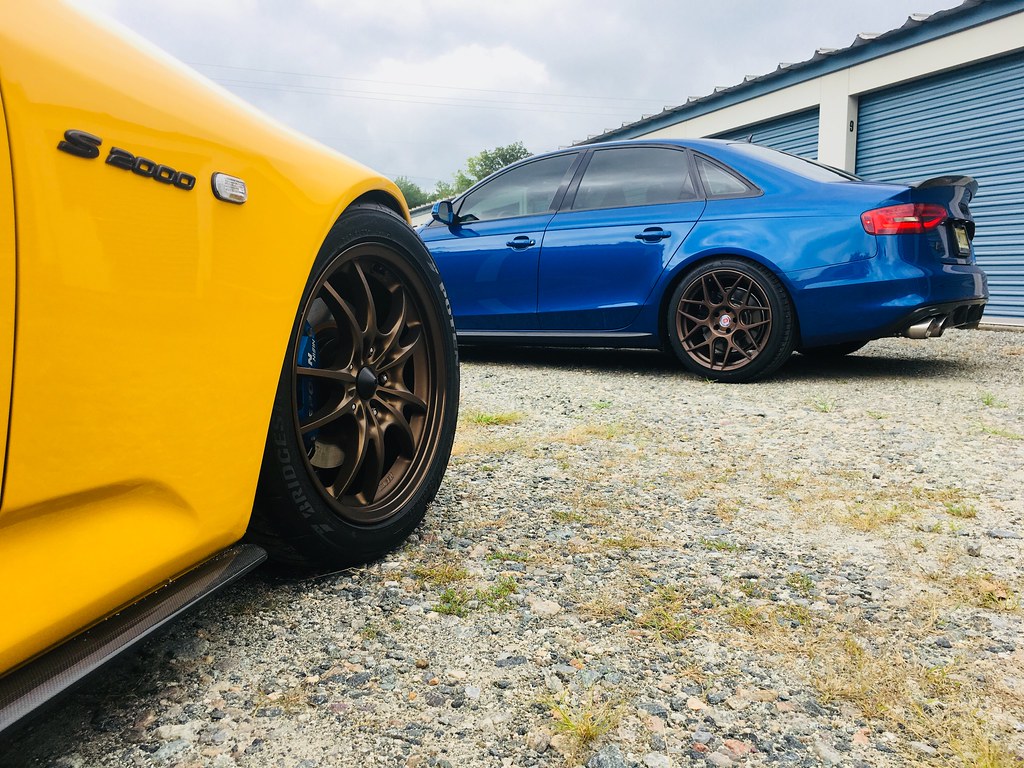
Big thanks to Alex for giving me an extra set of hands to get the hood on today. We figured we'd do a quick photoshoot of our cars while we were at it.

S4 and S2000 - 9-2-2018
Bronze wheel squad - 9-2-2018
Once we get back from the track in a few weeks, she'll go back to PeeJ so the hood can get ceramic coated as well. I think I'm going to leave it unpainted at this point. The weave just looks too good to be hidden under paint.