I wanted to get a PasswordJDM dry carbon intake (a.k.a the whale penis among the SCCA STR crowd) since we started this build but without a hood to accommodate the snorkel, it really wasn't a good option. I bought the intake shortly after I received my Mugen hood but didn't get a chance to get it installed until now. With the racing season now over, it was the perfect time to head over to SJF to work on the car before putting her away for the winter.
 |
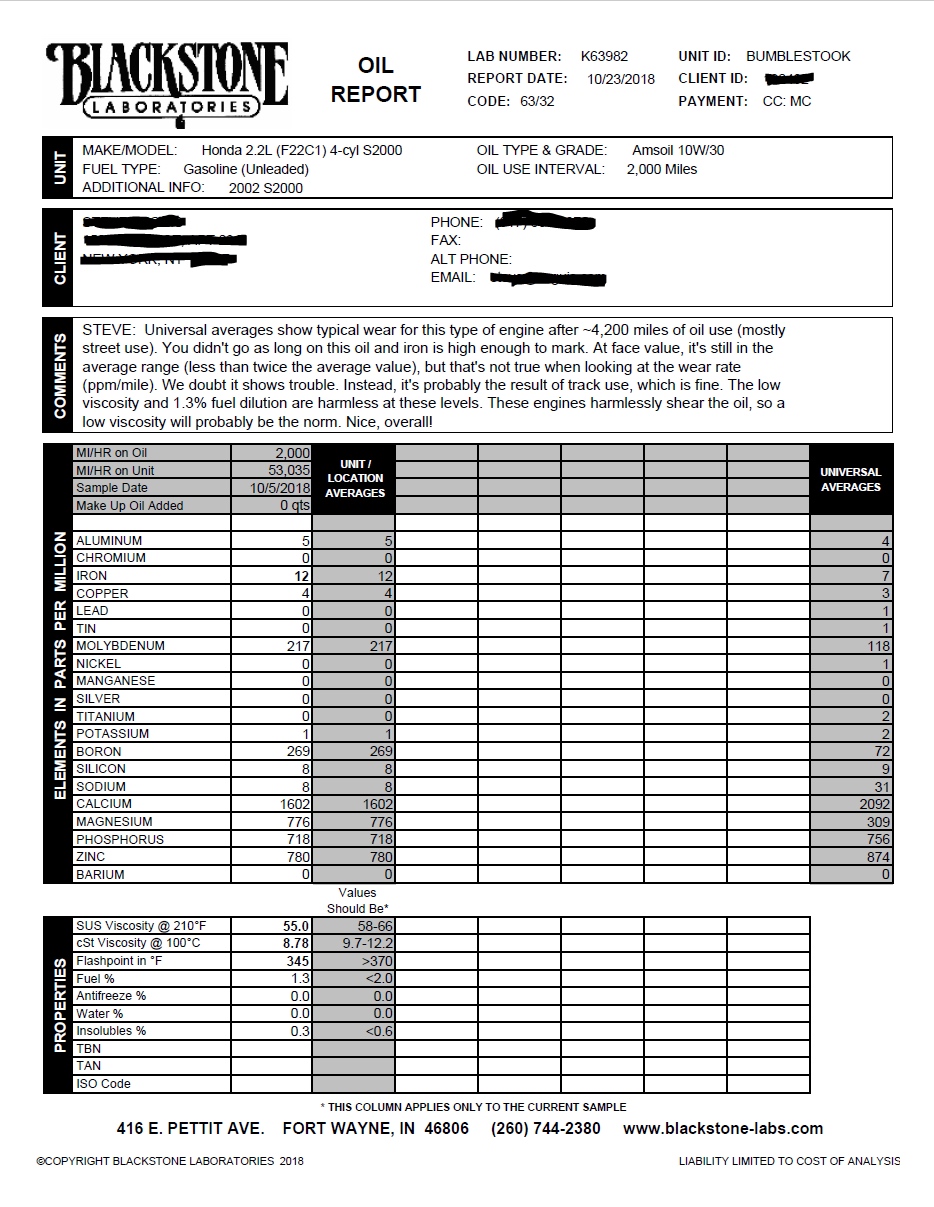
| PasswordJDM Dry Carbon Intake and Cooling Plate - 10-28-2018 |
Due to the finicky nature of this install, under normal circumstances, the install of this intake is supposed to take around 2-3 hours if you take your time. Unfortunately, this would not be the case for me since the snorkel is supposed to sit exactly where my Setrab oil cooler sits so it took us all day to get it done. We didn't really have too many options for relocating the cooler since the lines weren't long enough to move to the other side. We eventually settled on simply lowering it and moving it closer to the AC condenser. Removing the driver side bracket allowed for the cooler to be screwed directly onto the radiator support. For the passenger side, we were able to reuse the mounting bracket but SJF had extend it to reach the cooler's new location. The horn had to be moved to the other side and extend the wiring to reach it.
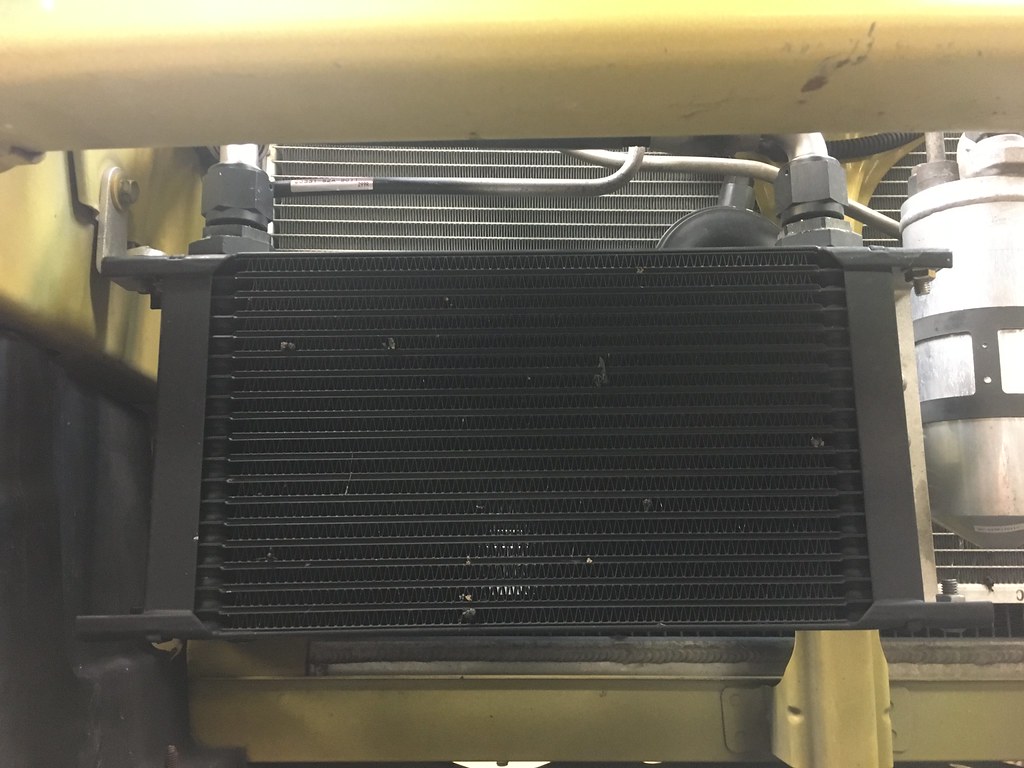 |
| Old cooler location |
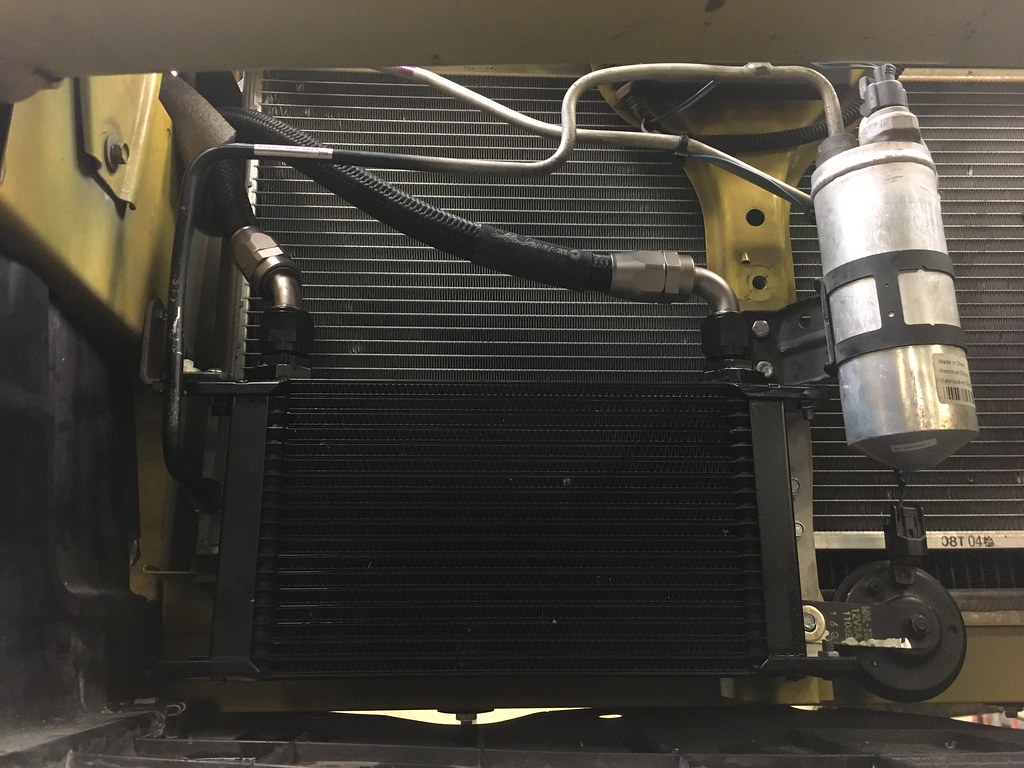 |
| New cooler location |
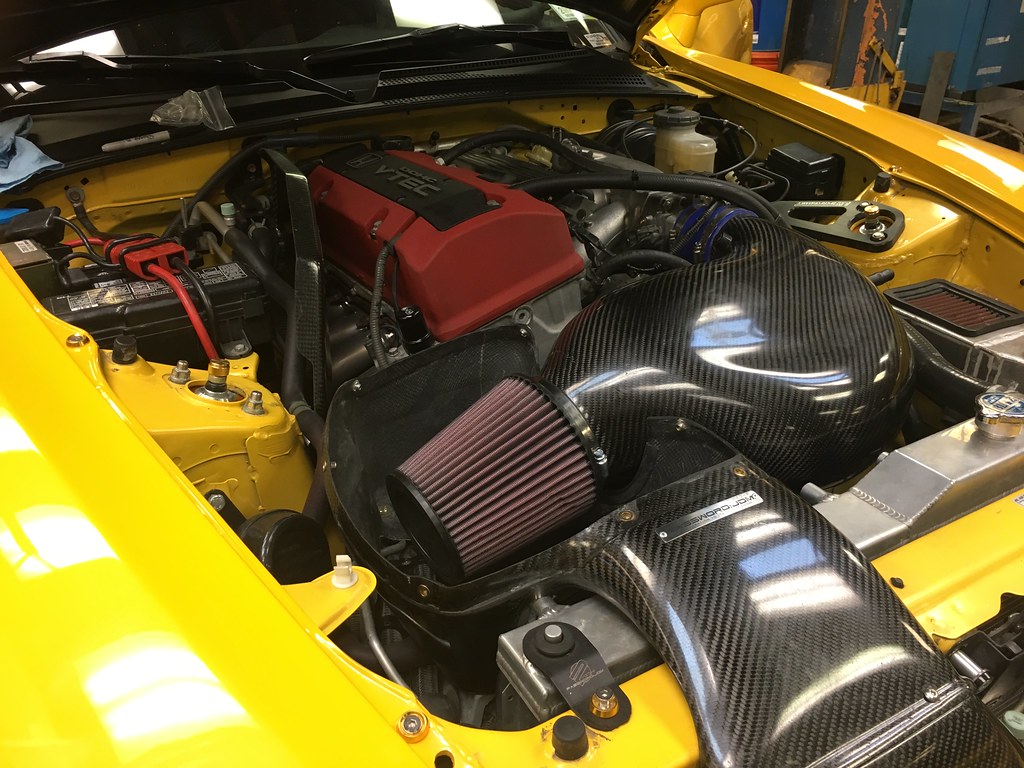
Now that the cooler was out of the way, the snorkel was able to be installed in the correct location to perfectly suck in cold air right from the bumper opening.
 |
| Snorkel installed |
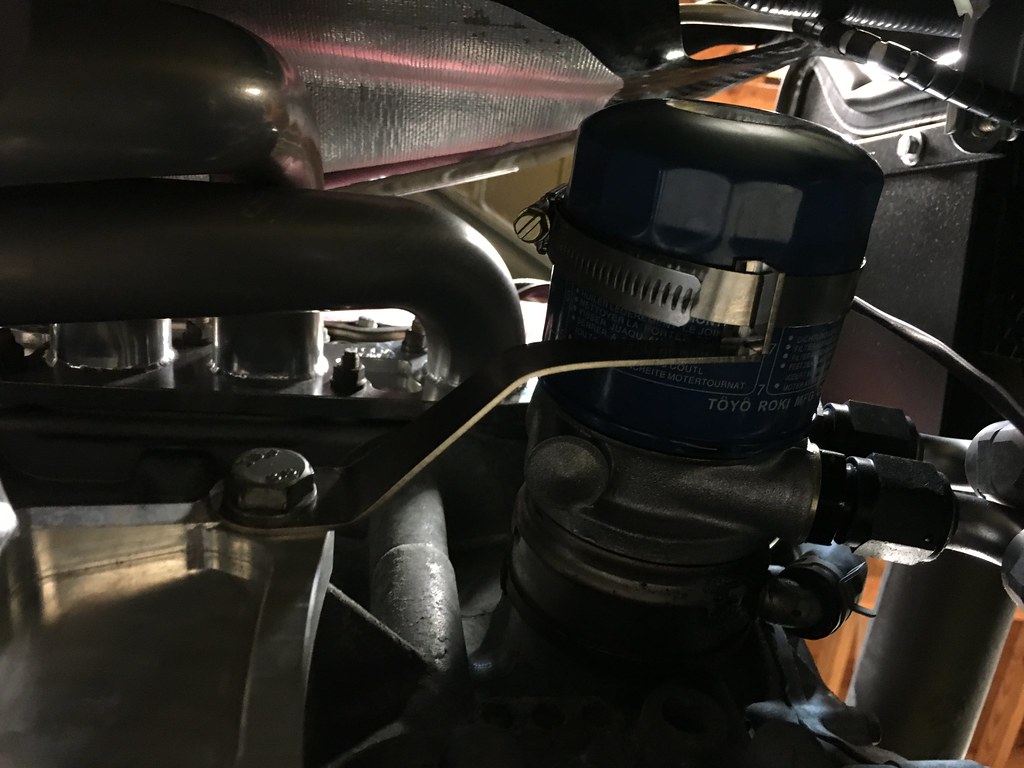
The next bit of trouble was the oil cooler lines. We routed them this past winter over the frame cross member because there was plenty of space there but unfortunately for today's install that's also exactly where the bottom of the intake chamber was supposed to sit. Rather than relocating the lines, I opted to just cut parts of the bottom of the intake chamber for clearance. I'm already getting nice cold air via the snorkel and I'm not getting any heat soak from the header due to my vented hood anyway so there was really no performance hit by doing this. My extra large radiator also caused fitment problems and we had to trim some of that intake on that side too to clear the mounts for the radiator fans. The fitment of the two intake chambers wasn't that great either. We had to trim the opening to allow the two parts to fit together without interference and after a few hours of slowly trimming, we finally got it fitting properly.
 |
| Intake chamber trimmed to fit. |
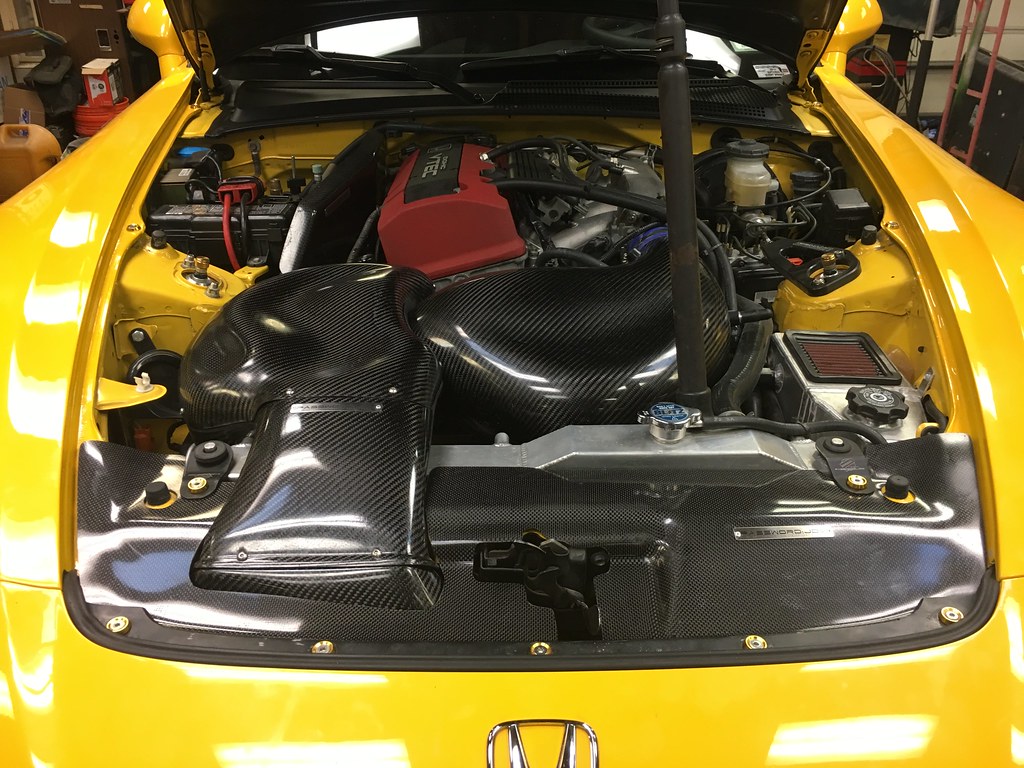
We got the intake cover on and after playing around with the dry carbon cooling plate with the cut out specifically for this intake, we finally got the hood to close. The top of the intake chamber just touches the frontmost vent on the Mugen hood but it's not really a problem. The other downside of this intake is that you can't use the stock hood prop anymore. I could use hood struts but with the Mugen hood weighing close to nothing, it's not really recommended.
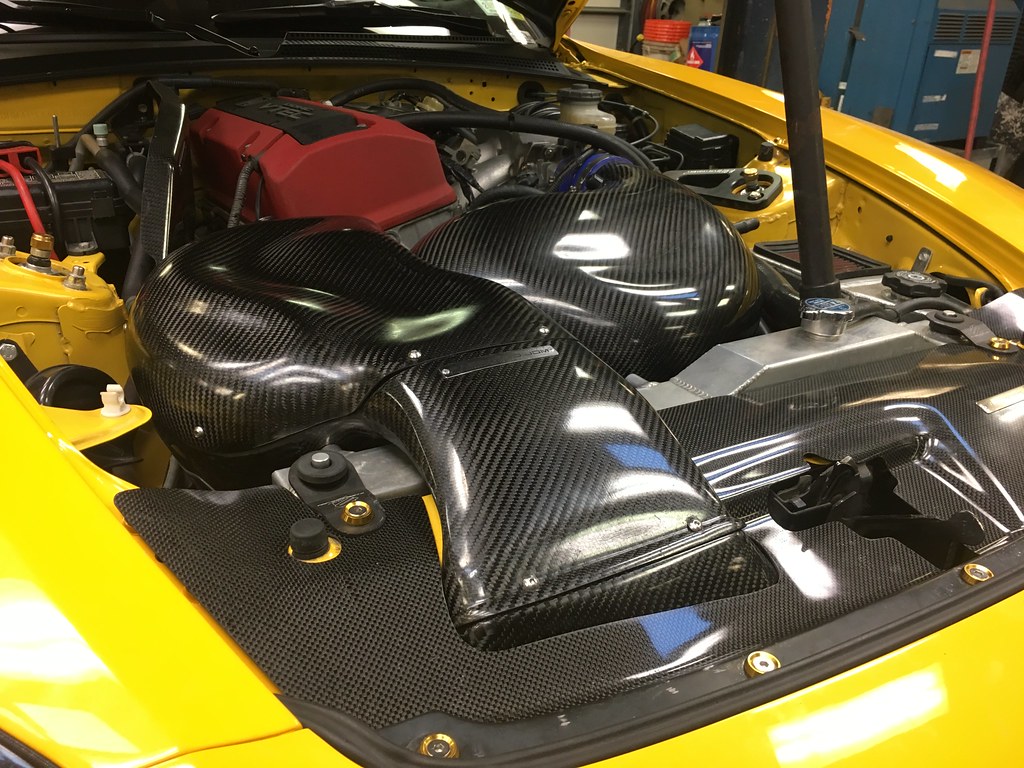 |
| Everything fitting perfectly now - 10-28-2018 |
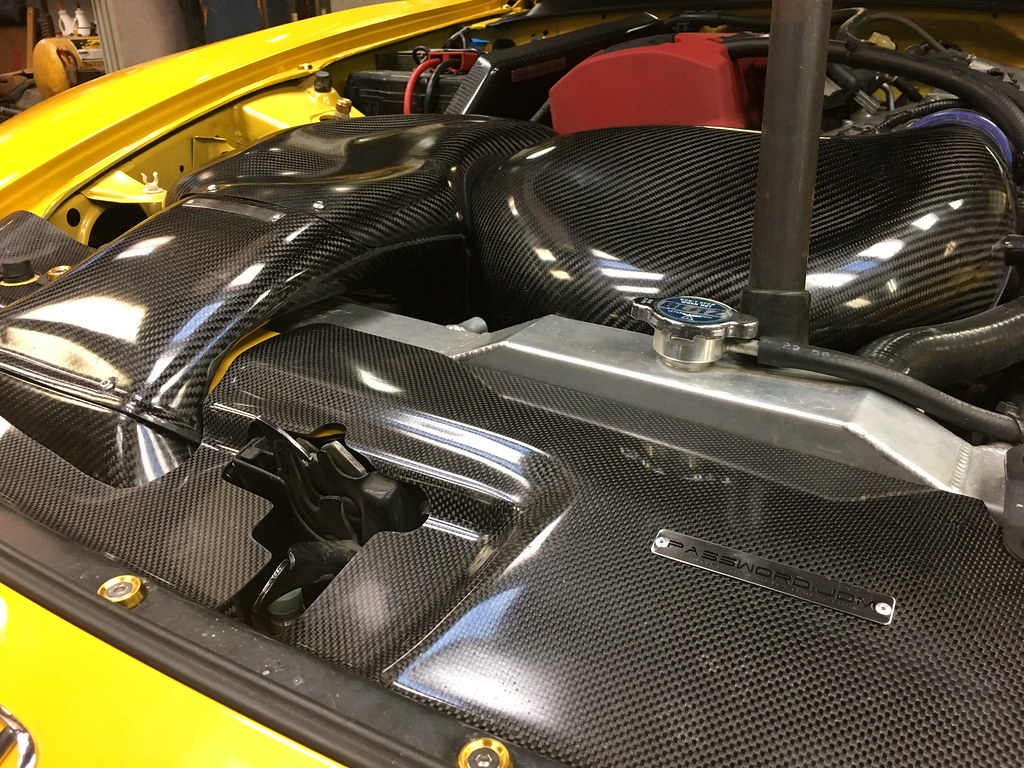 |
| Password JDM dry carbon cooling plate - 10-28-2018 |
The final challenge was putting on the bumper again. The right side of the snorkel actually hits part of the grill so that needed trimming as well.
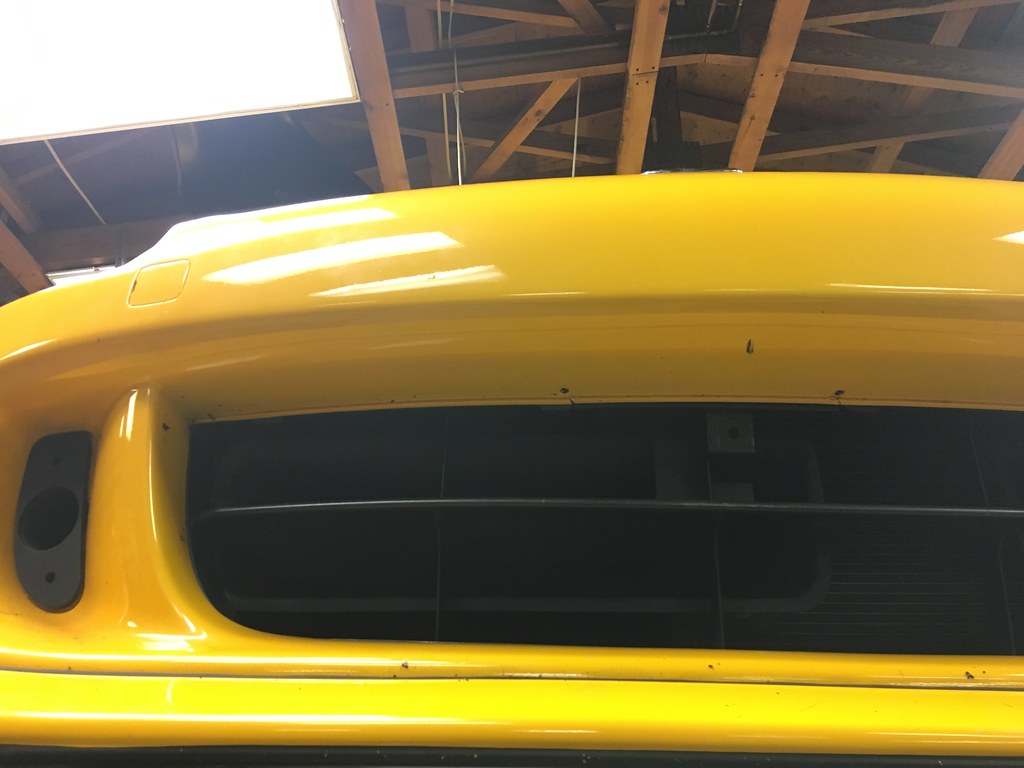 |
| Snorkel behind the trimmed grill - 10-28-2018 |
This whole day was pretty much an exercise of patience. Measure, trim, fit, remove, measure, trim, fit, rinse and repeat to satisfaction. Big thanks to
SJF Performance for putting up with what will forever be dubbed "The Intake Install from Hell". I'll have to go back on the dyno to measure the difference but my butt dyno definitely felt a difference on the drive home with the nice cool air rushing into the intake. In VTEC it also sounds really great!
Other miscellaneous fixes today included tightening the brake cylinder brace that somehow vibrated itself loose and tightening up the slack on the throttle cable.