Since it seems shipping AC hoses is hard (or at least it's hard to find a competent seller), finishing up the engine bay work where really only thing left is the AC is going to have to wait for another week. In the meantime we focused on starting the buttoning down process and getting to the little details that take up lots of time but are important to this build.
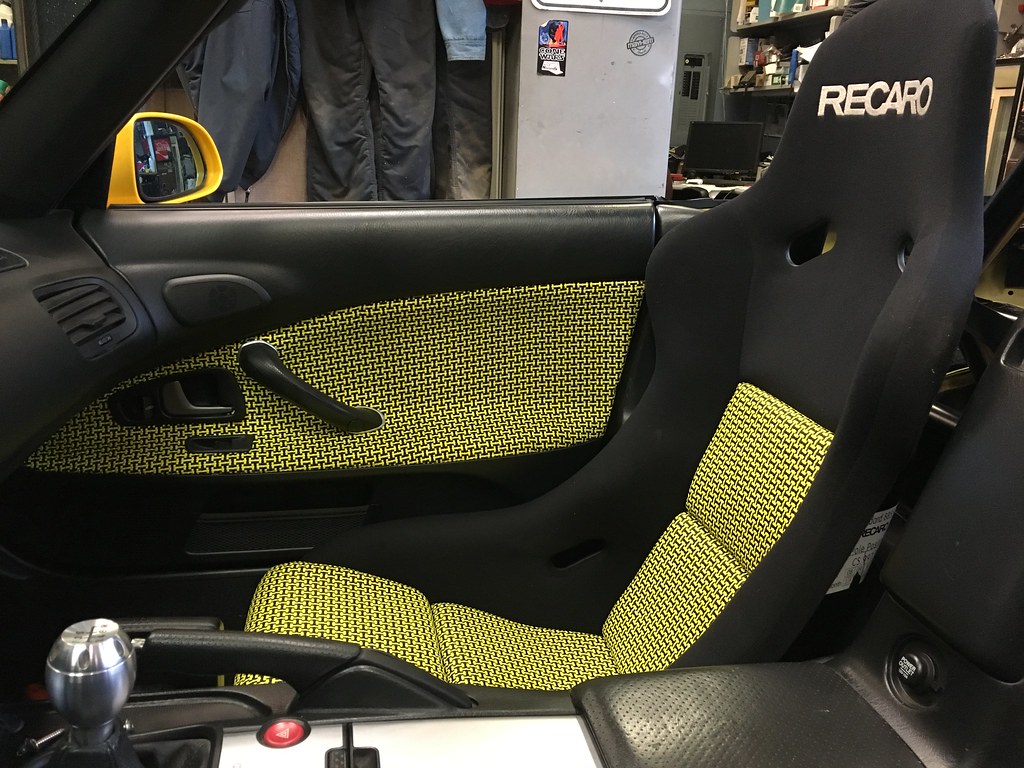 |
| Reupholstered AP2 door panels and Recaro Pole Position - 2/25/2018 |
First up, I finally got my AP2 door panels and center cushions for my Recaro Pole Positions back from the upholstery shop. I think they did a really good job. On the door panel they didn't just lay the cloth over the leather. Instead, it was completely stripped and new foam added. Same was true for the seat cushions. They were all redone to give it a new firm feel. The cloth I chose for those that don't recognize it is Recaro Tomcat yellow and black. It's definitely not for everyone but the color scheme is a throwback to the JDM interiors of the late 90s. It's actually a shade or two lighter than the car color but I see the interior as a different "zone" from the exterior and the color matches well with the black and yellow Schroth Racing 6-pt Clubman harnesses.
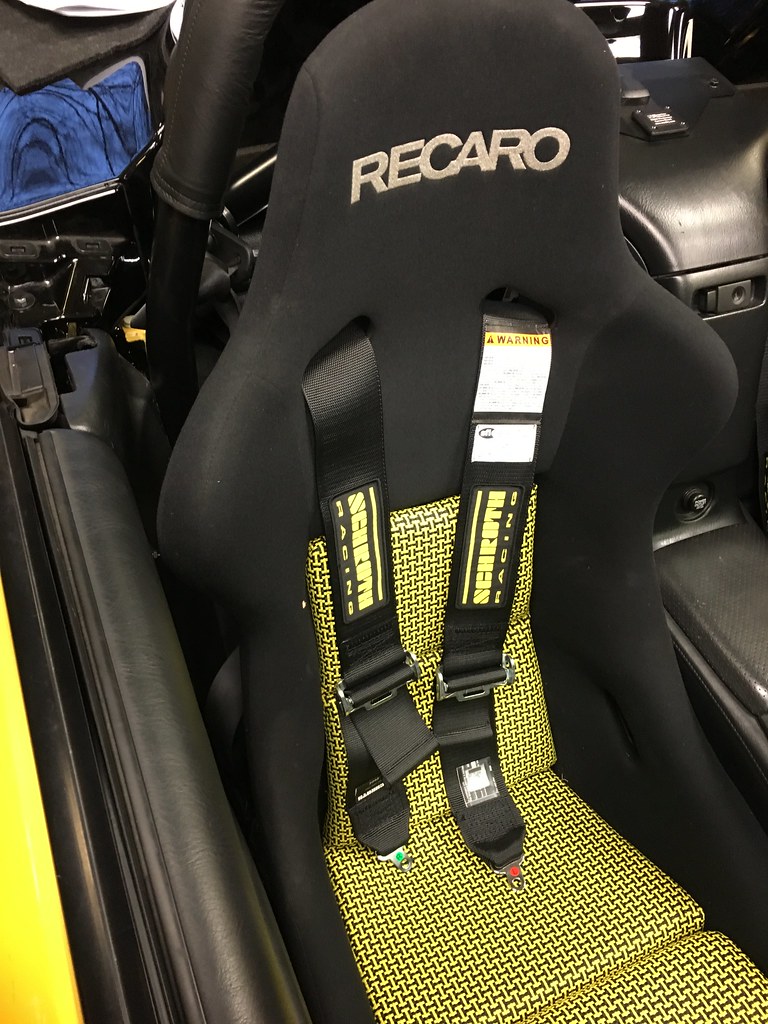 |
| Schroth Racing Clubman 6-pt harnesses - 2/25/2018 |
We only test fit the door panels and seats. We'll probably leave the seats and panels out until after the body shop paints the car so they don't mess up the new cloth. The reason for going AP2 door panel is because the AP2 panels give you a bit more elbow room and a more functional little "pocket" to put little things. I took the opportunity to add some strips of sound deadening inside the door while I was swapping panels. What a difference it makes! The door now gives a solid thud when you close it.
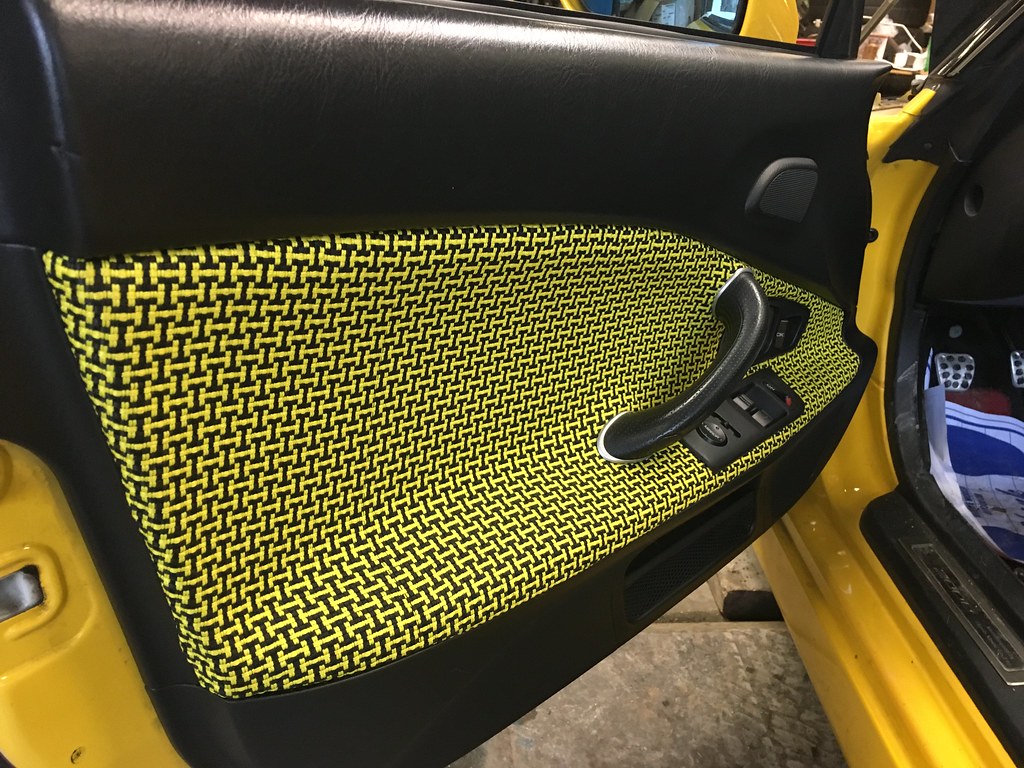 |
| Test fit driver side door panel - 2/25/2018 |
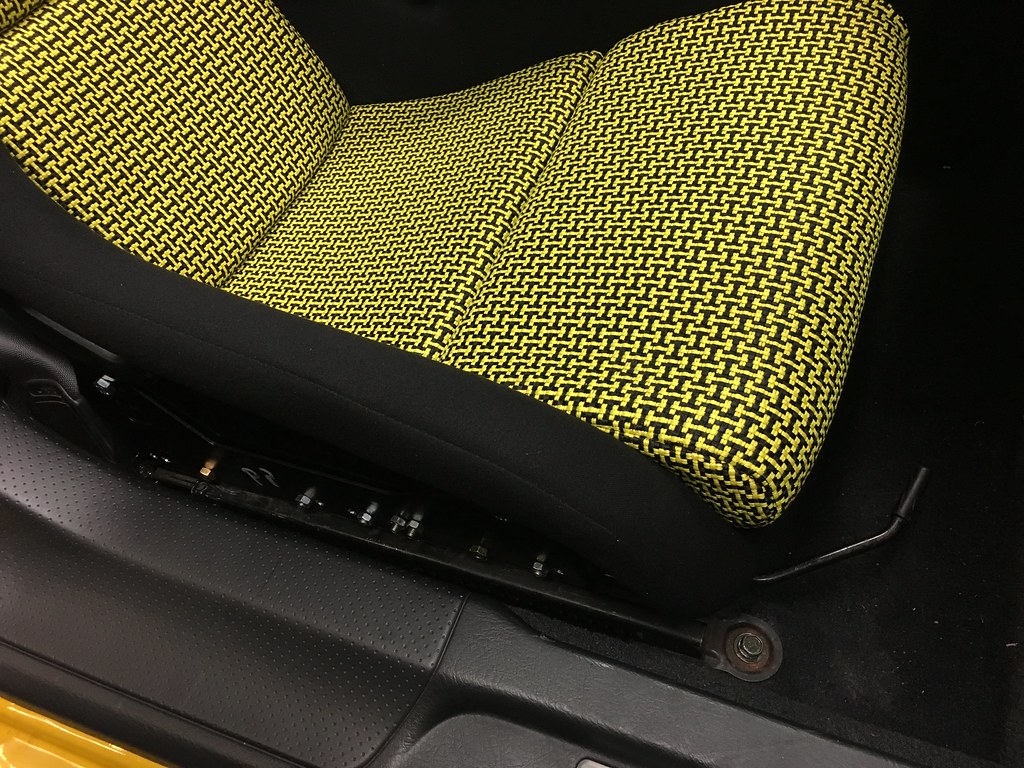
The thing I was most excited about today though was
SJF completing one of the modified OEM seat rails. I bought a pair of used OEM seat rails and he drilled out the stock mounts and bolted on straight side mounts. This is a perfect fit for Recaro Pole Positions and the seat sits nice and low while retaining the full smooth gliding range of motion of stock seats. This is probably my most favorite mod of the build so far. Frankly all S2000 seat rail solutions for Recaro Pole Positions suck and this gives you the best of everything. You'll notice some missing bolts in the photos. SJF completed the mock up today but we had to order a bunch of new Grade8 bolts to complete both driver and passenger sides.
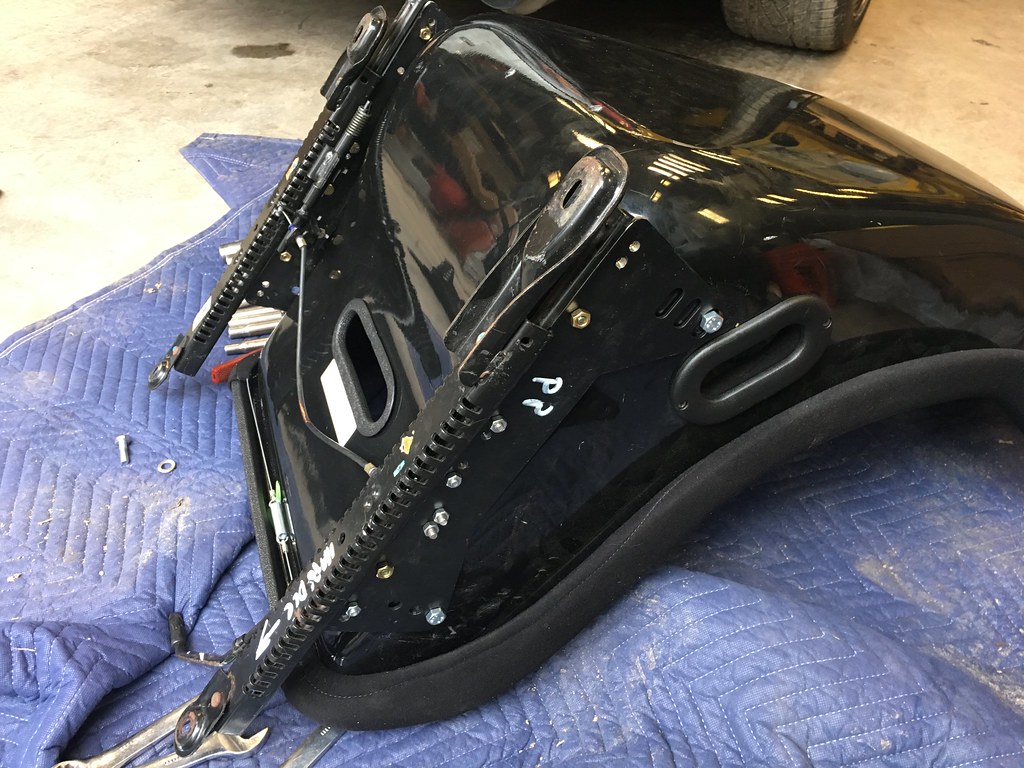 |
| Test fit modified OEM rails to Recaro Pole Position - 2/25/2018 |
 |
| Passenger side modified OEM seat rail mounted - 2/25/2018 |
On the interior, we also added a pair of 2.1A USB ports to the back of the glove box so I can run power to a GoPro or anything else that might sit in the rear of the car without having a bunch of wires coming out from the arm rest.
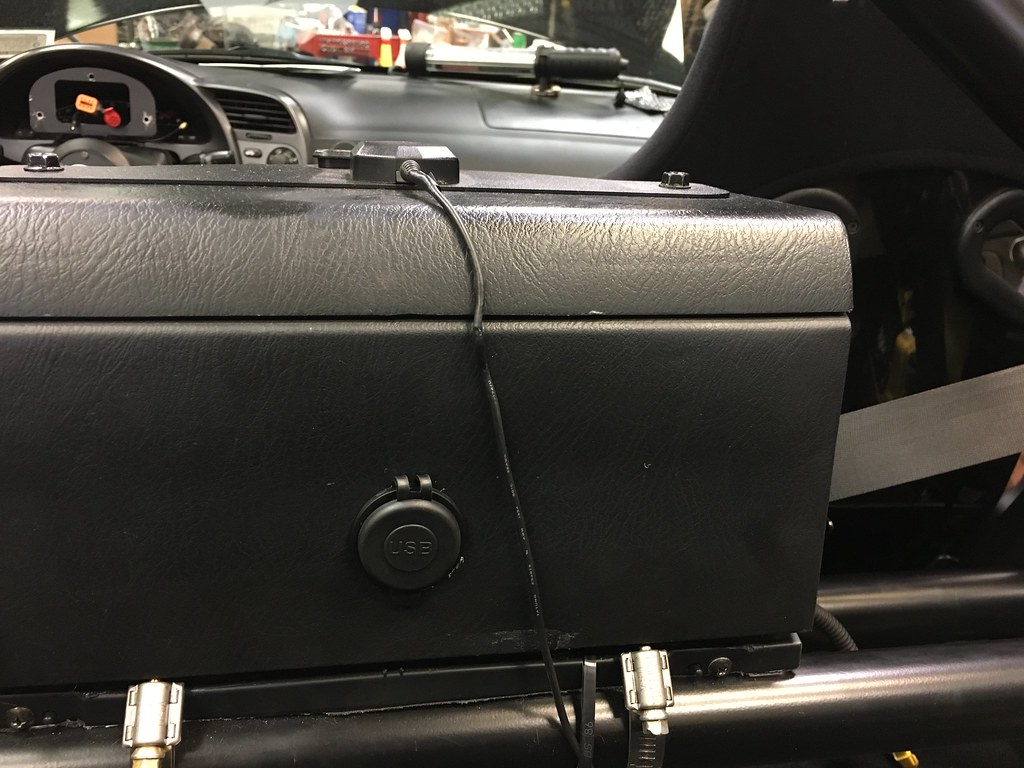 |
| USB ports added to rear of glove box - 2/25/2018 |
I also got rid of the soft top switch since I don't have a soft top and replaced it with the OEM soft top delete plate from a CR. All the interior panels for the trunk was also reinstalled although I guess I need to buy a ton of clips to replace broken/missing ones.
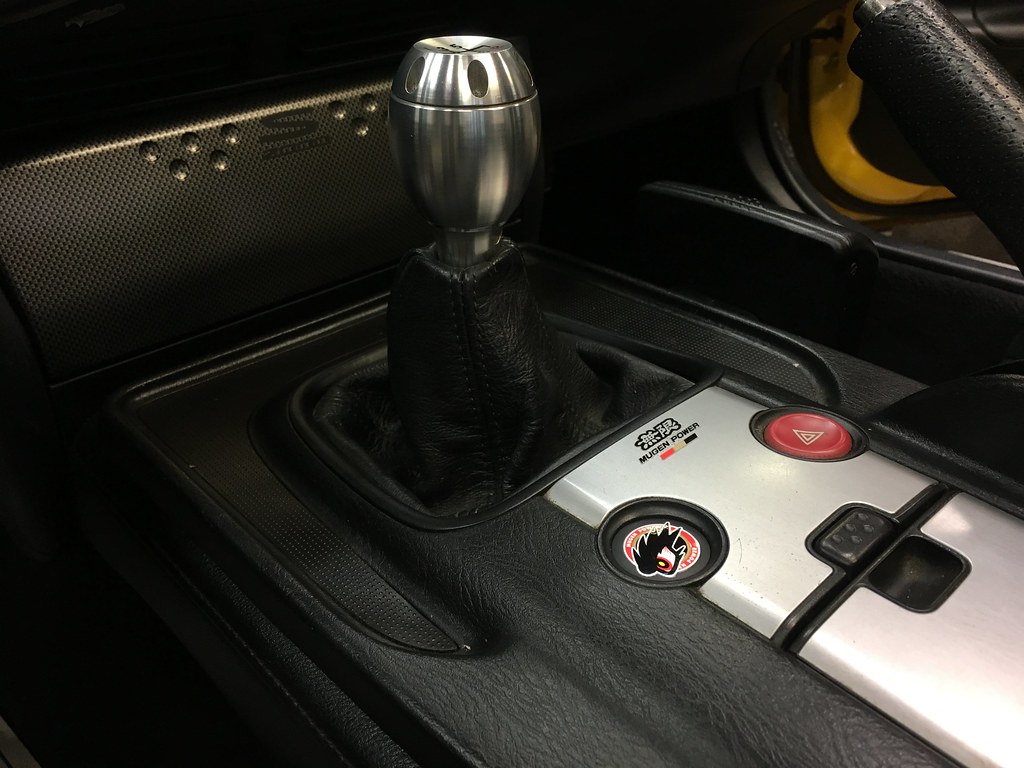 |
| CR Soft Top Delete plate installed - 2/25/2018 |
The other major job for the day was to get the Downforce wide oem-style front fenders installed. Although the driver side holes didn't line up perfect. After some adjusting of the headlight and a little slotting of the mounting holes, both sides went in great and fitment was pretty damn good for an aftermarket fiberglass piece. We only temporarily put the front bumper on with no fasteners so pictures below don't accurate depict bumper fitment but I wanted to see how the car would look once all the panels are fully installed. I think it's going to look really good once it's painted.
 |
| Downforce +30mm OEM style front fenders installed 2/25/2018 |
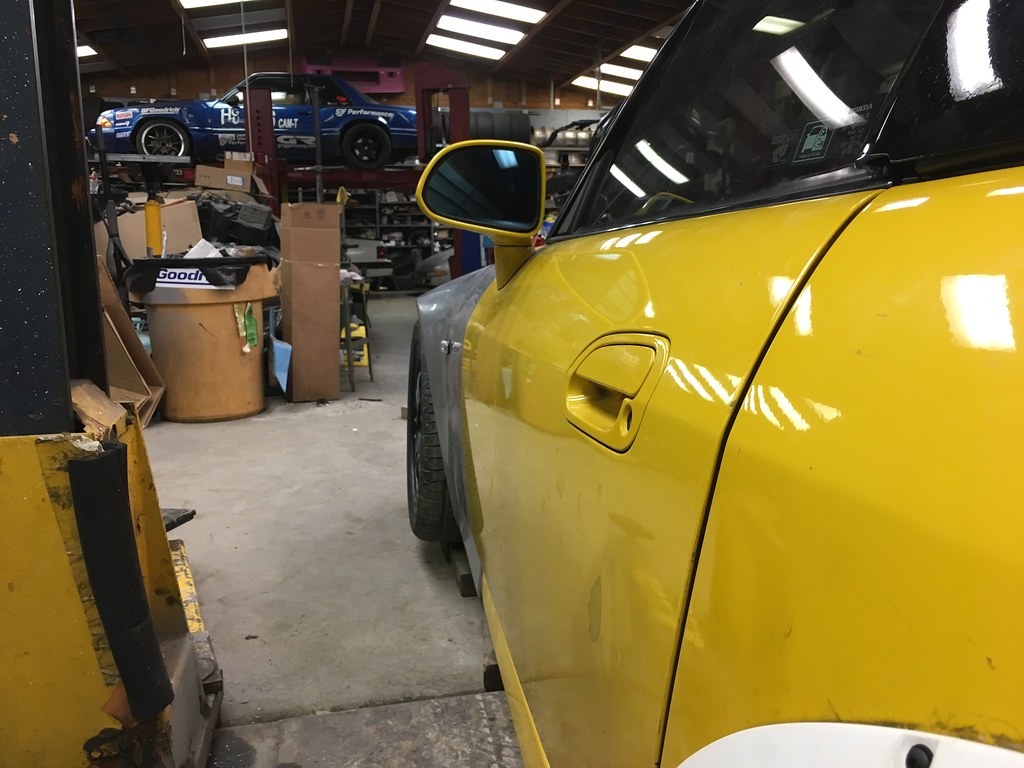 |
| Downforce +30mm OEM style front fenders installed - 2/25/2018 |
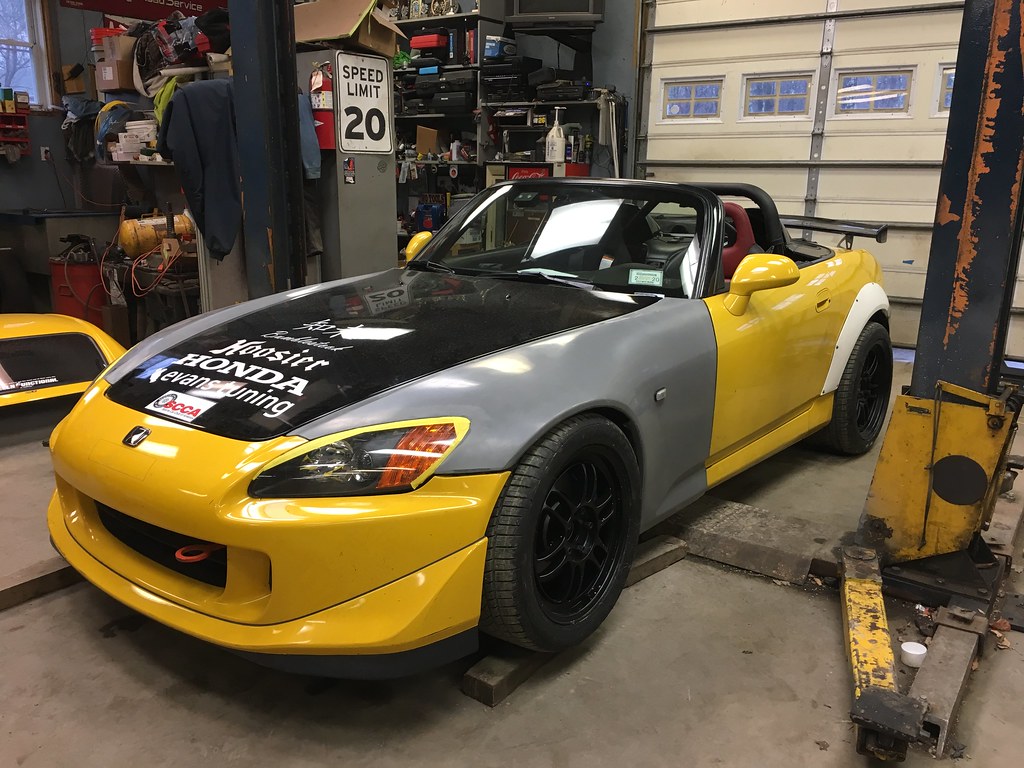 |
| Checking overall fitment - 2/25/2018 |
Finally, I got some new stainless black oxide bolts and washers for the rear overfender as my old bolts had started to show some signs of rust. Just noting the sizes here for future reference.
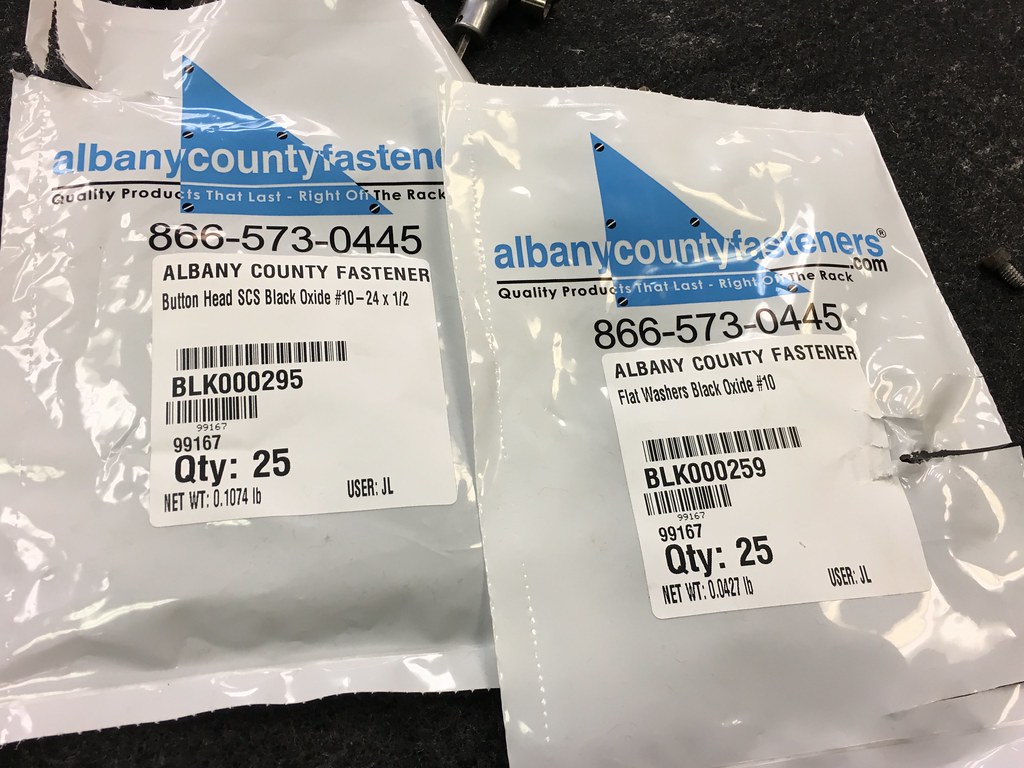 |
| New fasteners for rear overfenders - 2/25/2018 |
No comments:
Post a Comment