Saturday, June 9, 2018

Ready For A Shakedown

Just shy of 5 months since this build started, we're finally done. Let me qualify "done" since cars like this are never really "done". My goal was to have her mechanically sound, resprayed and ready for a proper shakedown at an autocross by June 11 and it happened.

Ready to rumble - 6-9-2018
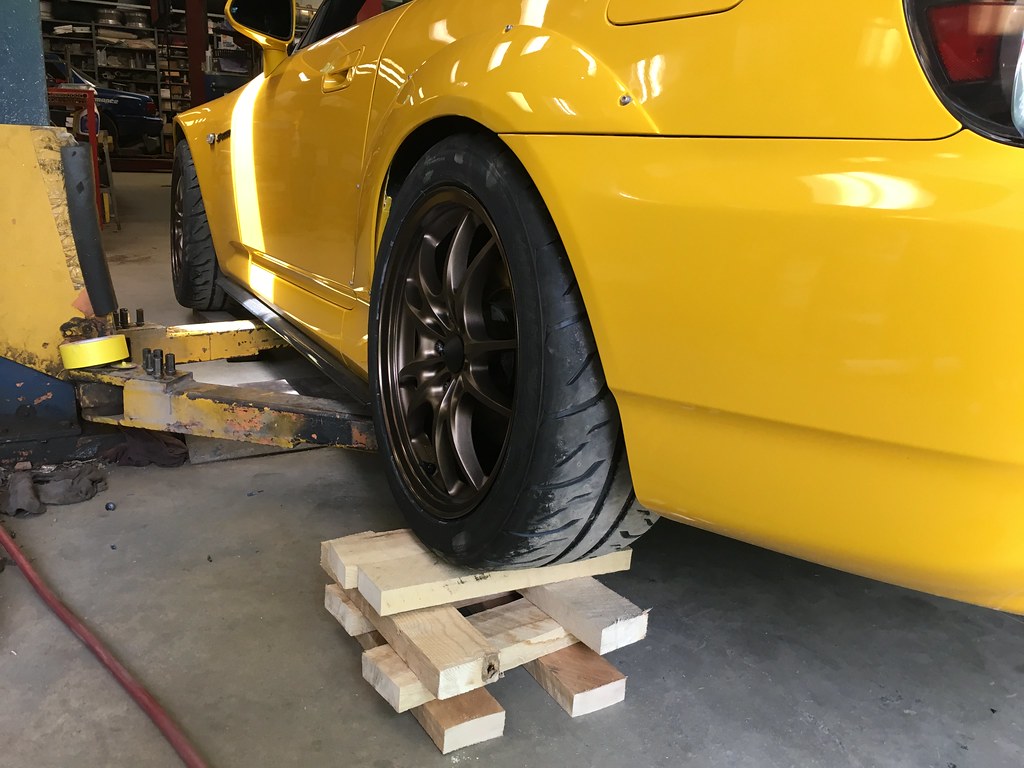
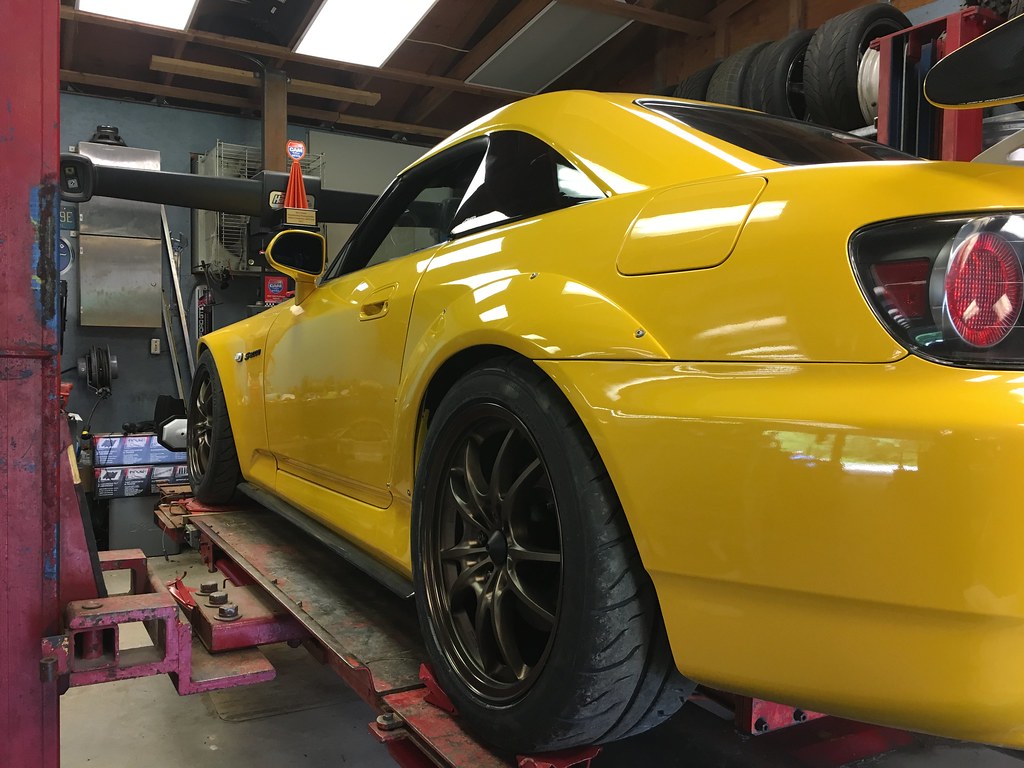
Today, we completed the final piece of the puzzle. The car's been driven about 500 miles since she became road legal again and with several months of being parked, her springs have now adequately settled to properly adjust ride heights. My target was to keep the ride height no more than about a 1" drop from factory. Not only does this allow the car to keep the highly optimal suspension geometry and let the suspension work, it also means I don't have to worry too much about scraping on things when I'm generally driving around. This meant the front had to be raised a bit and rear lowered a bit.

 Not too high, not too low - 6-9-2018
Checking for clearances - 6-9-2018
I know that the rear tires were rubbing on something if I hit a bump after putting on the Mugen MF10s so we did various checks to see how much clearance we needed. We just needed to shave the bracket that lines the bumper up with the overfenders a little and we were good to go. Yes, the correct way would've been to completely remove the shocks and articulate the arms completely but it really isn't hard to see where the tire would end up just by compressing the corner as much as possible. I took several test drives on bumpy / wavy roads and not a peep from the rear anymore.
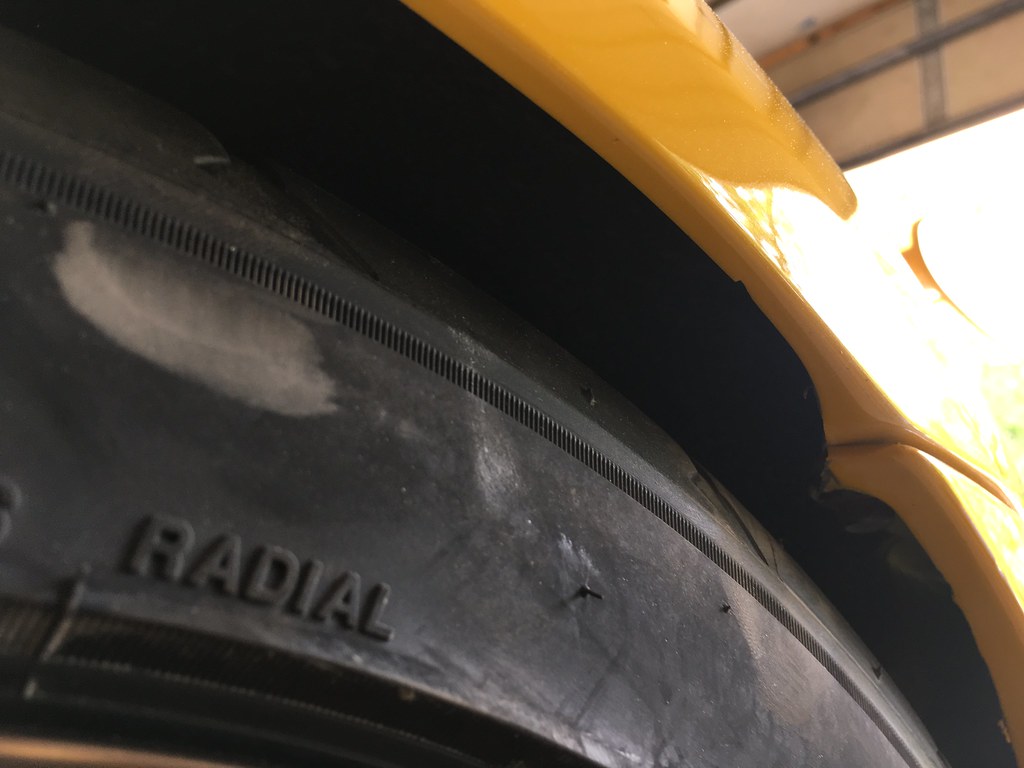
Plenty of clearance now - 6-9-2018
I also asked SJF to move the sphericals on the front upper control arms to try and get as much caster as we can. The stock rubber ones are offset from the factory and you have to offset the sphericals as well. For some unknown reason we've only been able to get 4.6 degrees of caster on the driver side and 5.0 on the passenger side. I think we'll revisit this on the 2nd alignment after I put the car though her paces and after all the suspension bits have been pushed to the limit a bit.
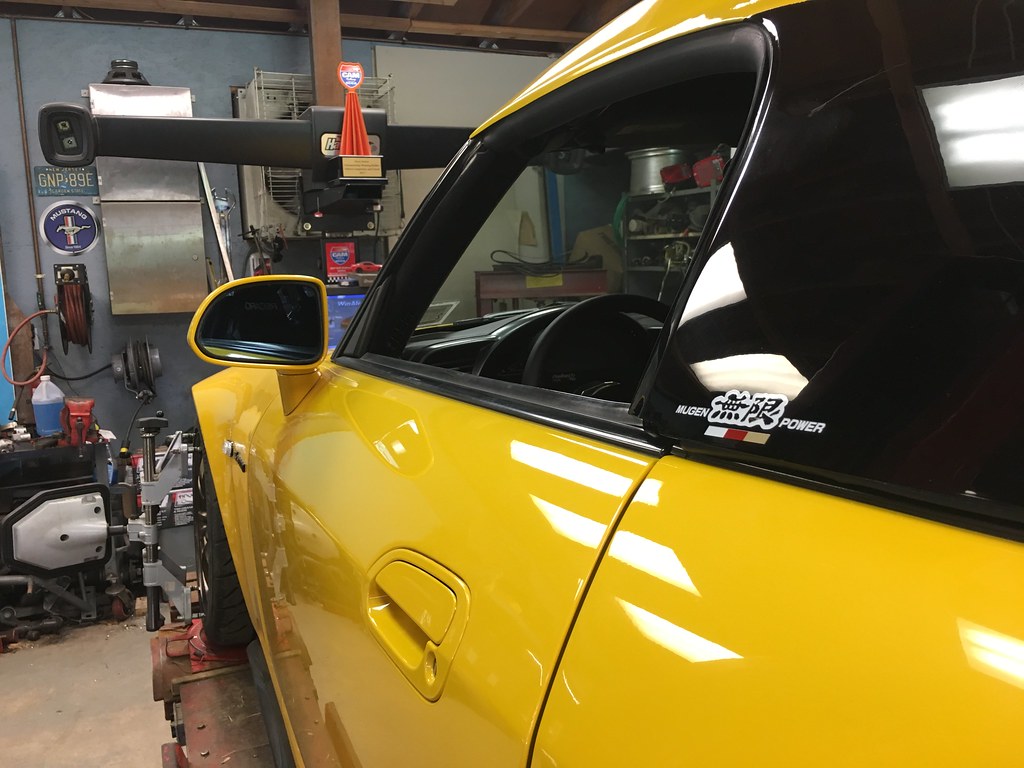
Ready for alignment - SJF Performance - 6-9-2018
The final alignment numbers are:

Front Camber: -3.1
Caster: 4.6 (left), 5.0 (right)
Front Toe: 0

Rear Camber: -2.3
Rear Toe: 0.06in each side (0.12in total)

It's probably a decent starting point since I have no idea how the balance of the car will be with the new suspension and I'm trying not optimize the car for autocross and make her too loose as that could prove to be a bad trait at higher speeds on a full track. We set the front bar to 4/6 and the rear to full soft. I'll probably start the shocks midway and go from there at her first event. 
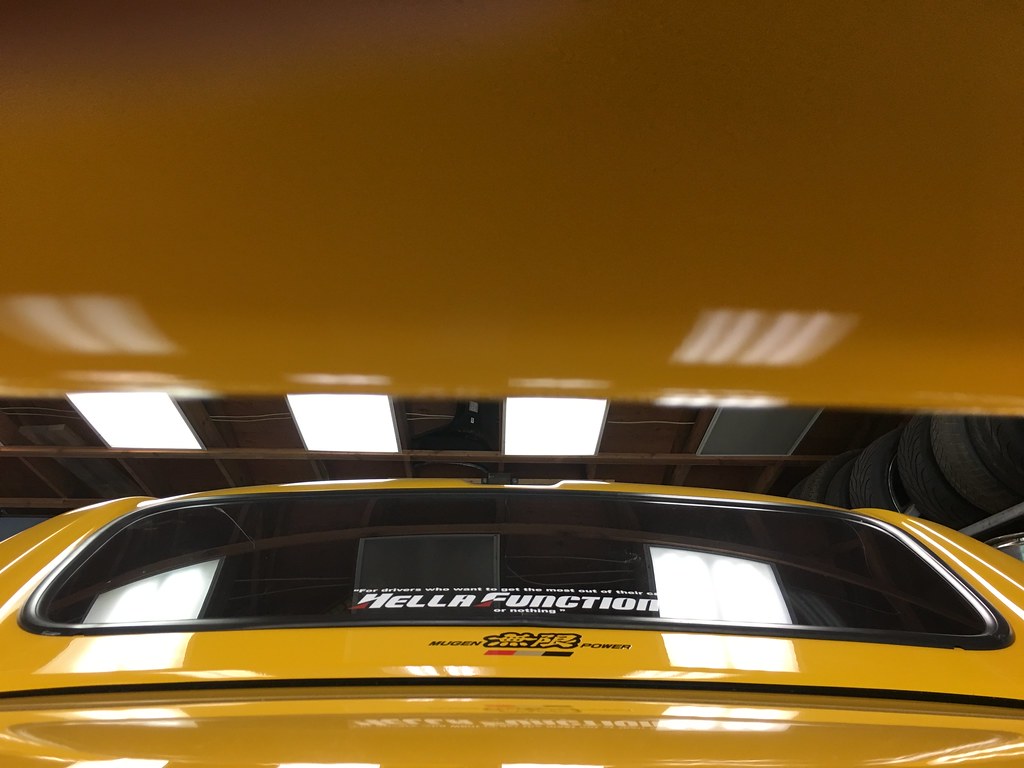
Hella Functional - 6-9-2018
It's been a very interesting few months getting this build done. Now comes the fun part, enjoying the car and fine tuning things along the way. I'm still getting used to driving her again and learning which noises are normal. Despite her appearances, she's still very much a raw race car under the skin and makes all the "interesting" noises race cars make. Now I'm chasing down little rattles and I already think a new radiator and fan setup in the not too distant future would be a good idea. The new generation stuff doesn't take up as much space while cooling as efficiently and have quieter fans. Right now the FEL fans on the car make it sound like she's a jet engine about to take off when they kick in. The first cone I hit is going to suck given her near perfect condition right now but I built her to drive her and that's what I'm going to do.
Soon to be seen at an autocross or track near you

Friday, June 8, 2018

Interior Complete and Ice Cold AC

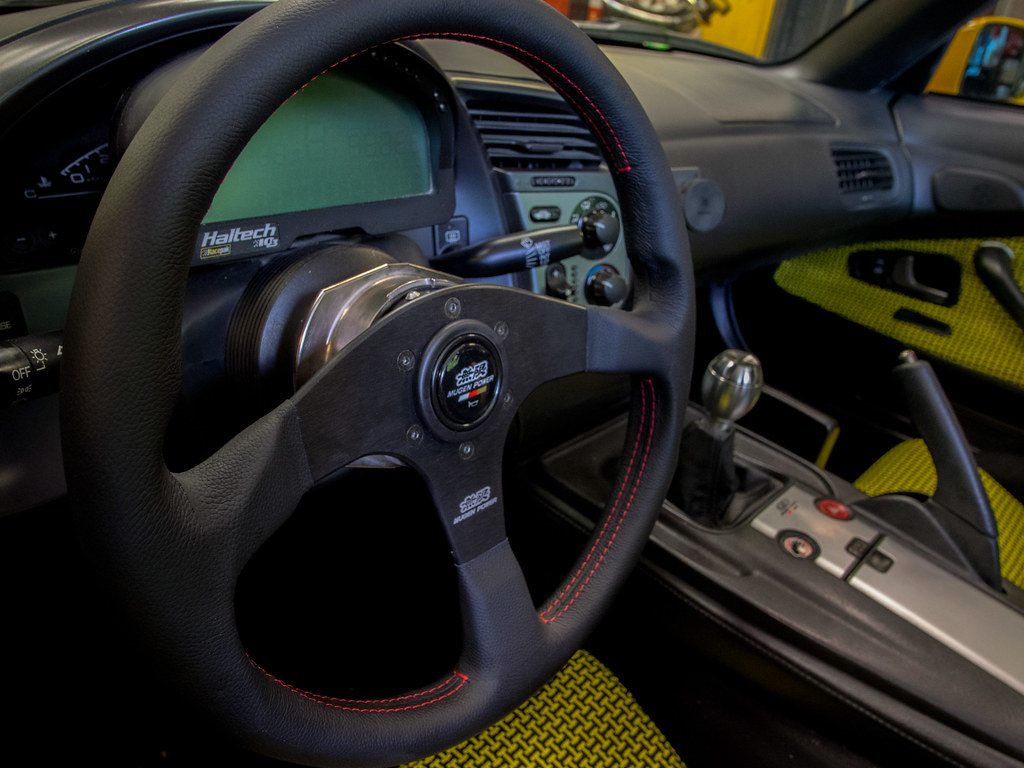
Now that the exterior is all done, it was time to finally put the interior back together so it was back to SJF Performance to finish her up. I already had a suede Mugen steering wheel but opted to freshen things up with a new Mugen Racing III Steering from King Motorsports in leather this time around.

Interior back in - 6-8-2018
I really like alcantara steering wheels but I chose leather to better deal with sweaty hands from longer track sessions. They're still made by Momo and with the car so fresh on the outside, I wanted an equally fresh wheel on the inside.

Mugen Steering - 6-8-2018
We put the re-upholstered Recaro Pole position seats and door panels back in and finally setup the 6-pt harnesses. We did some basic test fitting before but now it's all properly mounted and all the straps adjusted to fit perfectly. 

Recaro Pole Position and Schroth 6-pt harnesses - 6-8-2018
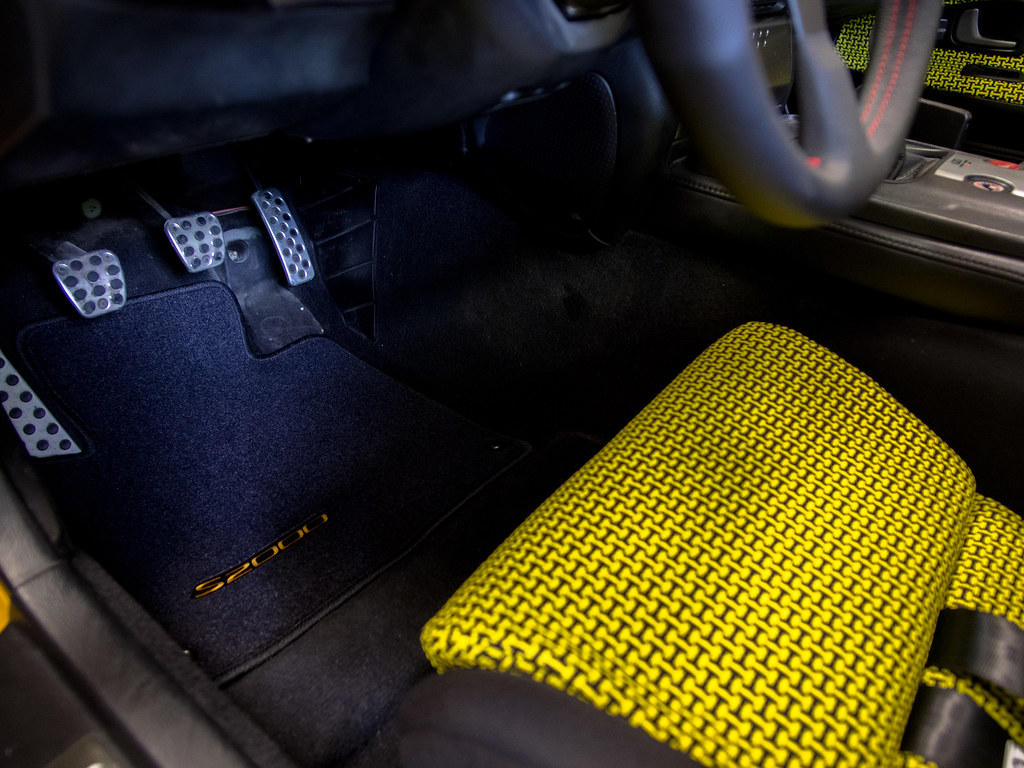
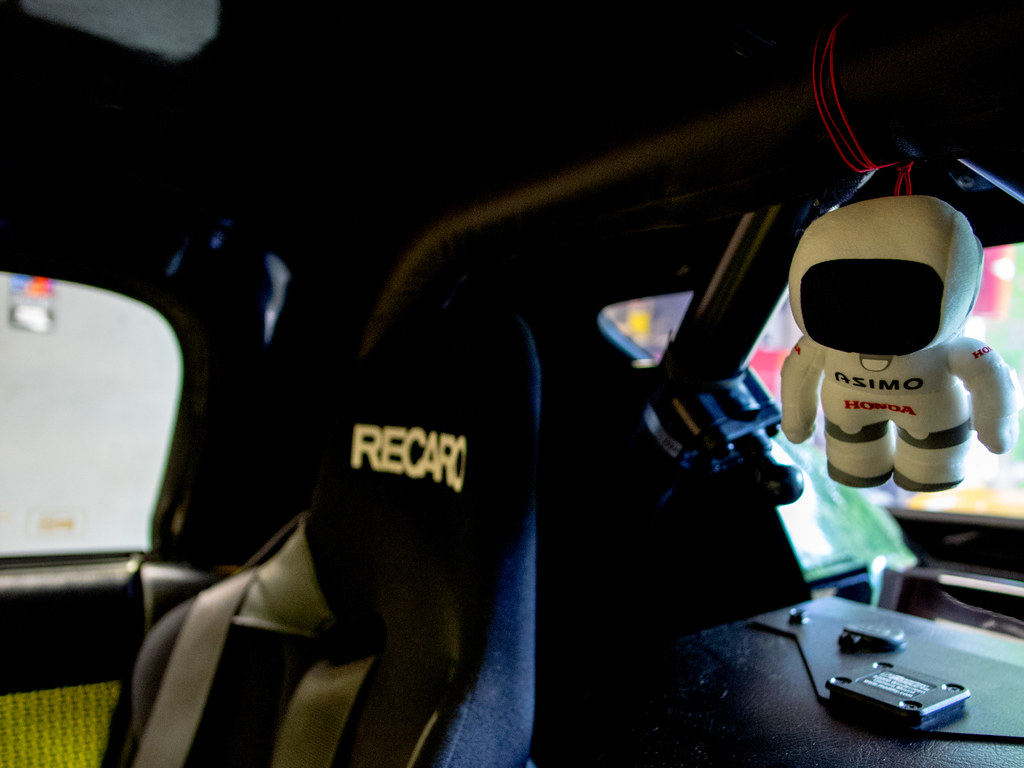
When she was a BSP car I actually had no more floor mats in the car since I never drove her on the street and we had to remove mats for racing anyway. I wanted to go with OEM mats that matched the rest of the interior so I also put in a new set of OEM CR floor mats since they come from the factory with the S2000 logo in yellow. Of course, a JDM inspired interior wouldn't be complete without something Kawaii (cute) so I've got a Honda Asimo mascot hanging from the rollbar. 

S2000 CR Floor Mats - 6-8-2018
Honda Asimo - 6-8-2018
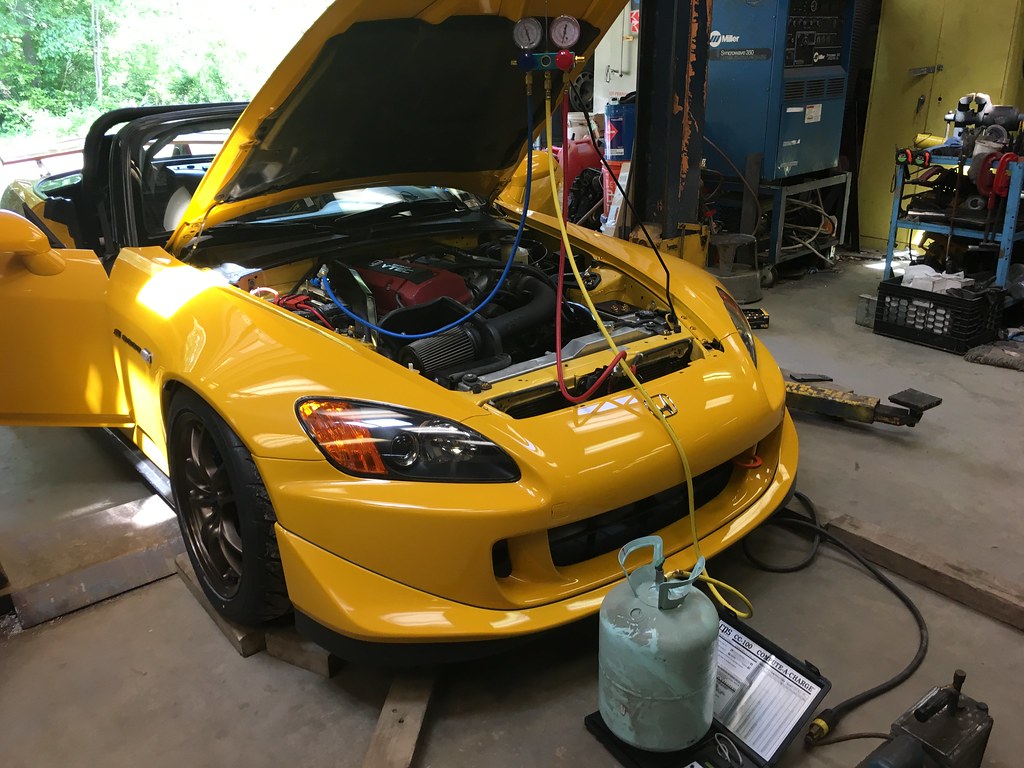
When the car left SJF Performance after all most of the mechanical work was done, it was still March and snow was still covering the ground. We couldn't refill the AC at the time but today it was a balmy 83F and recharging to the AC took no time at all and at full blast the temperature of the air coming out of the vents is a very chilly 49F at full blast. 

AC Recharging - 6-8-2018
One unfortunate issue I had recently was that the passenger side window goes down just fine with window switch but not up. After doing some research we tested a number of things. The relay seems fine, the motor runs if we apply power to it directly, there are no blown fuses and the driver and passenger side switch responds to at least one direction so I don't think the switch is bad either. The likely culprit in this case is a faulty soft top control unit. Even though Bumblestook doesn't have a soft top, the control unit is still connected and has been know to fail over time. Unfortunately the soft top control unit not only controls a soft top (if installed), it also controls the passenger side window. I ordered another one so hopefully we can pop that in when it arrives and see if that fixes the problem permanently. For now we just ran power directly to the motor so that the window is up. 

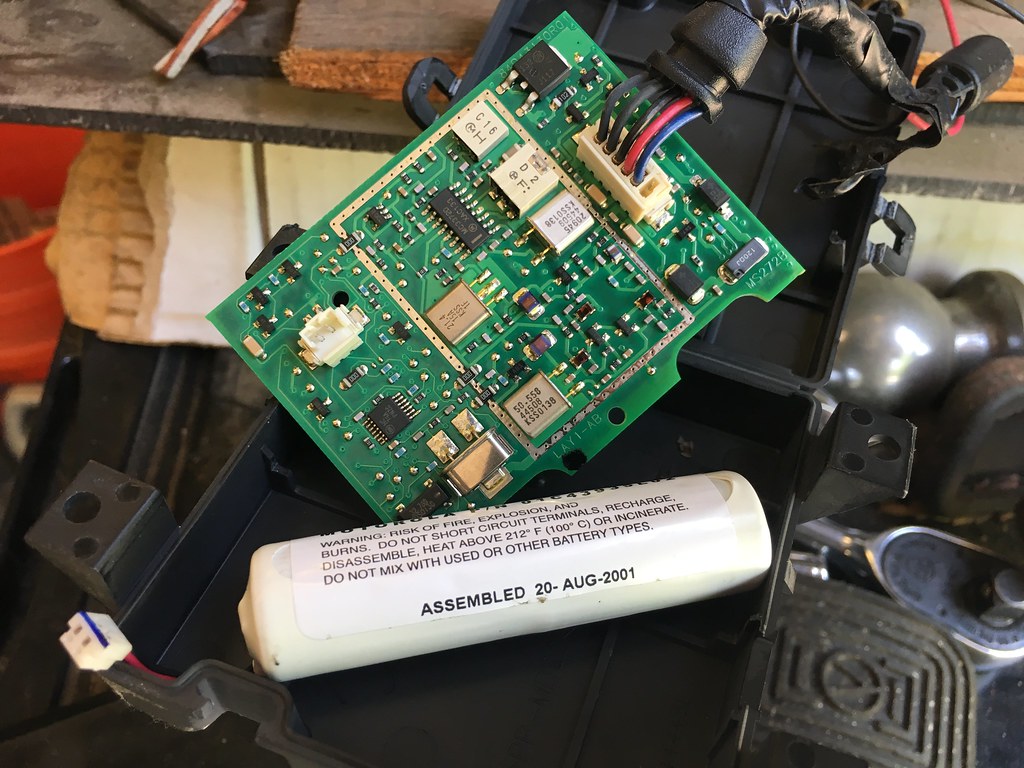
Lojack removed - 6-8-2018
The other highly annoying thing I've noticed is that there's been some bad parasitic drain on the car and even though I had a full battery, after only 4 days, I had to jump start the car this morning (though it at last had some power, just not enough to crank the engine). The car is pretty simple and the usual suspects of dome and trunk lights were easily eliminated. The radio is basic and there really are no other electronics in the car that are on constant power. The only thing I thought of was a Lojack system installed by the previous owner when the car left the dealership in 2002. I suspect after 16 years in the car, it could be doing something funky so I ripped it out as no one uses Lojack nowadays anyway. Hopefully this cures the problem as I can't think of anything else in the car that could possibly be drawing power all the time. 

Tuesday, June 5, 2018

Rio Yellow Pearl AP1.2.CR Mugen S2000

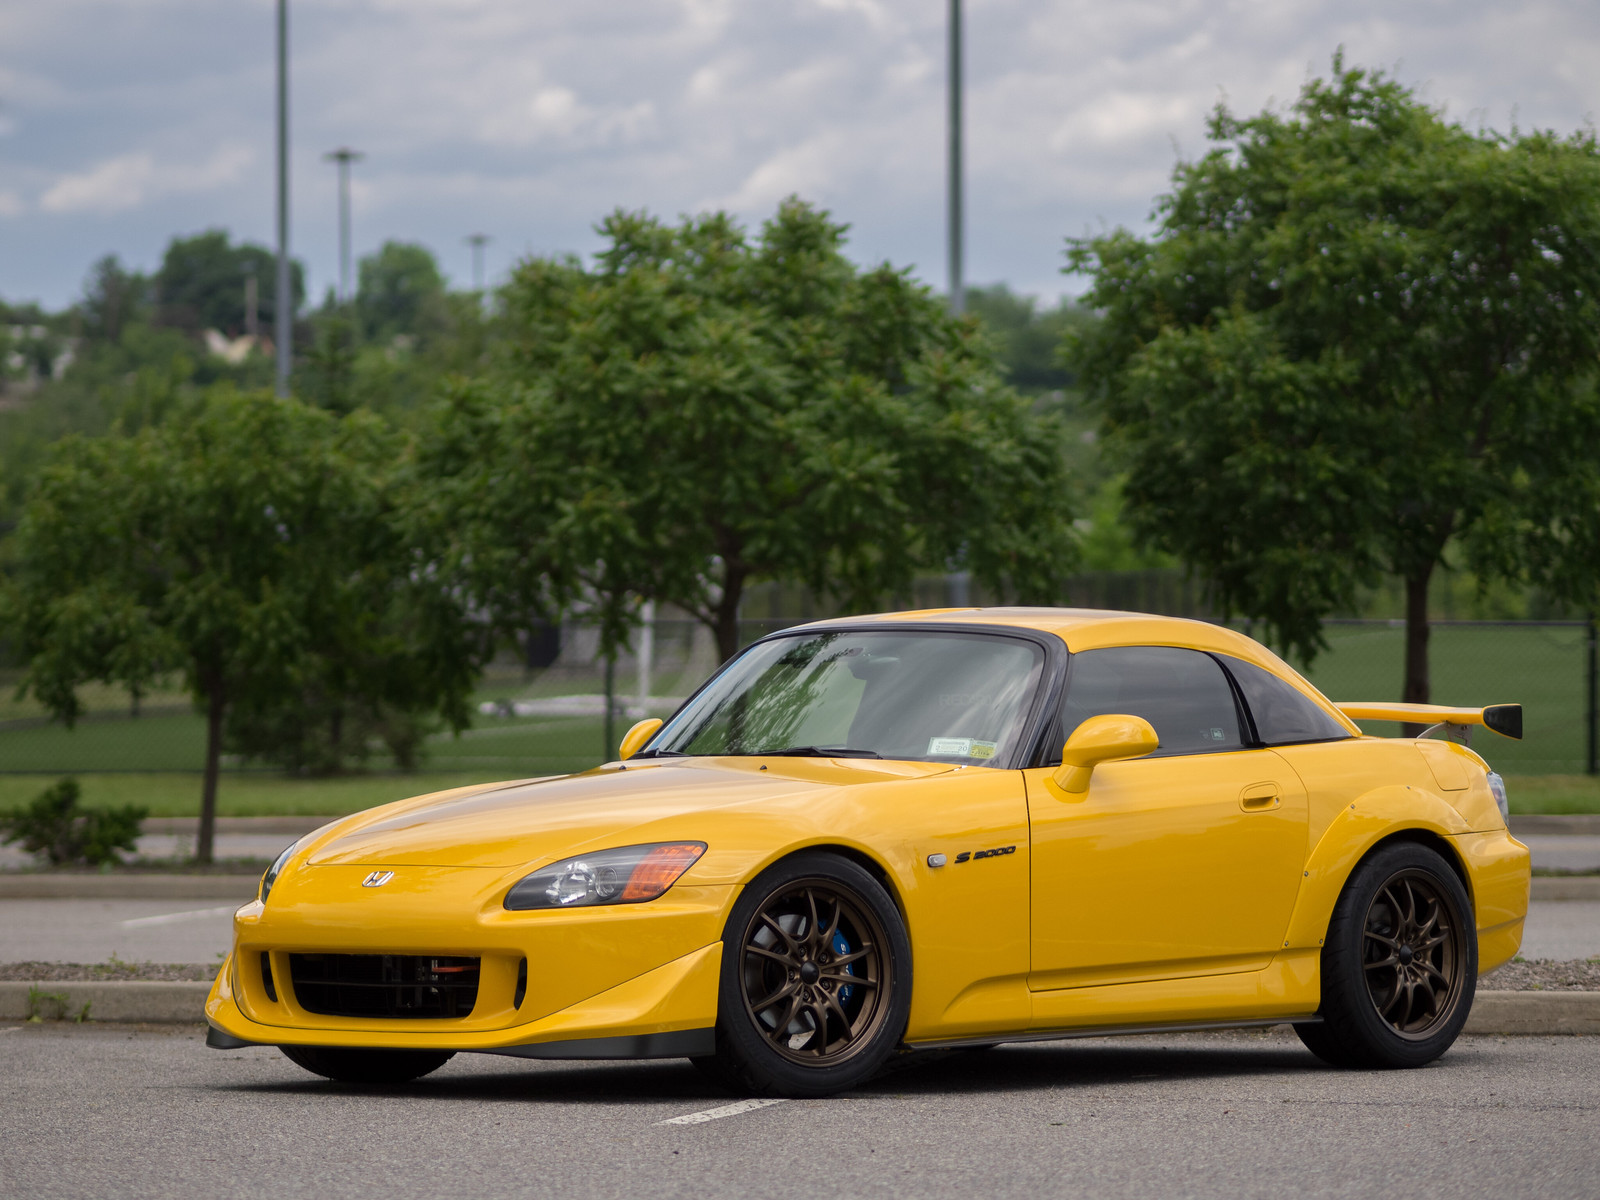
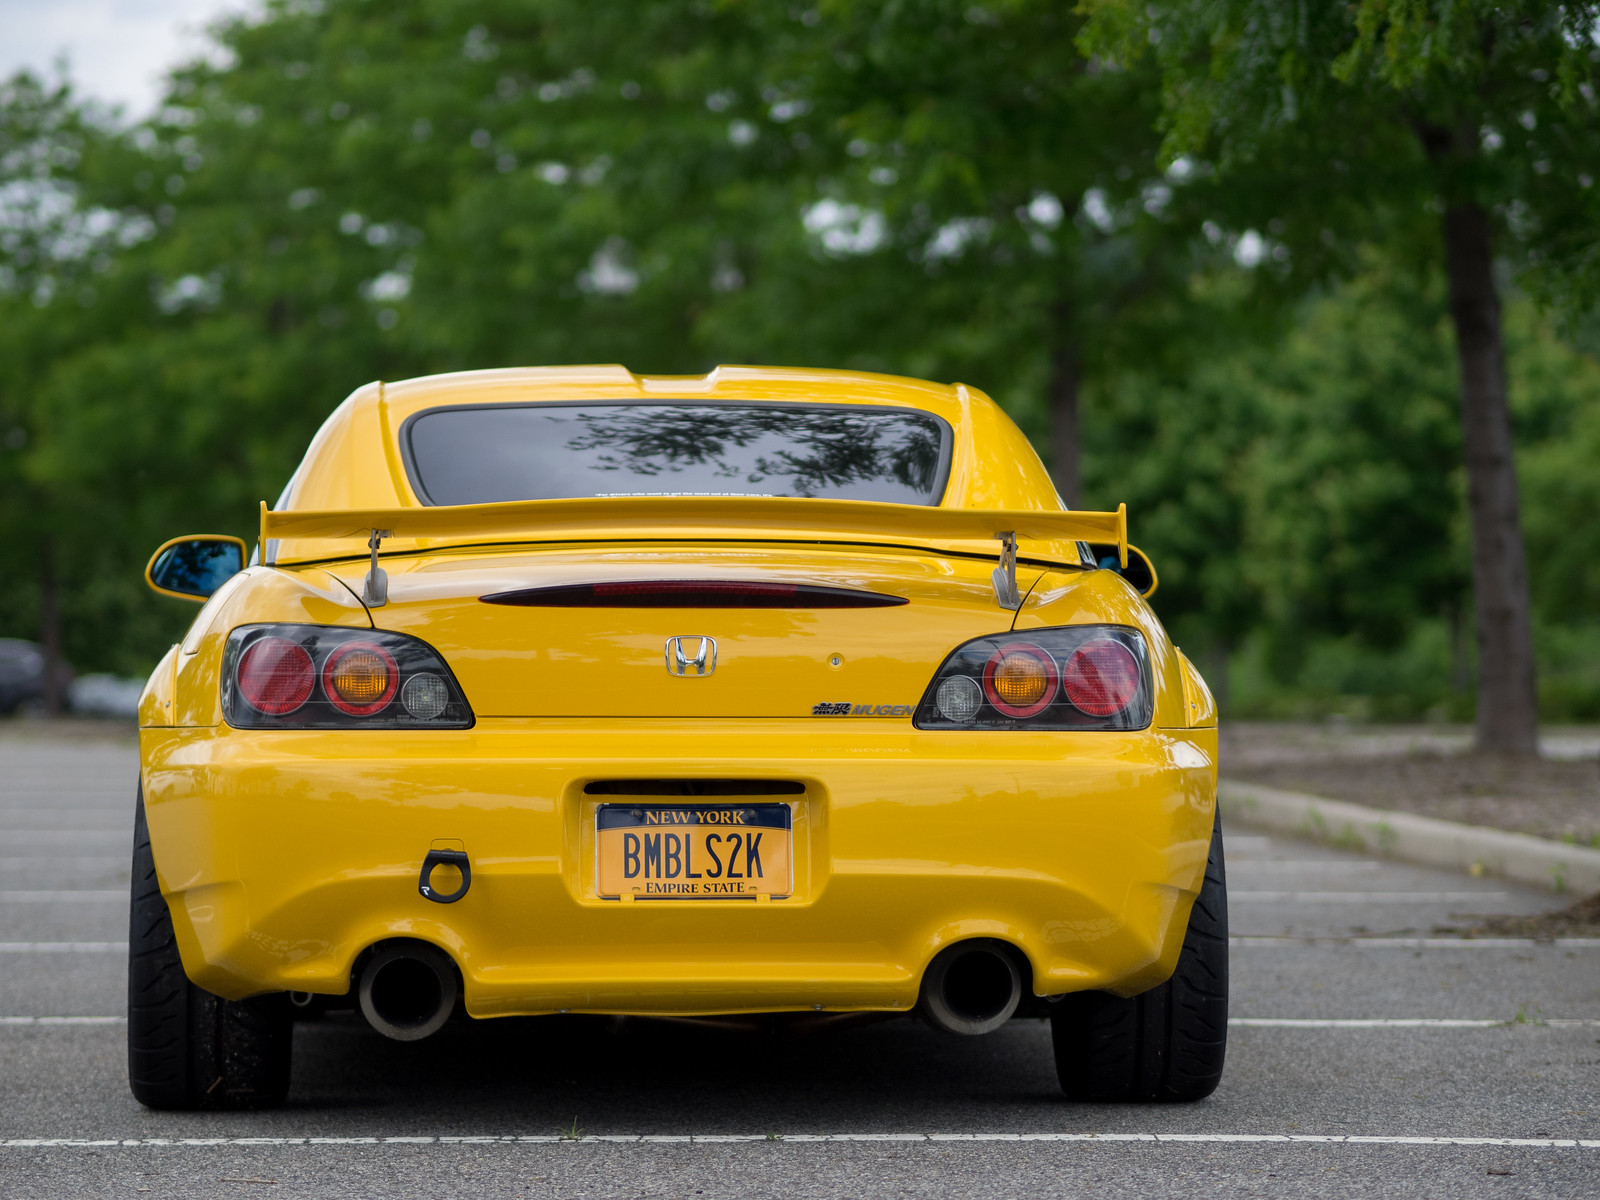
It's been almost 6 weeks since dropping her off at the body shop and almost 5 months since we started this project but Bumblestook is finally back in her full glory. Eric and the boys over at K2 Auto Body in Edgewater, NJ did a fantastic job not only with the respray but making all the panels fit perfectly. She came out even better than what I had envisioned in my head.

Bumblestook - 6-5-2018
One of my major goals with this project was to retain as much of Bumblestook's original racing heritage under the hood while taking her back into presentable streetable form. I wanted to put her together in a way that stayed true to my original design ethos when she became a competitive BSP car which was to take all the best parts of each generation S2000. Her exterior reflects that design ethos, with parts from every major revision, AP1, AP2 and CR while of course adding a little extra zing from my favorite tuning company of all, Mugen.

Bumblestook - 6-5-2018
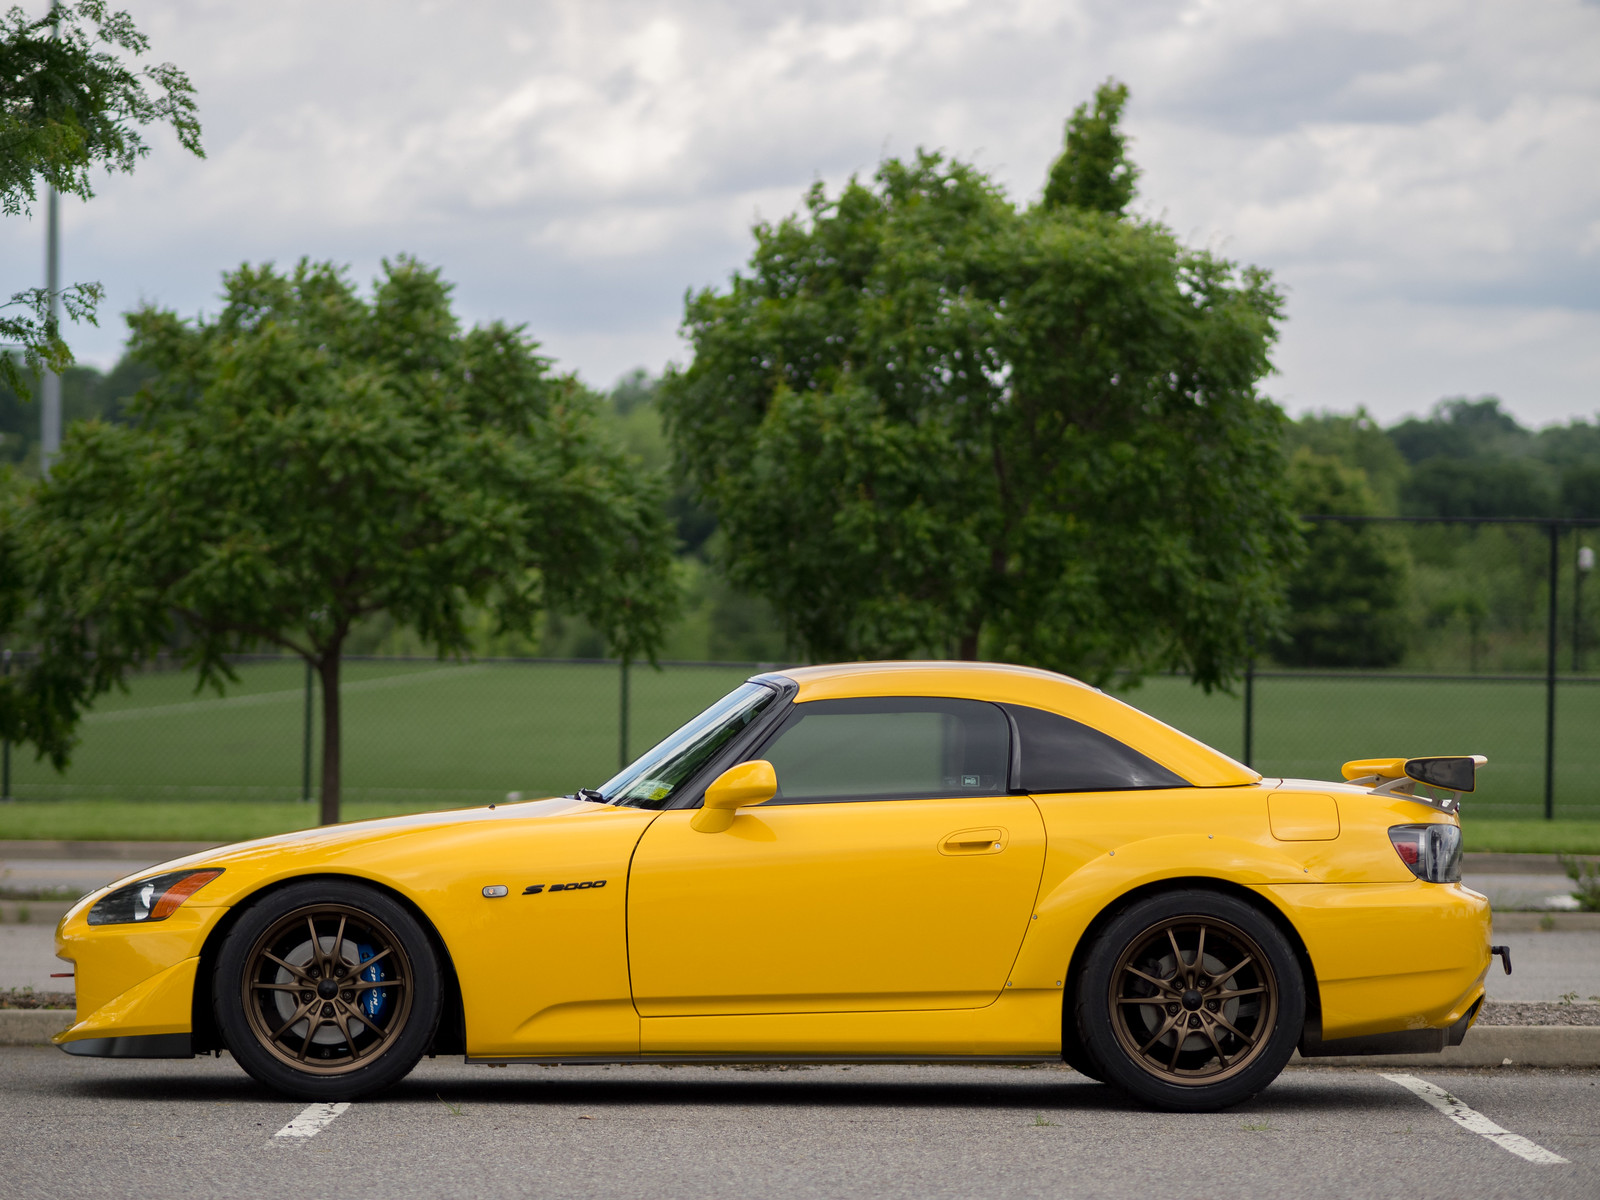
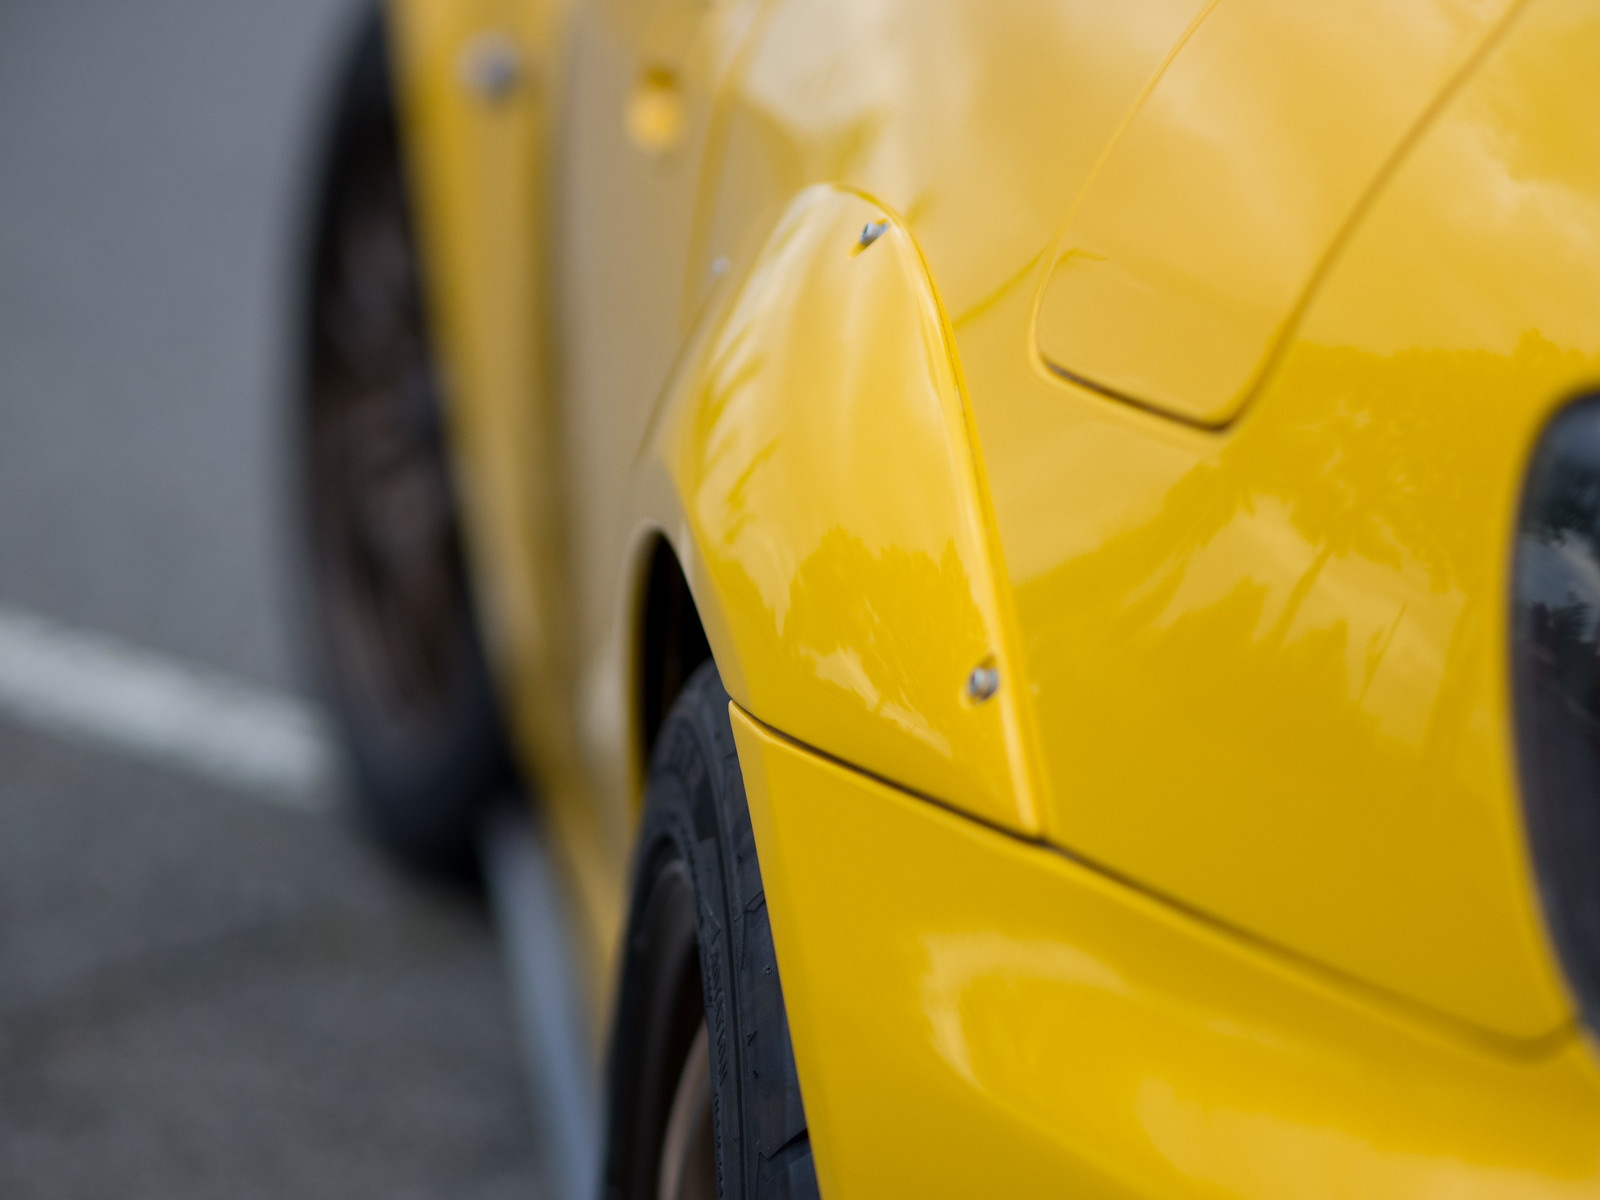
To get her color to really pop, she was painted in 4 stages; a bright white base color, Rio Yellow on top, then a layer of pearl then finally clear coat. One of the design goals was to not noticeably interrupt the gorgeous OEM lines. The shop resealed the rear quarters, redid the holes and installed new threaded inserts to make sure the ASM overfenders fit perfectly flush including pulling the rear bumper out to line up perfectly. The downforce front fenders were reworked heavily to fit even better than stock and in the side view, even discerning S2000 owners wouldn't be able to tell you the car is now 25mm wider. To keep the lines flowing and to further hide her muscular stance, Downforce carbon fiber 1x1 weave side diffusers were added. This serves two purposes. First, aesthetically it traces the outline of the car better and giving a splash of black in keeping with her yellow/black color scheme. Secondly, it's there to keep cones from creating large streaks on the rocker panels when I run them over at an autocross. She's widebody without flaunting it.

ASM rear over fenders - 6-5-2018
Downforce 25mm wider front fenders and
Downforce CF side diffuser - 6-5-2018
In the front, the only cue left that she is actually an AP1 in disguise are her AP1 OEM lights. Many prefer the AP2 lights which in some ways I do as well but this is a salute to her origin. They've been polished up and clear coated to bring back some new life. Her chassis is still very much AP1 and the lively and raw character found in all AP1s is still very much there and it was important for me to keep that heritage alive in her exterior.

Bumblestook - 6-5-2018
Only looking at her head on do you suddenly realize something is different. She's got a wider, more athletic stance than a normal S2000 with broad shoulders to let you know she's pretty but means business. In the rear, the previously all black painted Mugen wing was stripped of paint showing her original carbon fiber textures. The wing is now body colored with the side carbon fiber exposed just like Mugen intended. Decked out in authentic Mugen goodies, for the first time, she deservedly and proudly wears the Mugen badge in her rear. No replica parts here...this is the real deal.

Bumblestook - 6-5-2018
Since she's going to see track time again, we've got a rear tow hook back on the car. I finally found a manufacturer that doesn't make flimsy ones. The Raceseng tow hook is not only an eye catching design but is really well constructed. I just hope I never have to use it. The antenna was also deleted and the hole sealed over to give her a cleaner look.

Raceseng rear tow hook - 6-5-2018
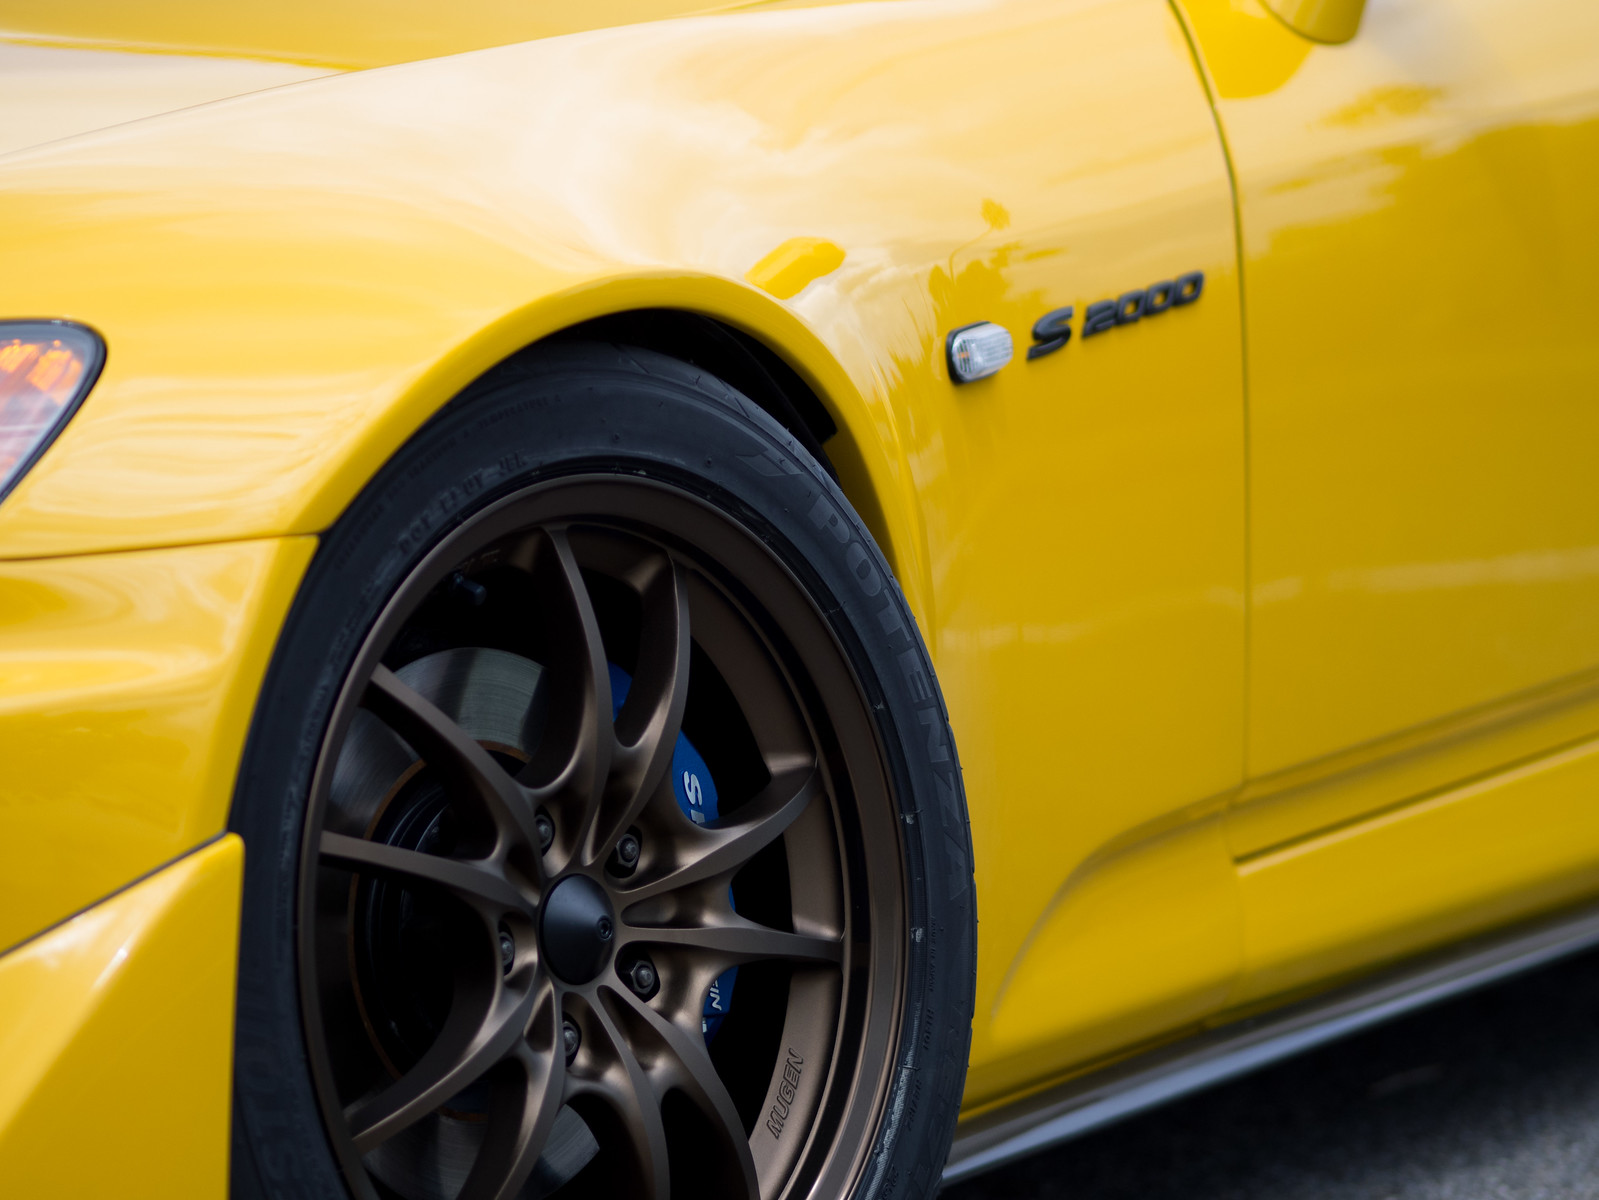
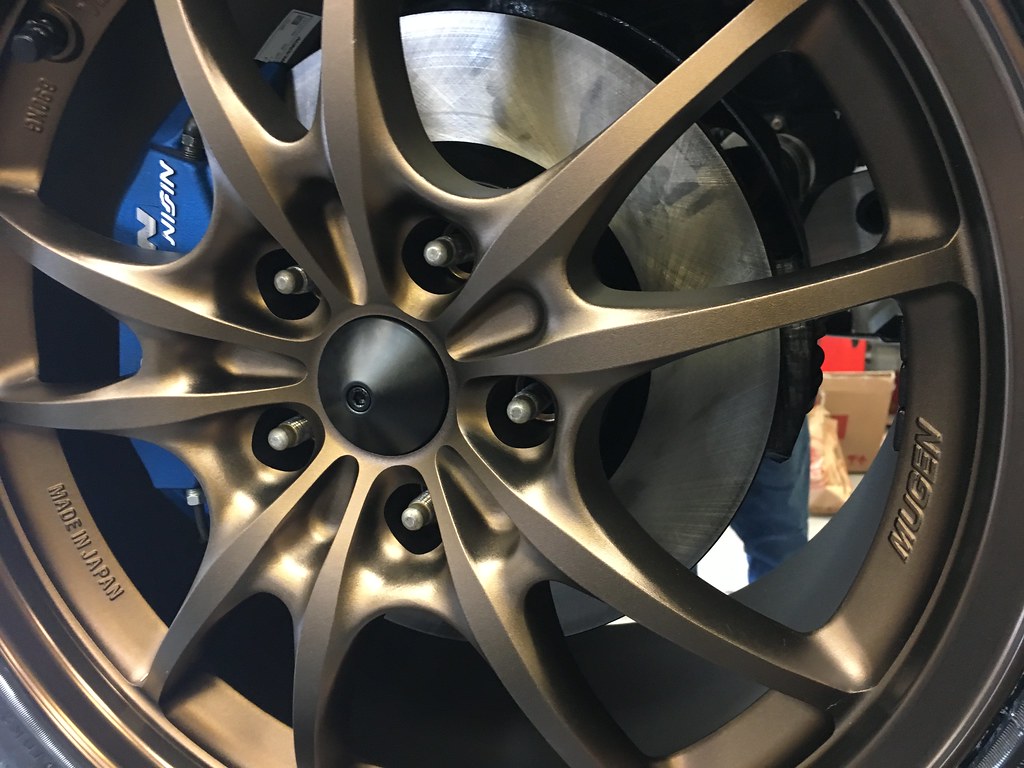
Lastly, and for me what really completes the car, are the 17x9 +42 Mugen MF10s all around wrapped in 255/40/17 Bridgestone Potenza RE-71Rs.

Mugen MF10 - 6-5-2018
The build isn't over yet though. Later this week the interior is going back in and we're going to be buttoning up the final pieces of mechanical work then she'll be ready for some testing.

Monday, March 19, 2018

VTEC YO

Finally went on the dyno today to see how she is now compared to her competition BSP trim a year ago. Surprisingly, she didn't lose that much power. Yes I did lose about 15ft/lb torque midrange for about 1000rpm but considering that was on ethanol and ITBs I'd say the old girl still has some decent kick on 93 pump gas.

Dotted line is from 2017, Solid is from today - 3-19-2018
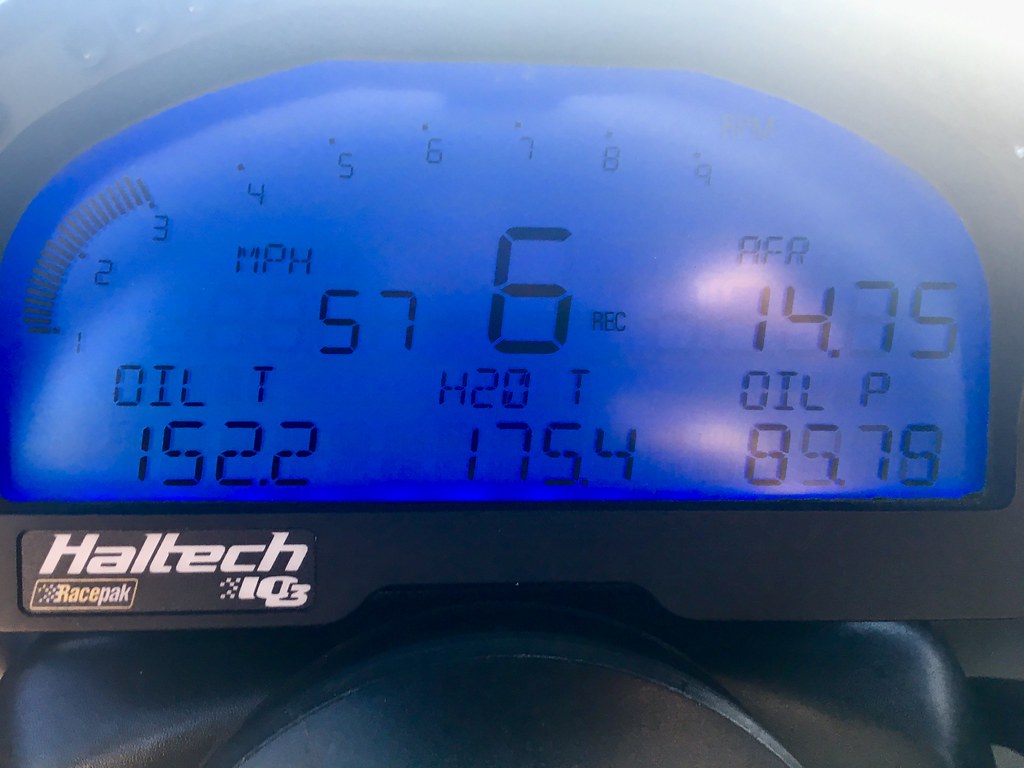
The Toda header really makes a difference. Even though I still have a cat for emissions (basically STR trim), this header seems to like a low VTEC engagement point. VTEC is at 3600rpm right now and she revs to 8600. Power is pretty solid. Seat of the pants I'd say she feels on par with Lupa right now which is a good thing. The cool things is the Racepak dash is finally back on so I'm no longer blind to what's going on under the hood.

Racepak IQ3 with all sensors working - 3-19-2018
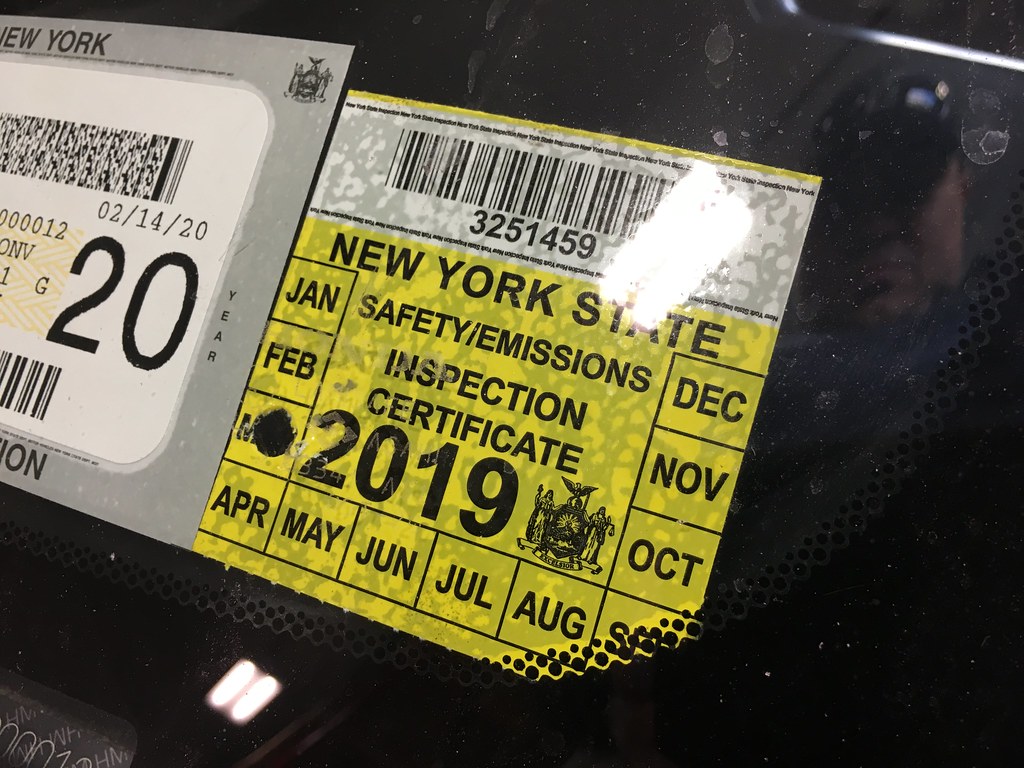
She also achieved full legal status this weekend passing with flying colors. I mean I guess it shouldn't be a surprise. She is after all, mostly "stock" now.

Fully NYS compliant - 3-17-2018
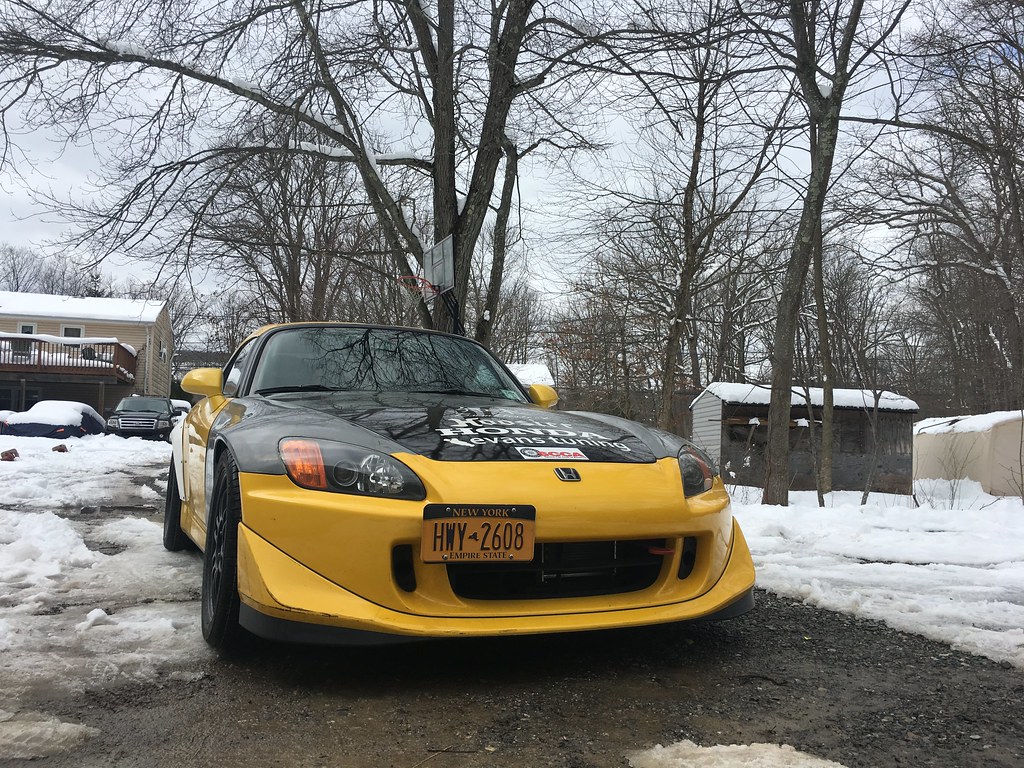
Donning her new plate - 3-17-2018
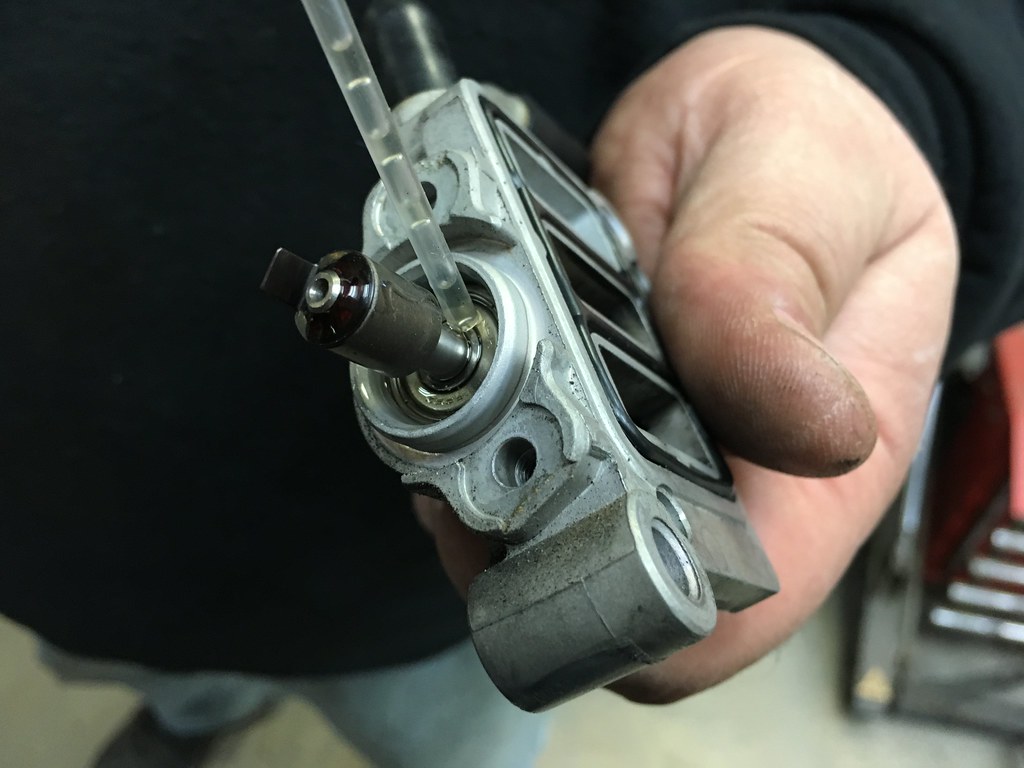
I did have a minor issue that thankfully happened post inspection. On the way home, I was having idle issues where the car would die when I'd slow to a stop. More specifically idle recovery wasn't working. The likely culprit was the IACV (idle air control valve). The IACV was cleaned before installing but apparently based on the forums, what you also have to do when this happens is remove the IACV motor and oil the ends of the rotary shaft. This part tends to start to stick over time causing it to lag to the ECU inputs. The symptoms of course is overly low RPMs when you try to go back to idle and depending on how low, this can stall the engine. It's not too complicated but you do need a special "pentacle bit" (5 point torx) to remove the IACV motor (and not lose the special spacers that go in between the valve and the motor). Luckily SJF was able to get this tool locally and now she idles perfectly again. Yes, the shaft was definitely sticking quite a bit and after a drop or two of oil now spins freely for smooth operation.

Oiling the IACV rotary shaft - SJF Performance - 3-18-2018
I also picked up a new GoPro 5 Session that I'll be using as my primary in-car camera this year so I figured I'd give that a try. Video is definitely clearer than my old GoPro 3. Figured I'd do just a quick video of how she drives with a quick pull on the onramp.

Bumblestook Post Dyno - 3/19/2018

I got enough driving this weekend to go through almost a tank and a half of fuel to make sure she's running right. Other than the IACV issues, every system seems to be working really well. Now if only this hood would show up already so we can get her to the body shop. She's such a blast to drive. 100% I made the right call in doing this build. So many smiles per gallon...all the time, money and effort has been well worth it.

Saturday, March 10, 2018

Back On the Road

Just a few days shy of 2 months since the day I dropped her off at SJF Performance, Bumblestook is finally back on the road in fully street legal trim to finish off the next phase of her build. Everything felt tight and smooth and I was even able to drive her enough to set ODB2 readiness so I can get her back to NY for her NYS inspection anytime. That was probably the biggest sigh of relief as the entire build would've been meaningless if we couldn't get her through emissions.

Back from her first drive - 3/10/2018

Bumblestook's first street drive in 5 years - 3/10/2018

What I identified as weird noises from the rear in the video on big bumps was just the rear tire rubbing against the rear bumper tab. It needs to be trimmed for clearance but I'm going to have the body shop worry about that since the rear bumper needs to be pulled out to line up with the overfenders anyway. The suspension felt super tight and responsive. The combination of spherical bearings, Spoon subframe collars and Ohlin DFVs proved to be perfectly streetable while providing all the responsiveness I wanted. You can definitely feel the road but even driving over small potholes and uneven surfaces, it isn't jarring despite what you might see in the video. I think the GoPro is also picking up noise of stuff inside the glovebox since the car itself wasn't that loud. I forgot to hook up my proper external mic to get better audio.

AP2 output flange on AP1 trans - 3/8/2018
This past week SJF finished up the remaining mechanical items on the car starting off with one thing that's been bugging me since installing the AP1 transmission to get better gearing for BSP. Due to class restrictions, we had to run the AP1 flange and AP1 bolts which are a few mm smaller than the mating holes on the AP2 propshaft. With enough loctite and torque on the bolt, the flange never moved but the right way is to change the output flange to an AP2 flange and use the correct sized bolts so I got a new one with new bolts and now I can run the more optimal configuration.

AUT cooling plate - 3/10/2018
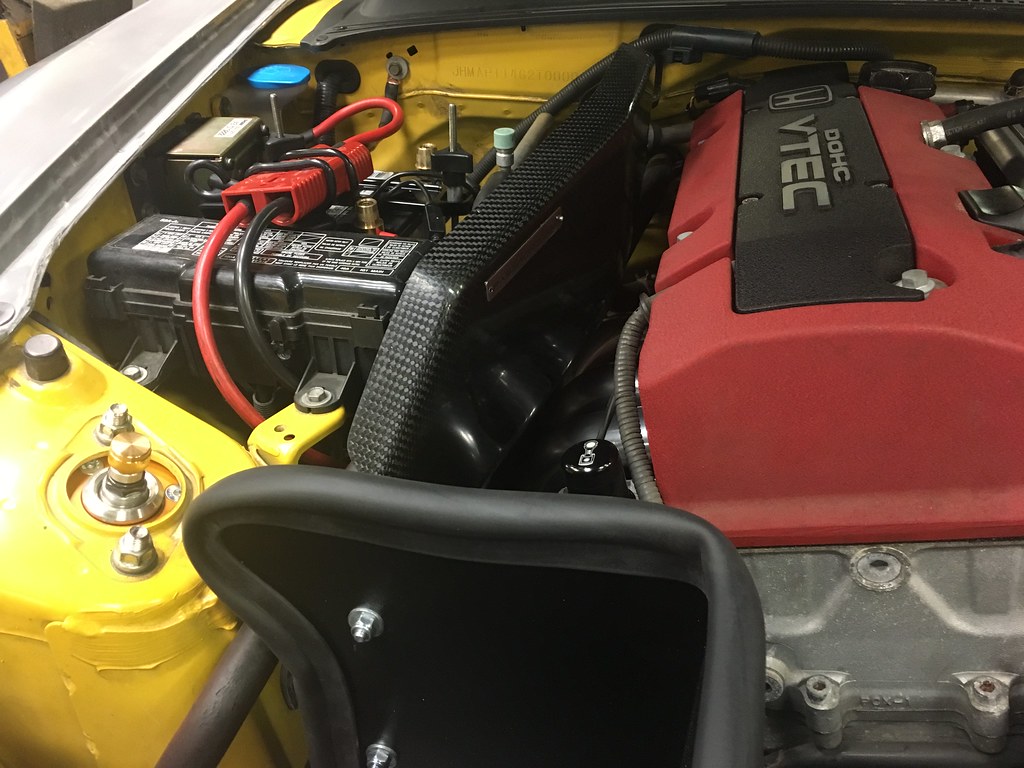
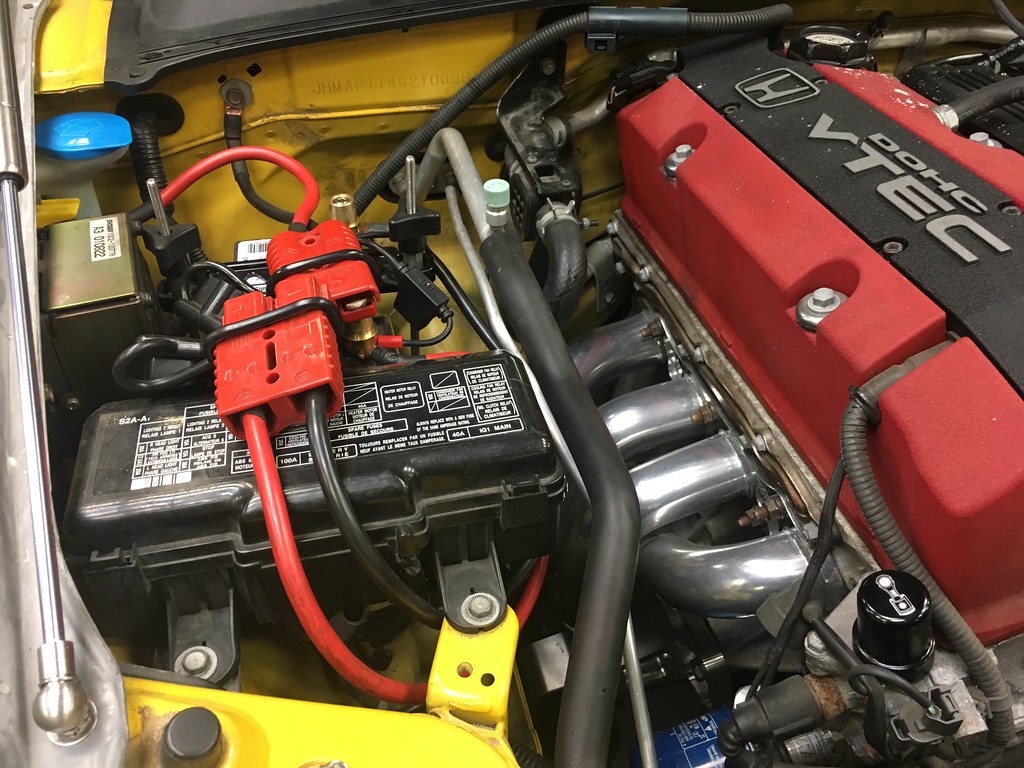
To get more air to the air filter, we installed the AUT cooling plate. I'm not particularly happy with the fitment on this one as the holes didn't line up properly. I think I might get something different but for now it'll have to do. We re-installed a heatshield between the header and the battery since the car will be running for longer periods and I'd rather not prematurely kill the battery with heat even though the header is already heat coated.

CF Heat Shield - 3/9/2018
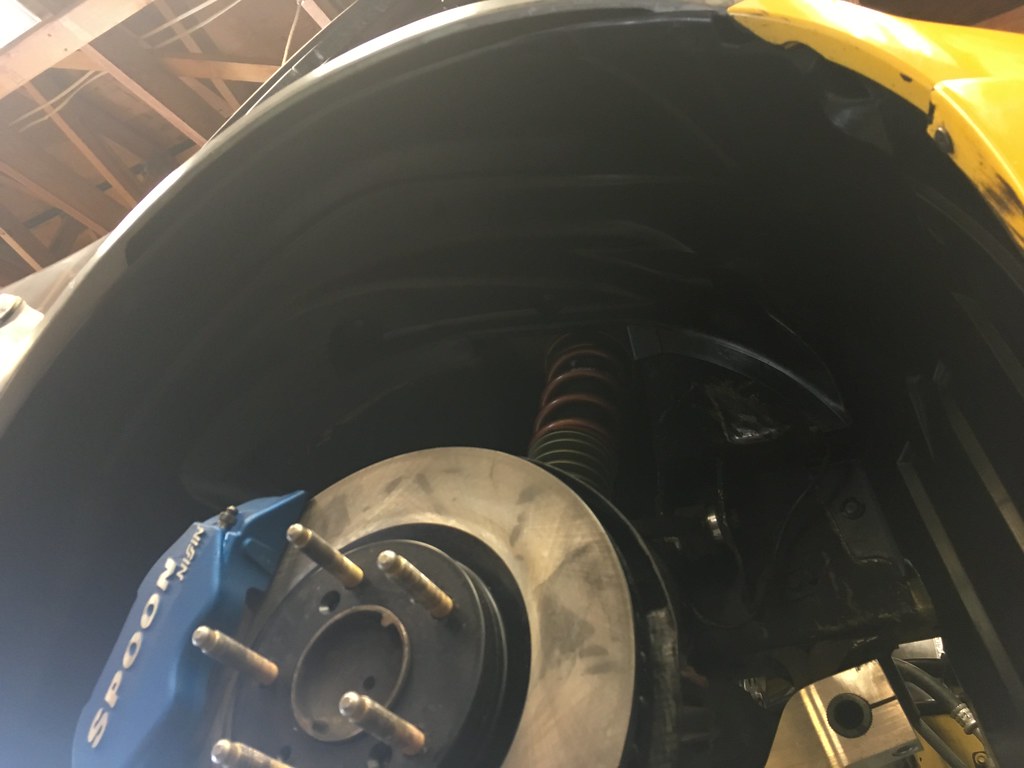
Both fender liners were replaced with new ones. We have cutouts for where the brake duct hose will go but we opted to leave the hoses out until after the body shop is done.

New fender liners - 3/9/2018
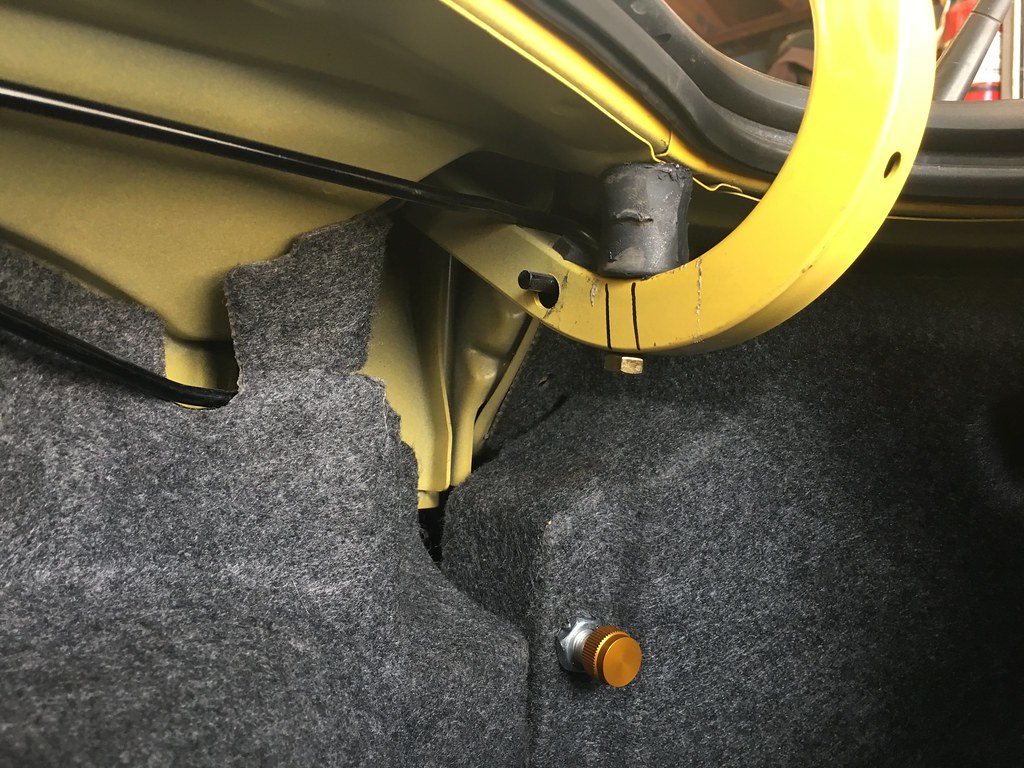
In the trunk, all the interior is back in and the remote adjusters for the rear shocks were mounted to the interior panels. The trunk also tends to hit the bottom of the Mugen hardtop because it extends farther out than stock so SJF fabbed a simple trunk stopper out of an old exhaust hanger which turned out to be quite effective.

Trunk stopper and passenger side rear shock adjuster - 3/10/2018
Trunk stopper and driver side rear shock adjuster - 3/10/2018
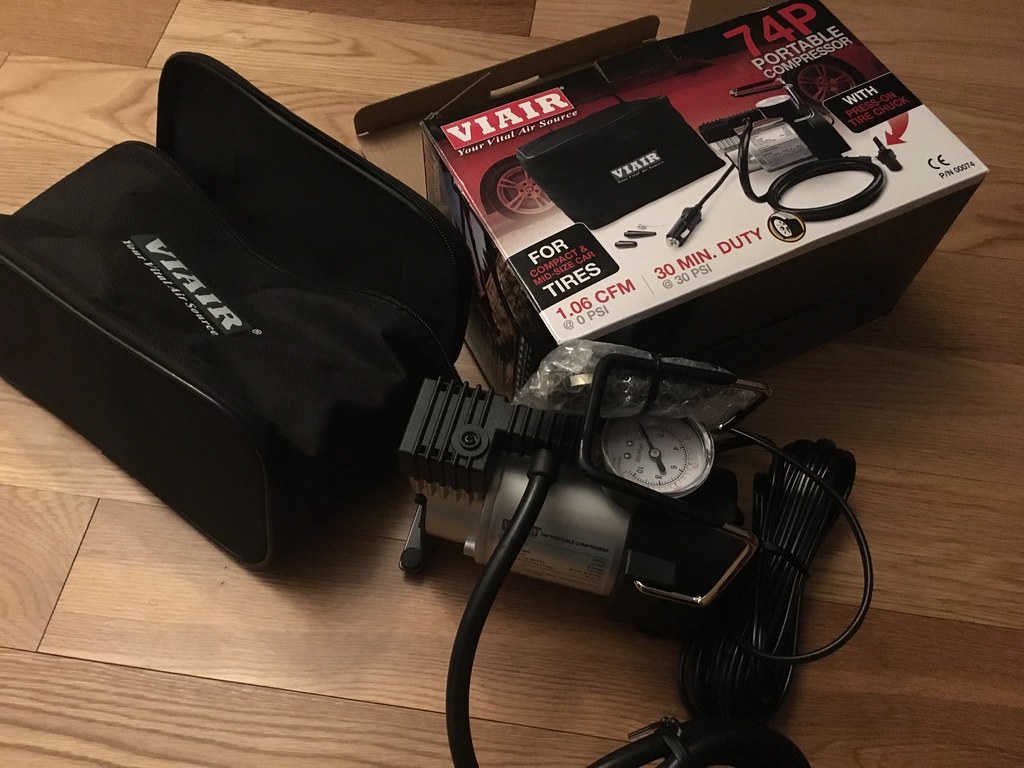
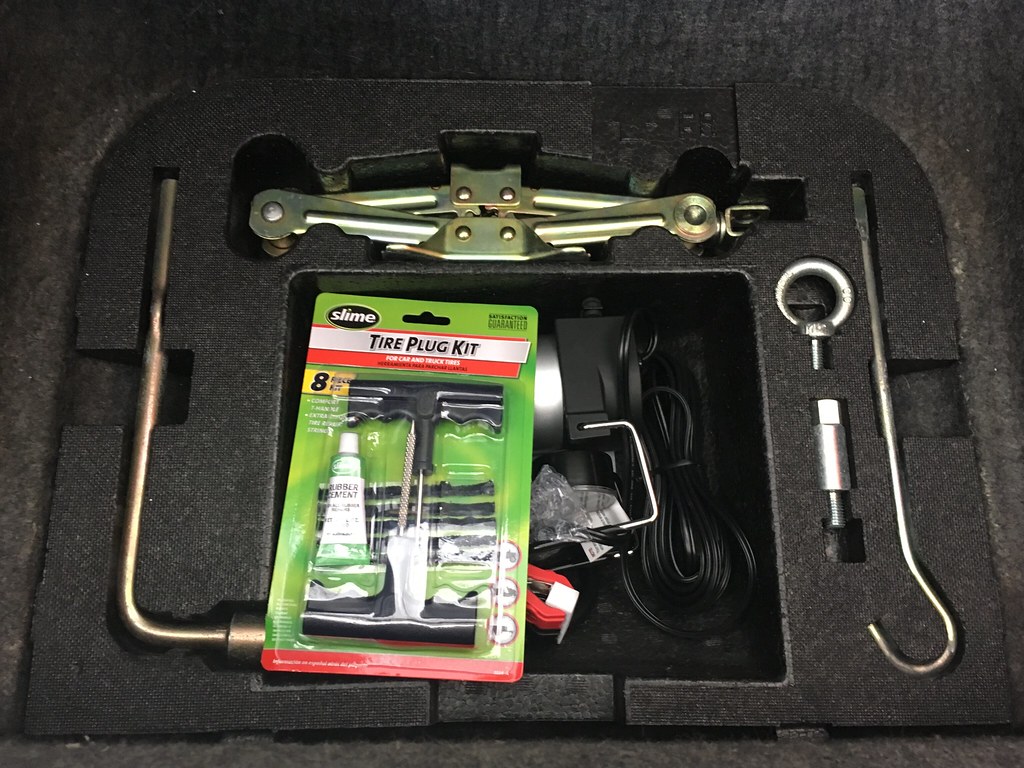
Since the OEM spare tire is useless with the Spoon calipers. the toolkit now has my own DIY "I don't have a spare tire" emergency kit that includes a tire plug kit and it turns out the Viair 74P portable compressor (the smaller version of the ones I typically carry in my cars) perfectly fits in the center space of the toolbox tray.

Perfectly sized air pump for S2000 - 3/10/2018
"I don't have a spare tire" emergency kit
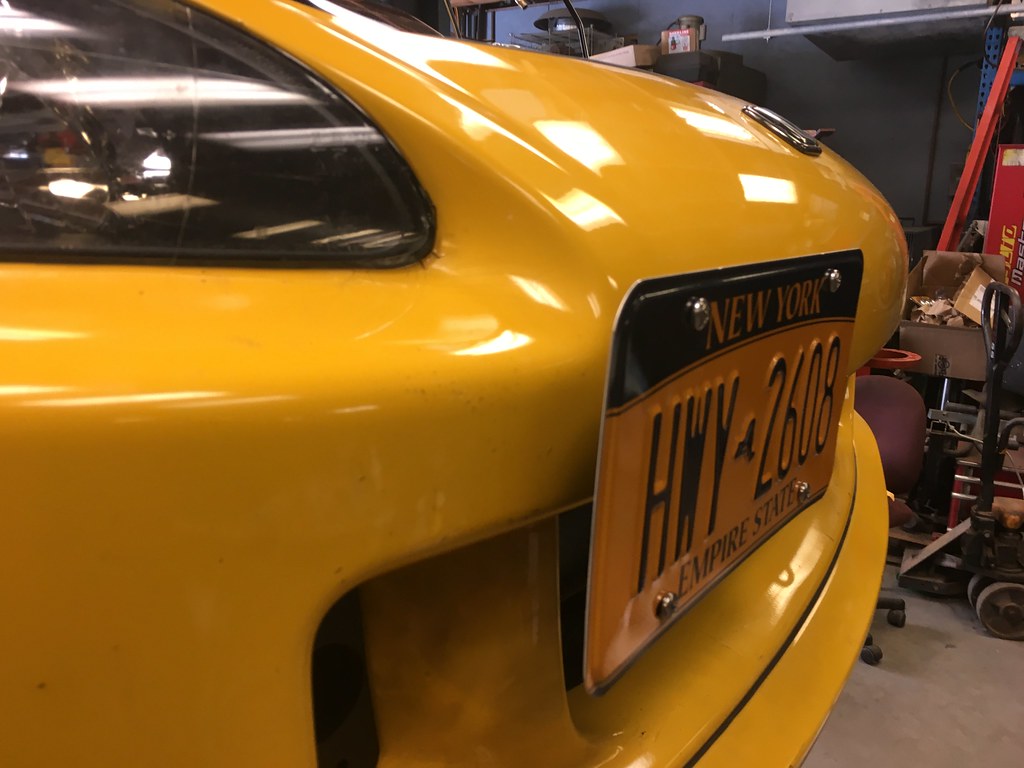
To mount the front plate I'm using the Rho-Plate V2 so that it mounts to the OEM front tow hook hole so I can easily remove the plate for a clean look in situations where I don't want the front plate around.

Front plate mounted to Rho-Plate V2 - 3/10/2018
Finally, as one should always do on a hardtop equipped S2000, apply a good mount of Shin-Etsu grease around all the seals to ensure a smooth squeak free seal.

Re-applying Shin-Etsu grease - 3/10/2018
So what's next? She needs to get her NYS inspection sticker and then we're off to Evans Tuning to get dyno tuned. While the car runs just fine with the AP2 motor and AP1 ECU, this is suboptimal and potential unsafe. The AP1 revs to 9000rpms but the F22C should really only be revved to 8400-8600 (even that's pushing it if you want the engine to last). My purpose for getting a tune is to get a safer rev limit, maximize the power of the car and improve fuel efficiency and also to reconnect my Racepak dash and get all the sensors working so I can know exactly what's going on under the hood. I'm still waiting on the Mugen dry carbon hood from King Motorsports. The hood is currently on a ship from Japan and once that arrives we'll finally be able to take her to the body shop to finish off the build. The really hard part is done. Hopefully we're smooth sailing from here.

Sunday, March 4, 2018

Home Stretch

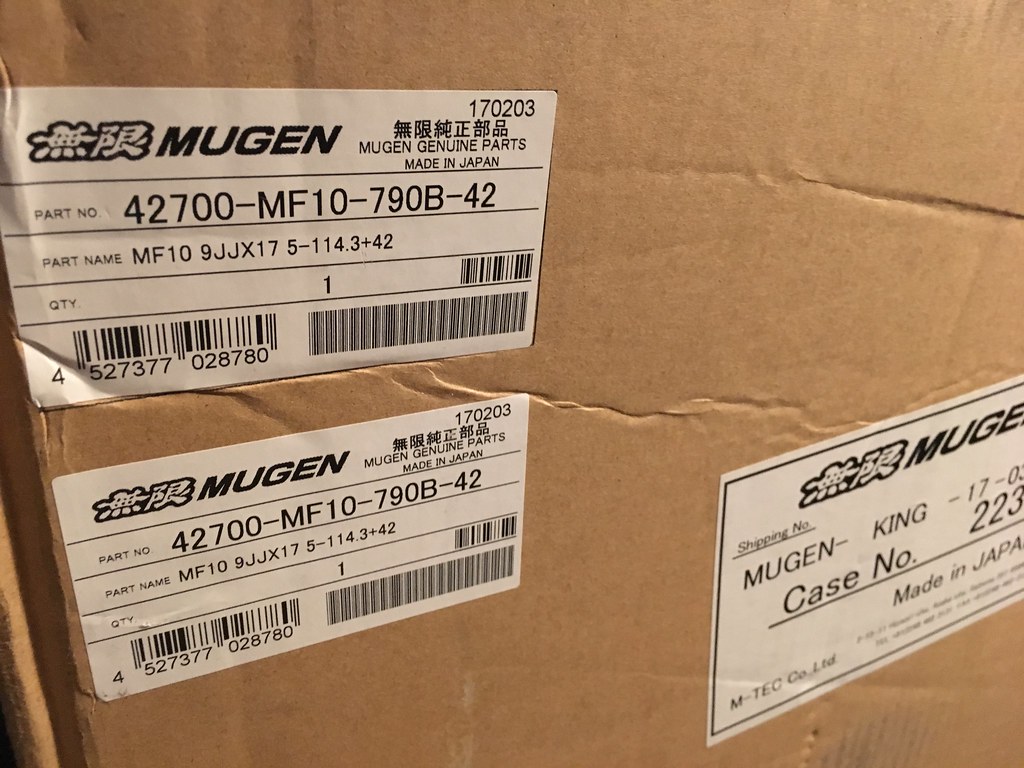
We're reaching the home stretch of the mechanical part of the build. The end is in sight but there's still a lot of seemingly little things left that take up a lot of time left to do. First up since the last update, I ended up coming across my dream wheels that so rarely show up for sale let alone brand new I had no choice but to jump on them. They're Mugen MF10s in 17x9 +42 offset in the trademark dark bronze color. At only around 15lbs per wheel they're very light and at the perfect offset to clear the Spoon calipers (and probably any big brake kit in the market) without any spacers.

Mugen 17x9 +42 MF10 wrapped in Bridgestone RE-71R - 3/3/2018
The only wheel box I'll probably ever keep - 3/3/2018
The proper graded bolts for the seat rails arrived so both driver and passenger side modified OEM rails are now complete. We verified fitment and it's perfect but the seats are staying out of the car until after the body work is complete. There's a bit of a challenge getting the OEM seat belt working in this configuration because I also have eyebolts that go to the transmission tunnel for the 6pt harnesses that interfere with the seat operation if the harness is placed in the stock location. We opted to instead mount the seatbelt receiver on the eyebolt rather than the rail. This simplified the setup, ensured proper operation of both the OEM 3-pt seat belt and 6-pt harnesses, and preserved the full range of adjustment in seat position.

Completed modified OEM seat rails with Recaro Pole Position - 3/3/2018
The connector for the OEM map sensor had a broken clip so I ordered a new MAP sensor pigtail but rather than soldering it in place, SJF simply repinned the new connector and we also put in the OEM part that zip ties the connector to the MAP sensor. It's crazy that this part even exists but under high RPMs, there's a known issue where the connector loosens enough to cause issues. Specifically the TSB mentions intermittent hesitation during hard acceleration. The OEM part number is 32125-PCX-003 and is simply a plastic clip that goes over the MAP sensor with an integrated zip tie to hold everything place.

New MAP sensor connector - 3/3/2018
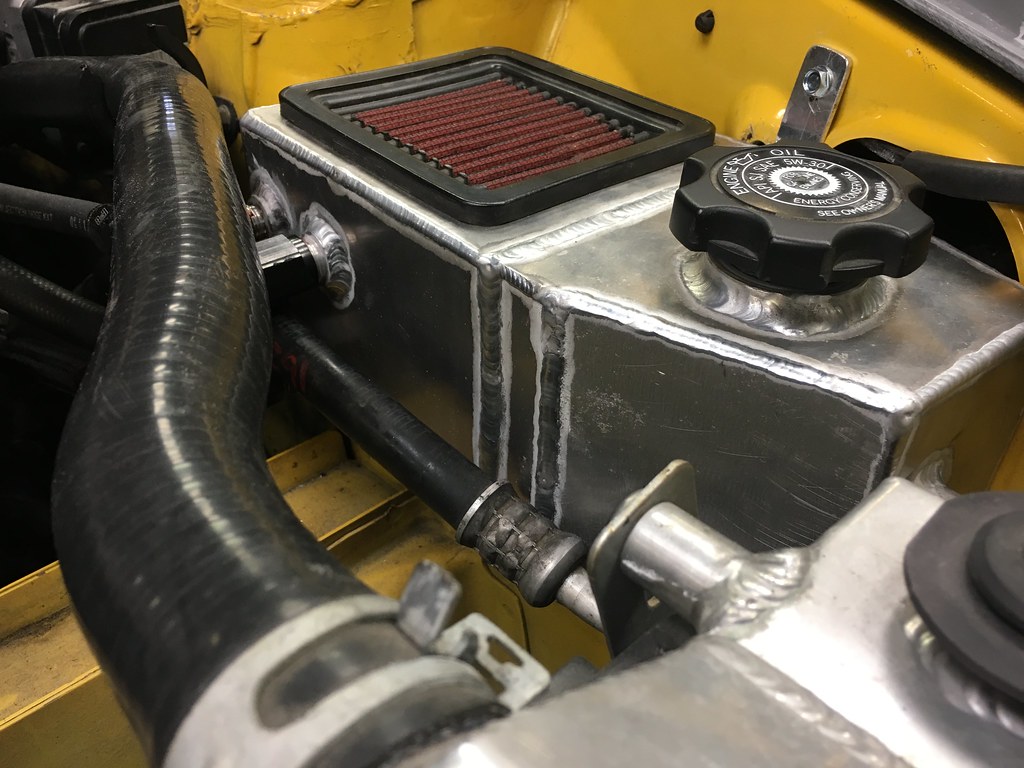
Evans Tuning had built me a custom radiator overflow / oil catch can combo for my BSP build years ago but it wouldn't work as is anymore because it left no gap for the AC hose going from the condenser to the compressor to go through. The overflow had to get trimmed and re-welded by SJF's friend Del. One of the bungs was cross threaded and a new bung needed to be welded in and while we were at it, some additional brackets were added to properly secure it to the chassis.

Custom Radiator overflow modified to fit AC hose - 3/1/2018
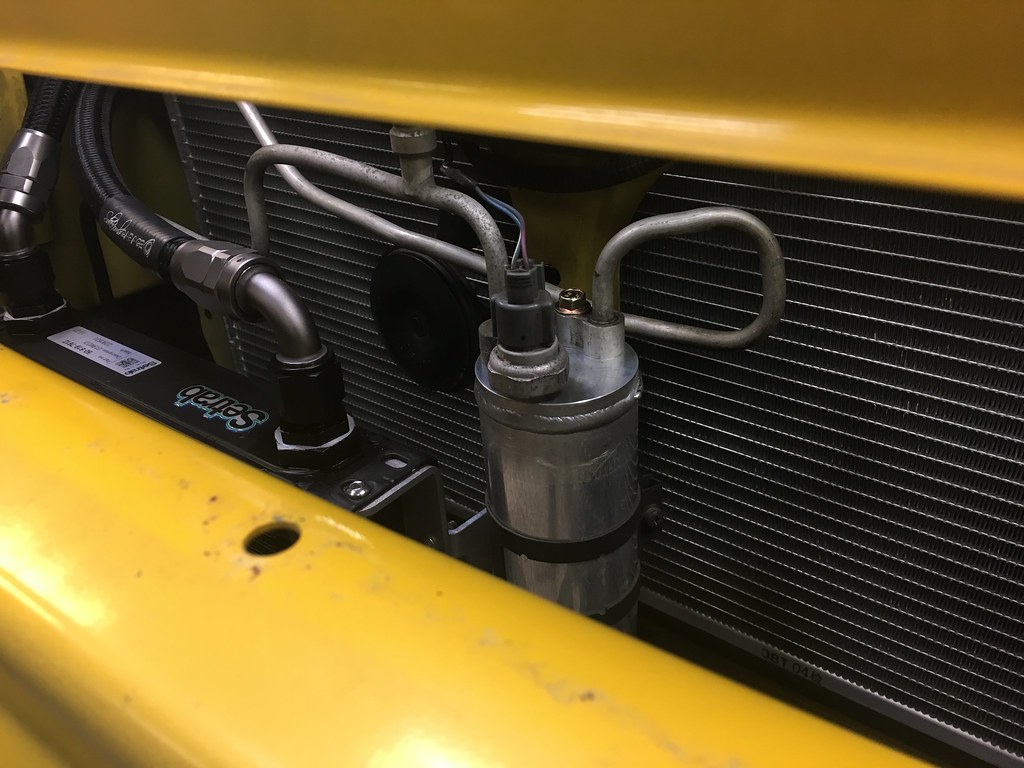
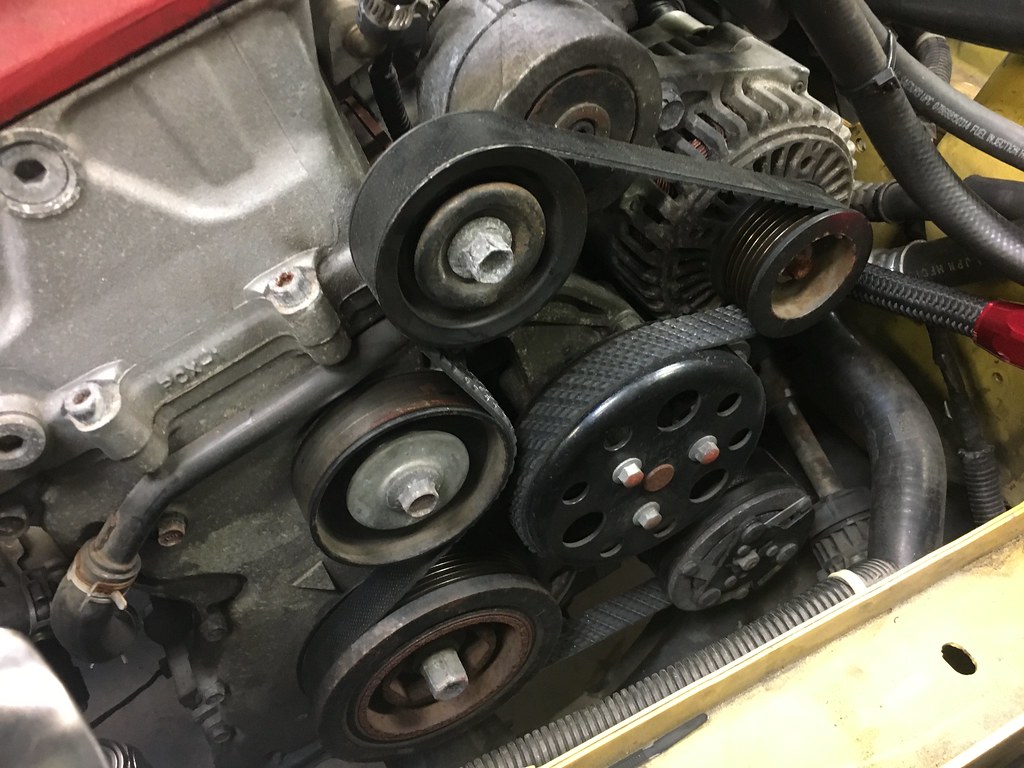
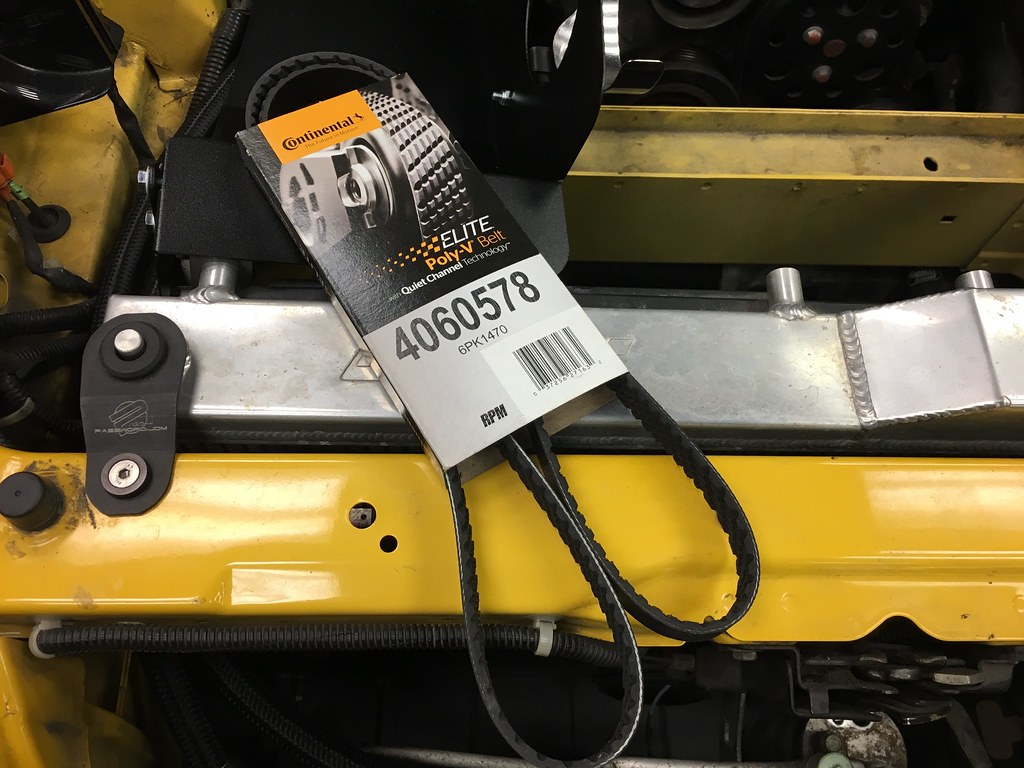
Continuing on with the AC, we finally got all the right hard lines and everything in now installed. I opted to get a new condenser and drier rather than use the used one I previously got since I couldn't ensure that no contaminants had gotten into the system. Obviously with the AC previously uninstalled I'd need a new longer serperntine belt. I went with the Continental Elite 4060578 Poly-V / Serpentine Belt rather than OEM. It's a bit cheaper than OEM and proven to be just as good.

New AC condenser and drier - 3/4/2018
Main AC hard lines reinstalled - 3/4/2018
AC compressor and new serpentine belt - 3/4/2018
New Continental Elite serpentine belt - 3/4/2018
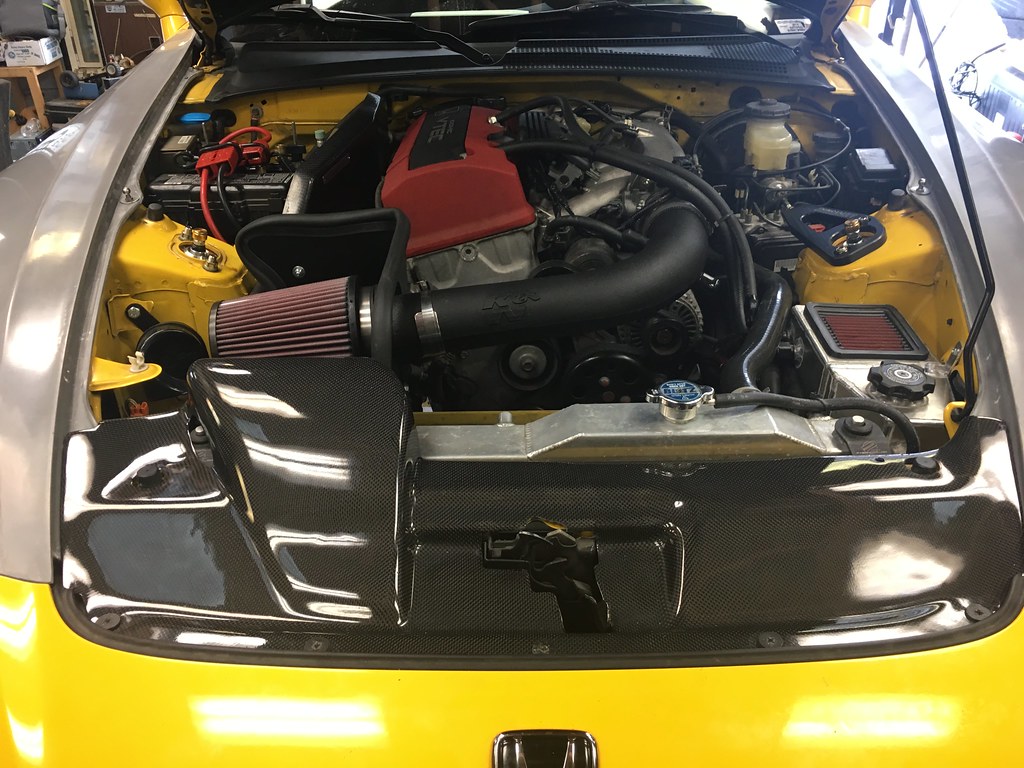
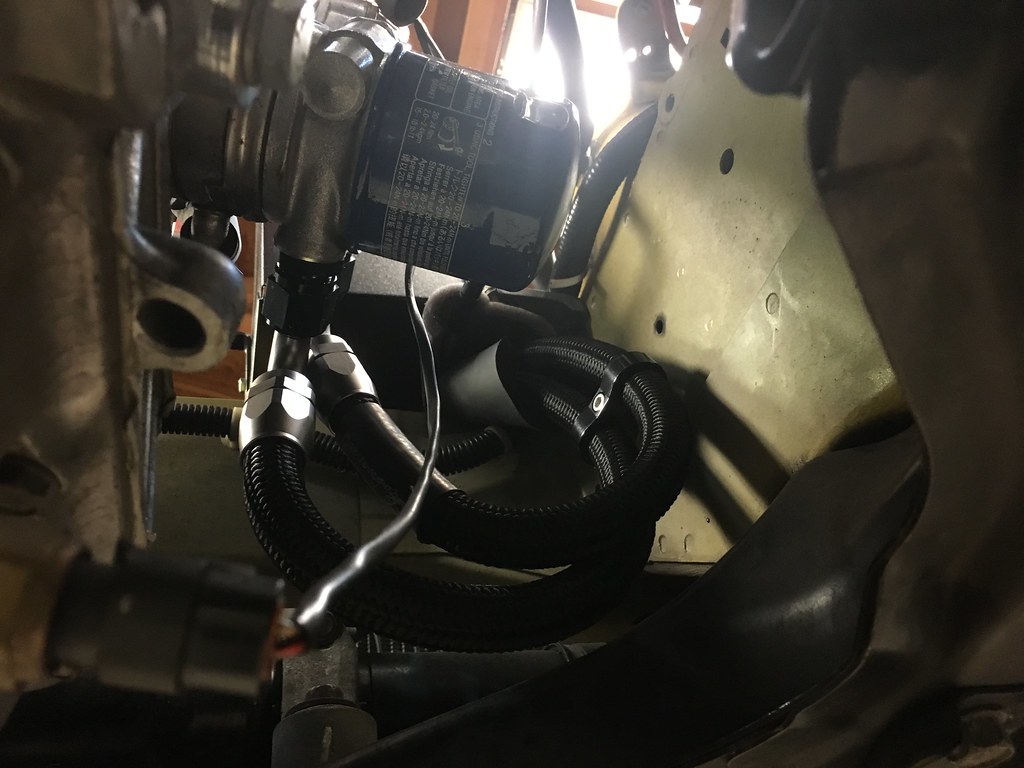
With the AC finally in, the K&N FIPK intake could finally be installed. We were a bit worried we would be able to clear the AC lines and oil cooler hoses but there's just enough room under the heat shield to squeeze it through.

K&N FIPK installed - 3/4/2018
Oil cooler lines routed under the K&N heat shield - 3/4/2018
Other small things that got taken care of included SJF fabricating appropriate rear bumper lower brackets. AP2 rear bumpers sit lower than AP1 rear bumpers so we needed longer brackets to secure the lower portion.

Rear bumper brackets - 3/1/2018
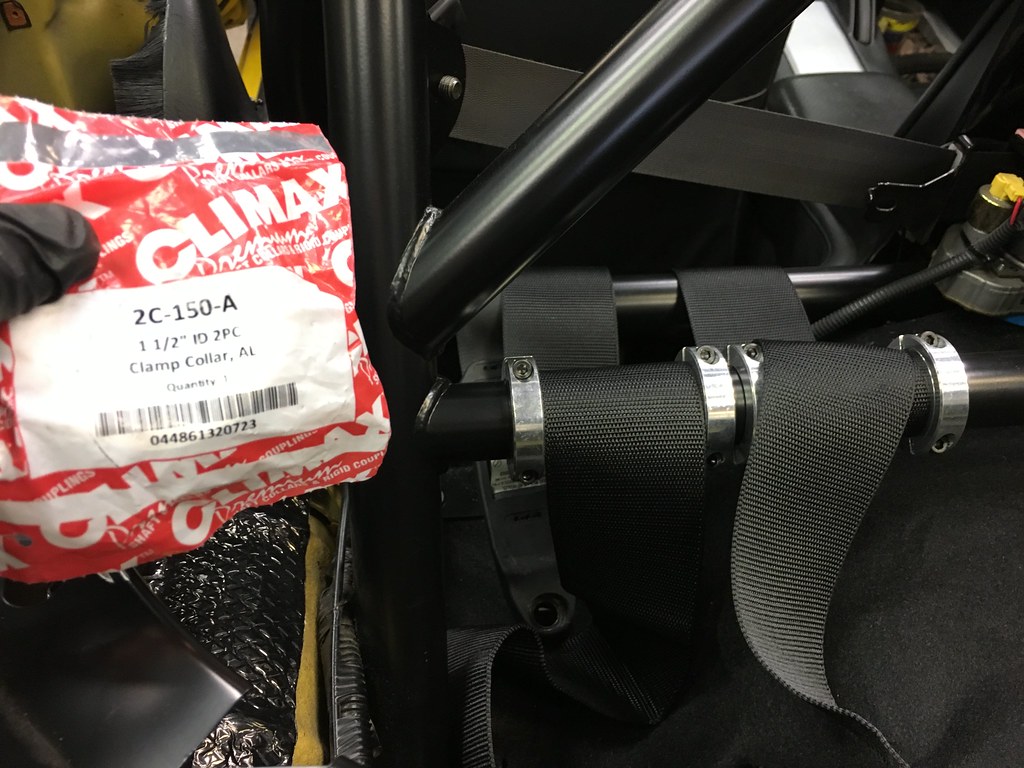
I picked up eight aluminum 1.5" bore clamps to secure the shoulder harnesses from sliding out of position. This is particularly important for proper safety as you don't want the harnesses moving left or right once you strap in.

Aluminum 1.5" clamping collars - 3/3/2018
Harnesses secured and excess webbing rolled up - 3/3/2018
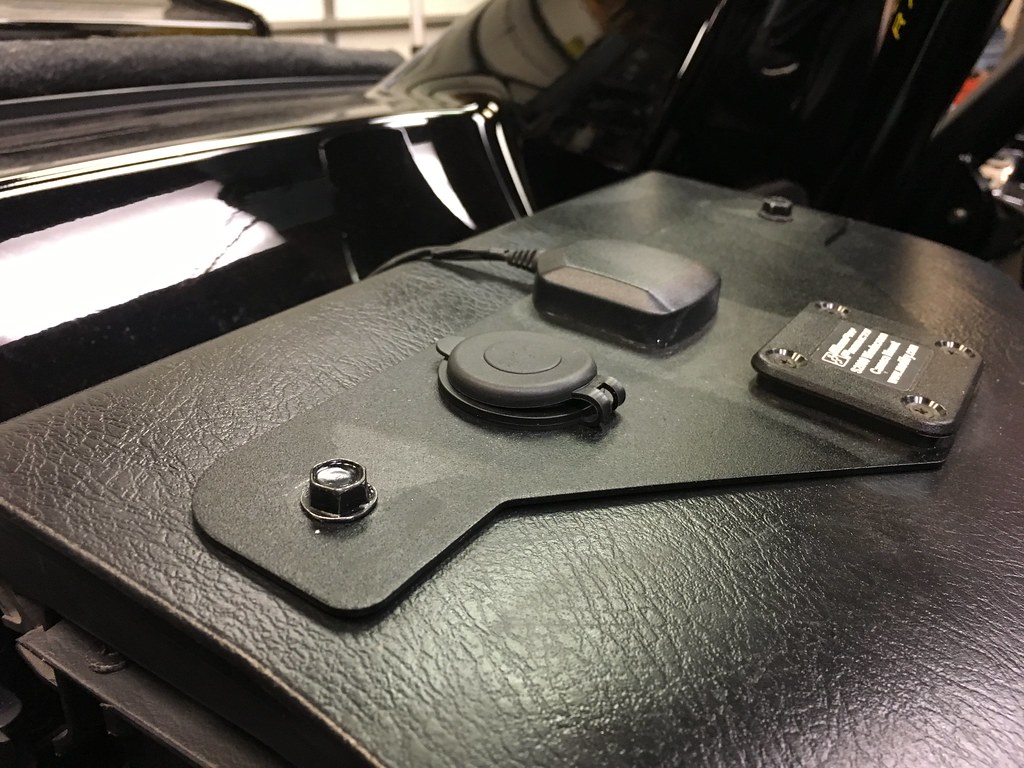
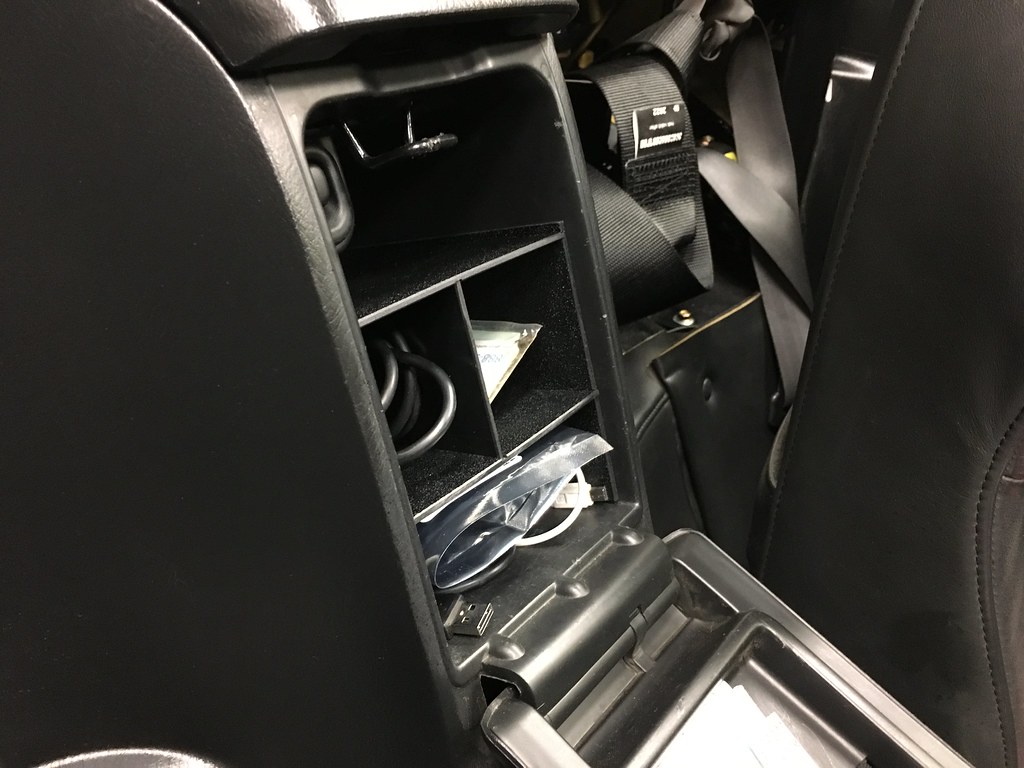
The USB charging outlets we installed at the back of the glove box last week had to be relocated. With the hard top and tonneau cover on it's a bit difficult to access it so we relocated it to the top of the secret compartment instead. The Modifry glove box organizing was also finally back in stock so I can keep things organized.

USB charging outlets relocated - 3/3/2018
Modifry glove box organizer - 3/3/2018
SJF also noticed a bit of weeping from the outer bleed screw on the Spoon calipers. After backing it out and retorquing it to 7Nm, we re-bled the brakes and so far the brakes feel good again. The car is scheduled to go back on the dyno at Evans Tuning in 2 weeks to be retuned weather permitting so it's crunch time and the final bits and pieces need to get sorted so we can make sure everything is working as expected before I go there.